Physical Address
304 North Cardinal St.
Dorchester Center, MA 02124
Physical Address
304 North Cardinal St.
Dorchester Center, MA 02124
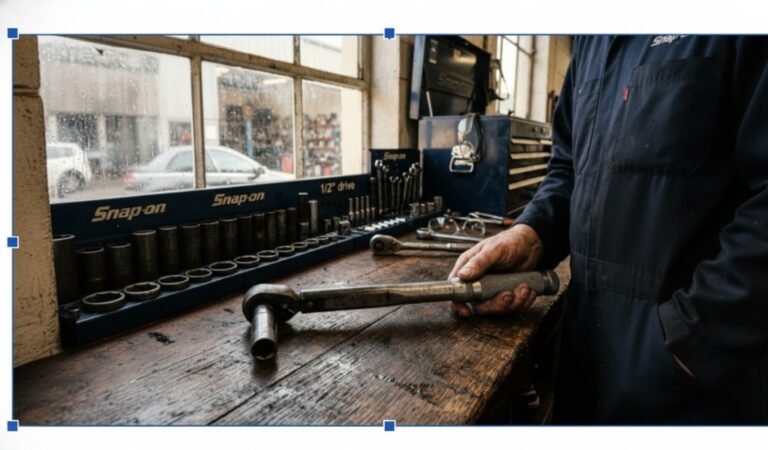
If you have ever spent twenty minutes digging through a messy toolbox for a 10mm only to find everything but that specific size, you know the struggle. Sockets are one of the easiest tools to misplace in any toolbox; they seem to disappear the moment you look away. Learning how to organize sockets effectively isn’t just about being tidy; it’s about saving your sanity and making sure your projects actually get finished.
Whether you are a professional mechanic or a weekend DIY enthusiast, keeping your ”socket set” in order is a game-changer. In this guide, we will dive deep into the best systems to organize sockets, keep your wrenches handy, and ensure you never lose a piece again.
To organize sockets effectively, separate them by metric and SAE, group by drive size, and arrange them from smallest to largest. Use socket rails, trays, or magnetic holders to keep them secure and easy to access. Keeping sockets organized improves workflow, prevents loss, and protects your tools.
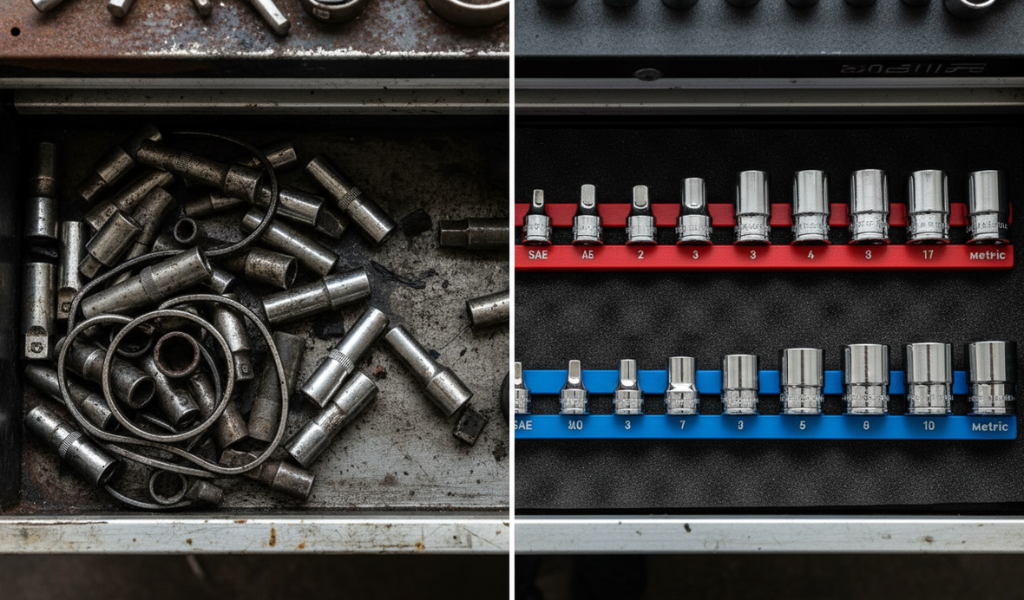
Let’s be honest: sockets are small, round, and love to roll. If you store them loosely in a drawer, every time you open or close that drawer, they shift. Over time, your metric and imperial sizes mingle, and your deep and shallow versions become a mountain of metal.
When you carelessly store your gear, you’re not just creating a mess; you’re creating “downtime.” Remember that the more sockets you have, the harder it becomes to position them in the order of size without a dedicated system. Bad organization leads to lost time, frustration, and eventually, the loss of the tools themselves.
When you take the time to organize sockets, you gain:
Faster Workflow: You can grab exactly what you need without looking.
Inventory Control: You’ll notice immediately if a piece is missing.
Tool Protection: Sockets won’t bang against each other, preventing chips and wear.
Professionalism: A clean workspace leads to better results.
Before we get into how to keep sockets organized, we need to talk about the “chaos makers.” If you mix these categories, even the best organizer won’t save you.
Never mix SAE (inches) and Metric (mm) in the same row. While a few sizes are close (like 19mm and 3/4″), they are not identical. Mixing them leads to stripped bolts and wasted time.
”Impact sockets” are built differently. They have thicker walls and are made of chrome molybdenum with a matte black finish to handle the high torque of an impact wrench. Chrome sockets (standard) are thinner and can shatter if used on an impact gun. Keep them in separate drawers or trays to avoid a dangerous mistake.
Grouping 1/4″, 3/8″, and 1/2″ drive sizes together is a recipe for a headache. Each size refers to the square hole on the back of the socket. Since you can’t fit a 1/2″ socket on a 3/8″ ratchet without an adapter, keep these families separate.
The most common way to organize sockets is by their measurement standard.
Many experts use color to differentiate between the two. A common industry standard is:
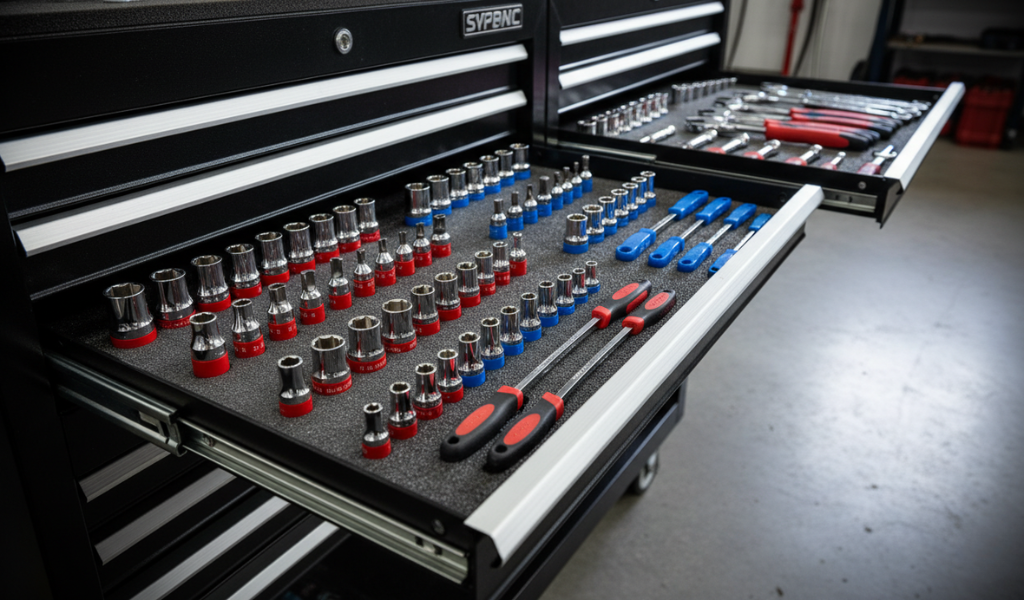
Red for SAE (Imperial)
Blue for Metric
You can buy colored rails or even use a small strip of colored electrical tape around the base of each socket. This visual cue tells your brain exactly where to reach before you even read the size engraving.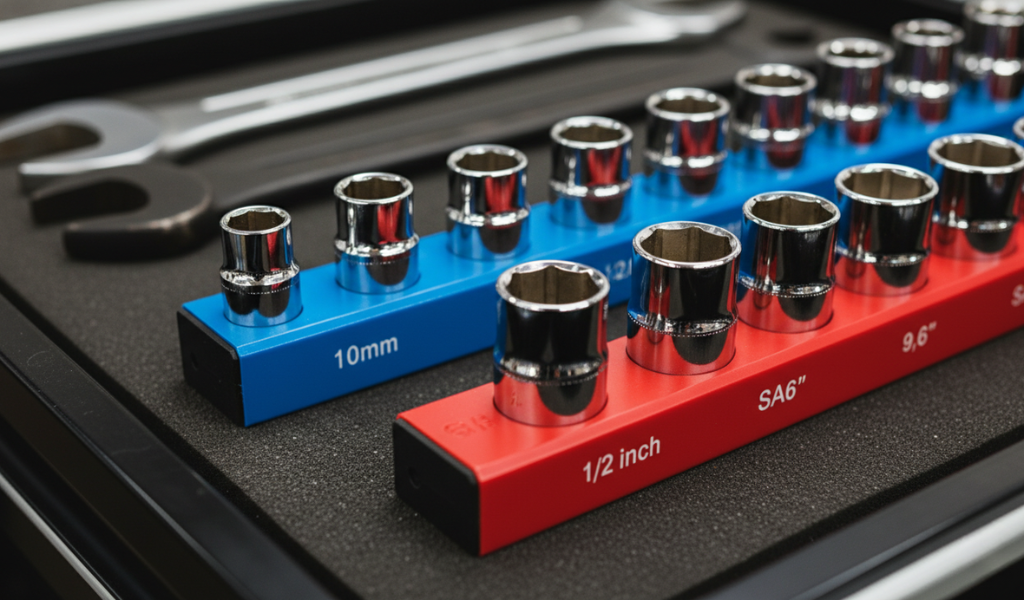
Always arrange them from smallest to largest. For Metric, start at 4mm and work your way up. For SAE, start at 5/32″ or whichever is your smallest bit. This creates a logical flow. If the 10mm is too small, you know the 11mm is exactly one spot to the right.
To truly master how to organize sockets, you have to account for depth. Sockets generally come in two profiles: shallow (standard) and deep. Shallow sockets are perfect for tight spaces where vertical clearance is an issue, while deep sockets are essential for reaching nuts that sit on long, protruding bolts or for reaching recessed fasteners.

The most efficient way to manage depth is a “stadium seating” arrangement.
The Front Row: Place all your shallow sockets here. Because they are shorter, they won’t block your view of the tools behind them.
The Back Row: Place your deep sockets directly behind their shallow counterparts.
By placing the 13mm shallow socket directly in front of the 13mm deep socket, you eliminate the need to search. You identify the size once and then simply choose the depth required for the specific bolt. This is particularly helpful when working in engine bays where you might need to switch between the two frequently.
Some specialized sets include “semi-deep” or mid-length sockets. If you own these, they should sit in a middle row. If space is tight, group them at the end of your standard rail, but clearly marked. Mixing mid-lengths into a shallow row creates a jagged visual line that makes it harder to spot a missing tool at a glance.
These are arguably the most popular choice for modern toolboxes. They use strong magnets to hold the bits in place. The best part? You can stick the entire tray onto the side of a car or a lift while you work.
Rails are great because they are portable. You can slide your sockets onto the clips and throw the whole rail into a bag. Each rail has mounting points sized for specific drives (1/4″, 3/8″, or 1/2″).
If you want that “surgical” look, foam is the way to go. You can buy pre-cut foam or “pluck” foam where you create custom cutouts for your specific ”socket set” and wrenches.
These feature vertical pegs labeled with sizes. You simply drop the socket over the peg. It’s the easiest system for high-speed cleanup, though they can be bulky in shallow drawers.
When you start to organize sockets, safety often takes a backseat to aesthetics, but it shouldn’t. Proper tool maintenance and handling are vital.
Inspect for Damage: While organizing, look for cracks or “mushrooming” on the drive ends. A cracked socket can shatter under pressure, sending metal shards toward your eyes.
The 10-Second Rule: Always wipe grease off a socket before returning it to its organizer. Greasy sockets are slippery; dropping a heavy 1/2″ drive socket on your toe is a quick way to end a workday.
Avoid Overloading Drawers: Sockets are heavy. If you organize them all into one massive drawer, ensure your toolbox is rated for that weight. An overbalanced toolbox can tip forward when the drawer is fully extended, causing serious injury.
Glove Up: When building DIY organizers or handling older, rusted tools, wear cut-resistant gloves. Metal burrs on old chrome can slice through skin like a razor.
Chemical Safety: If you are color-coding with spray paint, do so in a well-ventilated area and wear a mask.
If commercial options don’t fit your specific drawer dimensions, building your own is a rewarding weekend project. There are two primary methods: the “Drilled Hole” method and the “Dowel” method.
This method is best for drawers with plenty of vertical height. It holds the sockets by their outer diameter.

This is more “universal” because the dowels fit the drive hole, meaning any socket of that drive size will fit the peg.
Select Your Base: A piece of 1/2″ or 3/4″ MDF or plywood works perfectly.
Size Your Dowels:
Cut the Pegs: Cut the dowels into lengths that match the depth of your sockets. Deep sockets need longer pegs to stay upright.
The “Square Fit” Secret: Since socket drives are square and dowels are round, the fit might be loose. You can slightly sand two sides of the dowel to create a snugger fit, or use square dowels if you can find them.
Assemble: Drill holes into your base board that match the dowel size. Apply a drop of ”wood glue” and tap the dowels in.
Color Code: Paint the base of the Metric side blue and the SAE side red before you glue the dowels in for a professional finish.
To maintain a world-class setup, follow these “best practices” every time you step into the garage:
The “One-In, One-Out” Rule: Never have more than one socket out of the organizer at a time unless absolutely necessary. This prevents the “where did I put that?” syndrome.
Vertical Hierarchy: Organize by drive size from left to right (1/4″ on the left, 1/2″ on the right). It mirrors how we read and makes the layout intuitive.
Label Visibility: Ensure the size markings on the organizer (not just the socket) are facing you. If you use rails, rotate the sockets so the etched numbers face upward.
Separate Specialized Tools: Keep universal joints, extension bars, and adapters on their own dedicated rail. These are the “utility” players and shouldn’t clutter your main sizing rows.
The End-of-Day Audit: Before you turn off the lights, do a visual sweep. Any empty peg or hole means a tool is missing. Finding it now is easier than finding it three weeks from now when you’ve forgotten where you were working.
Wrench Alignment: If possible, store your wrenches in a rack that follows the same size progression (small to large) as your sockets. This creates a cohesive “tool language” in your drawer.
Clean and Protect: Periodically spray your organizers with a bit of tool cleaner. Dust and metal shavings can build up in the holes, making it harder to pull the tools out.
Learning how to organize sockets might seem like a chore, but it is one of the best investments you can make in your hobby or career. By using rails, magnetic trays, or a custom DIY solution, you turn a chaotic pile of metal into a precision system.
When your tools are organized, you work faster, stress less, and actually enjoy the process of fixing things. No more “searching for the 10mm” memes—you’ll be the person who knows exactly where every piece is. So, head out to your garage, dump out that messy drawer, and start the process of becoming a master of your socket set. Your future self will thank you the next time you reach for a tool and find it exactly where it belongs.
For beginners, socket rails are the best starting point. They are inexpensive, hold the tools securely, and allow you to expand your collection easily. As you grow, you can move to more permanent drawer solutions.
Yes, you can use a 6-point socket on a 12-point nut, but it isn’t ideal. However, you cannot use a 12-point socket on a 6-point nut if you are applying high torque, as it is much more likely to strip the corners of the fastener.
Wipe your sockets with a lightly oiled rag before putting them back. In humid climates, adding a silica gel packet or a VCI (Vapor Corrosion Inhibitor) emitter to your toolbox drawer can work wonders.
Always organize by size. While you might use a 13mm more often, keeping them in numerical order makes it much easier for your brain to “map” the drawer. If you hunt for tools based on frequency, the layout becomes unpredictable.
Keep a small “junk” jar or a separate “miscellaneous” rail for these. Don’t let them clutter up your primary organized sockets system, or they will cause confusion during a job.
Absolutely. While you can label them yourself, pre-labeled organizers use high-contrast ink that is much easier to read in low-light conditions. It speeds up the identification process significantly.
Leave at least 1/2″ (12mm) between the outer edges of the sockets. This ensures your fingers can get a solid grip on the socket to pull it out without bumping into the neighboring ones.