Physical Address
304 North Cardinal St.
Dorchester Center, MA 02124
Physical Address
304 North Cardinal St.
Dorchester Center, MA 02124

Getting a smooth, professional-looking finish on wood furniture, floors, or trim comes down to one often overlooked step: sanding between coats. If you skip this step or do it incorrectly, you risk dust nibs, uneven sheen, and coats that peel away instead of bonding together. Learning how to sand between finish coats properly is the difference between a finish that looks amateur and one that looks like it came from a professional shop.
Before diving into the details of sanding polyurethane, lacquer, or paint layers, it helps to understand a related skill that trips up a lot of DIYers: sanding delicate surfaces without causing damage. If you’re working with thin veneer, check out our guide on Sanding Wood Veneer: How to Sand Veneer Without Damage, since many of the same principles about grit selection and light pressure apply there too.
This guide walks through everything you need to know, from choosing the right sandpaper grit to fixing mistakes when they happen. By the end, you’ll have a clear, repeatable process for sanding between coats of paint, polyurethane, lacquer, or shellac, no matter what project you’re working on.
Every coat of finish, whether it’s paint, varnish, or polyurethane, dries with tiny imperfections. Dust settles into wet finish, brush marks show up, and the wood grain often rises slightly as it absorbs moisture from water-based products. If you apply a new coat directly over these flaws, they get sealed in and become permanent.
Sanding between coats knocks down these imperfections and creates a slightly rough surface that the next coat can grip onto. Without this step, your final finish might look cloudy, feel bumpy, or peel off in sheets months later. It’s a small effort that pays off with a smoother, longer-lasting result.
Intercoat adhesion refers to how well one layer of finish bonds to the layer beneath it. Finishes like polyurethane and lacquer cure into a hard, somewhat glossy surface. Without sanding, a new coat has nothing to physically grab onto, so it just sits on top rather than bonding. This can lead to delamination, where coats separate from each other over time, especially on surfaces that see a lot of handling like hardwood floors or tabletops.
Light sanding between coats creates microscopic scratches in the surface. These scratches give the next coat something to key into, which strengthens the bond between layers. This is true whether you’re working with oil-based polyurethane, water-based polyurethane, lacquer, or paint.
Sanding between coats solves several common finishing problems at once:
Catching these issues between coats, rather than after the final coat, saves you from having to strip and refinish the entire piece.
You don’t need a huge workshop setup to sand between coats correctly. A handful of tools will cover most projects, from small furniture pieces to entire hardwood floors.
Choosing the right sandpaper is probably the single most important decision in this whole process. For most intercoat sanding jobs, a fine grit sandpaper in the 220 to 320 grit range works best. As a general rule of thumb, use 220 grit sandpaper for early coats and move up to 320 grit sandpaper for the final coat, since finer grits leave a smoother surface with less risk of scratching through to the wood.
Coarse grit sandpaper, anything below 150, should be reserved for stripping old finish or leveling out heavy imperfections. Using coarse grit sandpaper between coats of finish will almost always create scratches that are too deep for the next coat to fill in.
Once you finish sanding, cleaning up dust is just as important as the sanding itself. A tack cloth, which is a slightly sticky cloth designed to pick up fine dust, works well for smaller pieces. For larger projects like hardwood floors, a shop vacuum with a fine dust filter, followed by a tack cloth pass, gives you the cleanest surface possible before the next coat goes on.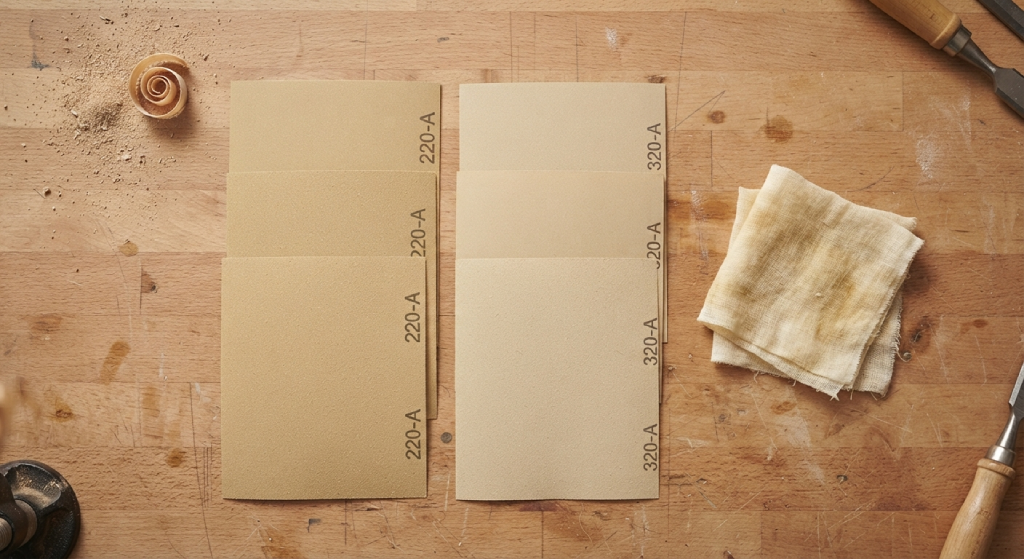
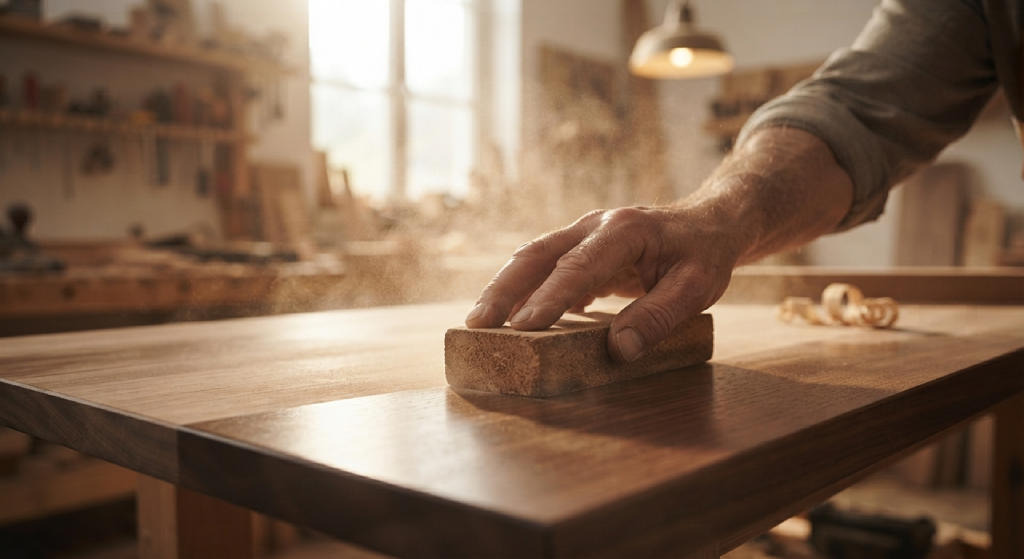
For flat surfaces, a sanding block wrapped in sandpaper gives you even pressure and helps you avoid digging in at the edges of the sandpaper. Sanding by hand with a block is often the safer choice for finish coats, since it’s easier to control pressure and avoid sanding through to bare wood.
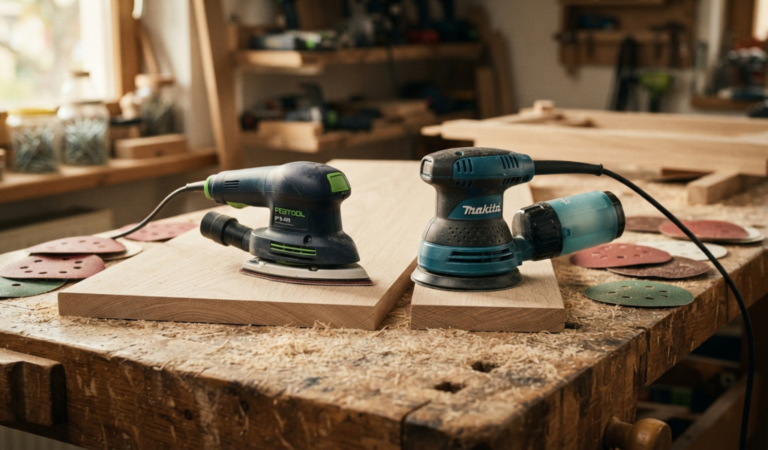
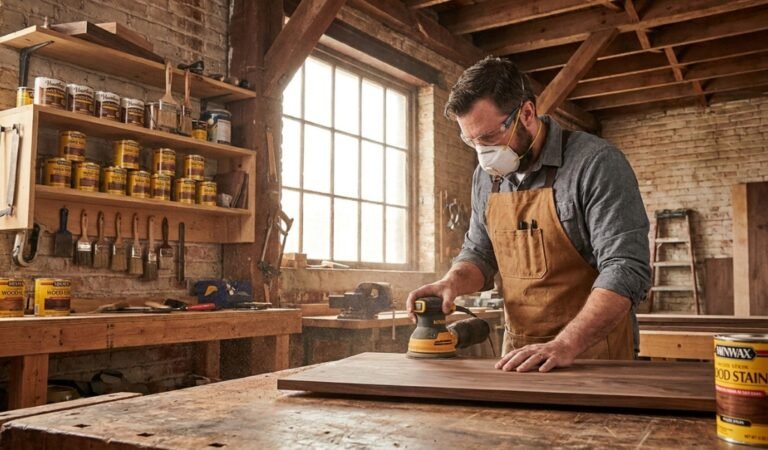
An orbital sander can speed things up on large flat areas like tabletops or floors, but it comes with more risk. An orbital sander removes material faster, so light pressure and a steady, even pace matter even more when using one. For most furniture-sized projects, hand sanding with a block gives you more control and a more even finish.
One of the most common mistakes is sanding before the finish is completely dry. This can trap dust particles in a gummy surface or gum up your sandpaper almost instantly.
Dry to the touch doesn’t always mean ready to sand. A finish can feel dry on the surface within an hour or two, but still be soft underneath. Curing is the process where the finish fully hardens all the way through, and this takes longer than surface drying.
The fingernail test is a simple, practical way to check. Press your fingernail lightly into an inconspicuous spot on the finish. If it leaves a mark or feels tacky, wait longer. If the surface feels hard and doesn’t dent easily, it’s likely ready for a light sanding.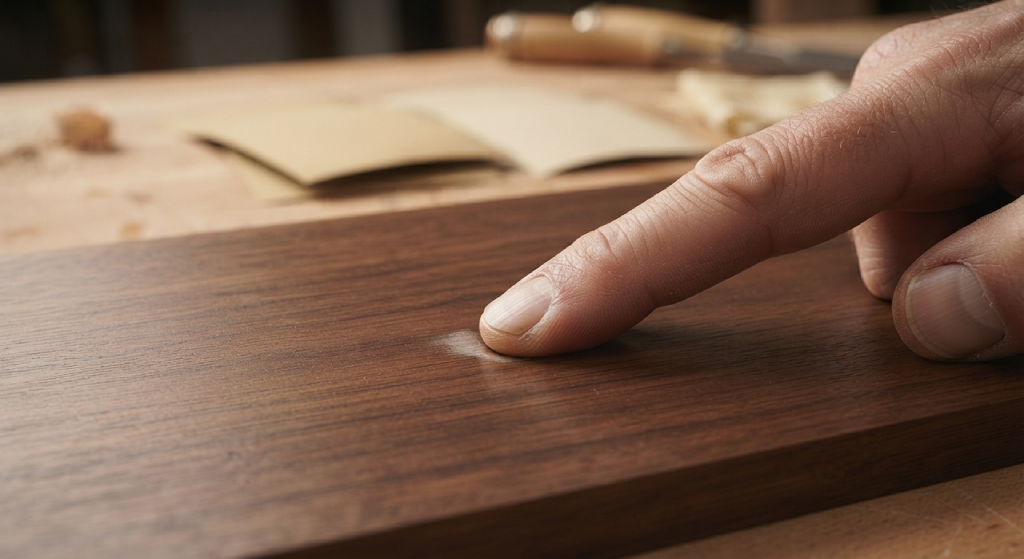
As a general guideline, most oil-based polyurethane finishes need at least 24 hours between coats, while water-based polyurethane can sometimes be sanded after just a few hours. Always check the product label for the manufacturer’s recommended drying time, since formulas vary between brands.
Humidity and temperature have a big effect on drying time. In a cold or humid workshop, finishes can take much longer to cure than the label suggests. Ideally, aim for a workspace between 65 and 75 degrees Fahrenheit with moderate humidity. If you’re working in a garage during winter or a basement with high humidity, add extra time before sanding, even if the surface feels dry.
Polyurethane is one of the most popular finishes for furniture and floors because of its durability, but it also requires careful sanding between coats to look its best.
Before you even pick up sandpaper, inspect the surface under good lighting. Look for dust nibs, drips, or uneven texture. Wipe the surface gently with a dry cloth first to remove any loose debris that could scratch the finish during sanding.
For the first coat of polyurethane over bare wood, some finishers use 220 grit sandpaper to knock down any raised grain. For subsequent coats, stick with fine-grit sandpaper in the 320 range. This helps smooth out imperfections without cutting too deeply into the previous coat.
Sand in the direction of the wood grain using light pressure. You’re not trying to remove material, just scuff the surface enough for the next coat to adhere. Use long, even strokes and avoid pressing hard in one spot, which can create low areas or sand through to bare wood. After sanding, wipe the surface with a tack cloth or a damp cloth to remove all dust before applying the next coat.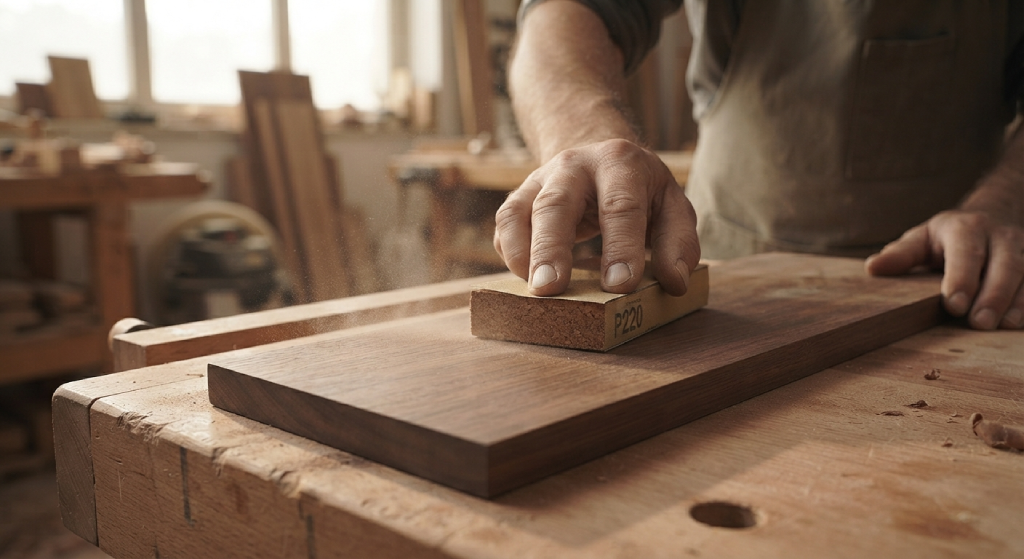
Lacquer and shellac dry much faster than polyurethane, which is one reason they’re popular for cabinetry and quick furniture turnarounds. Because these finishes dry so quickly, they often only need a very light scuff sanding with 320 grit sandpaper or finer between coats.
One trick with lacquer is that fresh coats partially melt into the previous layer, a process called “burning in.” This means sanding pressure needs to be even lighter than with polyurethane, since it’s easy to sand through multiple thin coats of lacquer at once. Always use a fine grit sandpaper and check your progress often, wiping away dust as you go to see how much material you’ve actually removed.
Water-based and oil-based finishes behave differently, and sanding between coats needs to account for those differences.
Water-based finishes tend to raise the wood grain more than oil-based products, especially on the first coat. This is because the water in the finish causes wood fibers to swell. After the first coat dries, you’ll often feel a slightly rough, fuzzy texture. Sand this back with 220 grit sandpaper before moving on. Subsequent coats usually raise the grain less, so you can switch to a finer grit sandpaper like 320 for later coats.
Oil-based polyurethane and varnish can leave a gummy residue if sanded too soon. If you notice your sandpaper clogging quickly or the surface feels sticky rather than powdery, stop and give the finish more time to cure. Wipe the surface with a cloth dampened with mineral spirits to help remove any gummy buildup before continuing.
Wet sanding, where you use water or a lubricant along with fine grit sandpaper, is common on the final coat for an extra smooth, glass-like finish. It reduces heat buildup and helps prevent scratches. Dry sanding is more common between earlier coats since it’s faster and simpler for most furniture projects. As a rule of thumb, save wet sanding for the last coat when you’re chasing the smoothest possible final finish.
Flat surfaces are the easiest part of any finishing project. Moldings, spindles, and curved surfaces require a different approach.
For detailed profiles, a flat sanding block won’t reach into every groove. Instead, fold a piece of sandpaper by hand to match the contour of the profile, or use a contour sanding tool designed for moldings. Sand gently along the direction of the wood grain, paying close attention to recessed areas where finish tends to pool and dry thicker than the rest of the piece.
Foam sanding sponges and abrasive pads are excellent for curved or detailed surfaces because they flex to match the shape without digging in. A fine grit foam sponge can smooth out spindles, carved details, and curved chair legs without flattening the profile the way a rigid sanding block might. These are also handy for sanding lightly between coats on surfaces where a mechanical sander simply won’t fit.
No matter how carefully you sand, dust remains on the surface afterward, and this step is where a lot of otherwise careful work gets undone. Start by vacuuming loose dust with a soft brush attachment, working in the direction of the grain. Follow up with a tack cloth, wiping gently to pick up the finer dust particles that a vacuum leaves behind.
For oil-based finishes, a cloth lightly dampened with mineral spirits can help lift stubborn residue. 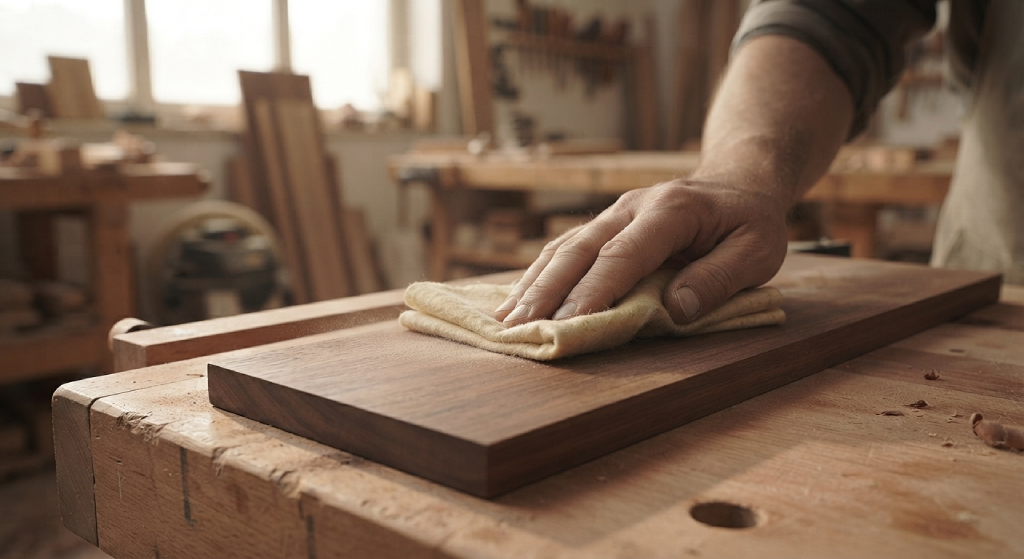 For water-based finishes, a slightly damp cloth, followed by a dry one, works well. Let the surface dry completely before applying the next coat, since any leftover moisture can interfere with adhesion.
Even experienced woodworkers run into trouble here occasionally. Knowing the most common mistakes ahead of time can save you a lot of rework.
Pressing too hard with sandpaper can sand through the previous coat entirely, exposing bare wood or creating uneven patches in the sheen. Light pressure is almost always enough, especially with fine grit sandpaper. Skipping the cleaning step afterward is another common shortcut that causes problems, since any dust left behind gets trapped under the next coat and shows up as small bumps in the final finish.
Sanding too early is one of the most frequent mistakes, particularly with oil-based finishes that stay tacky longer than they appear. This gums up sandpaper fast and can smear the finish rather than smoothing it. Similarly, sanding in a dusty environment, like right after sweeping the floor, tends to trap new dust particles into the wet finish before it even has a chance to cure.
Mistakes happen even with careful technique, but most are fixable without starting over completely. If you sand through to bare wood in a small spot, feather the edges with fine grit sandpaper and apply a thin coat of finish to blend it back in. If you notice dust nibs after your final coat has dried, wet sand with very fine grit sandpaper, such as 400 or higher, then apply a fresh coat to restore the sheen.
For cloudy or uneven sheen across a larger area, a full light sanding with 320 grit sandpaper across the entire surface, followed by one more even coat, often solves the problem. The key is catching these issues early and addressing them one coat at a time rather than waiting until the entire project is finished.
Sanding between finish coats isn’t the most exciting part of a woodworking or painting project, but it’s one of the most important. Taking the time to choose the right sandpaper grit, wait for proper curing, and clean thoroughly between coats leads directly to a smoother, more durable, professional-looking final result. Next time you’re working through a finishing project, slow down at this step. Your final coat will thank you for it.
What grit sandpaper should I use between coats of polyurethane?
Use 220 grit sandpaper for the first coat over bare wood to smooth out raised grain, then switch to 320 grit sandpaper for later coats. Finer grits leave a smoother surface with less risk of sanding through to the wood.
How long should I wait before sanding between coats?
Most oil-based finishes need at least 24 hours before sanding, while water-based finishes may be ready in just a few hours. Always check the product label, and use the fingernail test if you’re unsure.
Do I need to sand between every coat of paint?
Yes, for the smoothest final result. Sanding between paint coats removes brush marks, dust nibs, and other imperfections, and it helps the next coat adhere better.
Can I skip sanding if I’m only applying two coats?
It’s not recommended. Even with just two coats, skipping the sanding step can leave visible imperfections and weaken adhesion between layers, especially on surfaces that get regular use.
What’s the difference between wet sanding and dry sanding?
Wet sanding uses water or a lubricant along with fine grit sandpaper to create an extra smooth surface, usually reserved for the final coat. Dry sanding is quicker and more common between earlier coats.
Why does my sandpaper clog up when sanding polyurethane?
This usually means the finish isn’t fully cured yet. Gummy residue clogs sandpaper quickly, so wait longer before sanding, or clean the surface with mineral spirits if it’s an oil-based finish.
How do I sand curved or detailed wood profiles?
Use foam sanding sponges or hand-folded sandpaper that can flex into grooves and curves. Rigid sanding blocks work well on flat areas but can flatten out fine details on moldings and spindles.