Physical Address
304 North Cardinal St.
Dorchester Center, MA 02124
Physical Address
304 North Cardinal St.
Dorchester Center, MA 02124

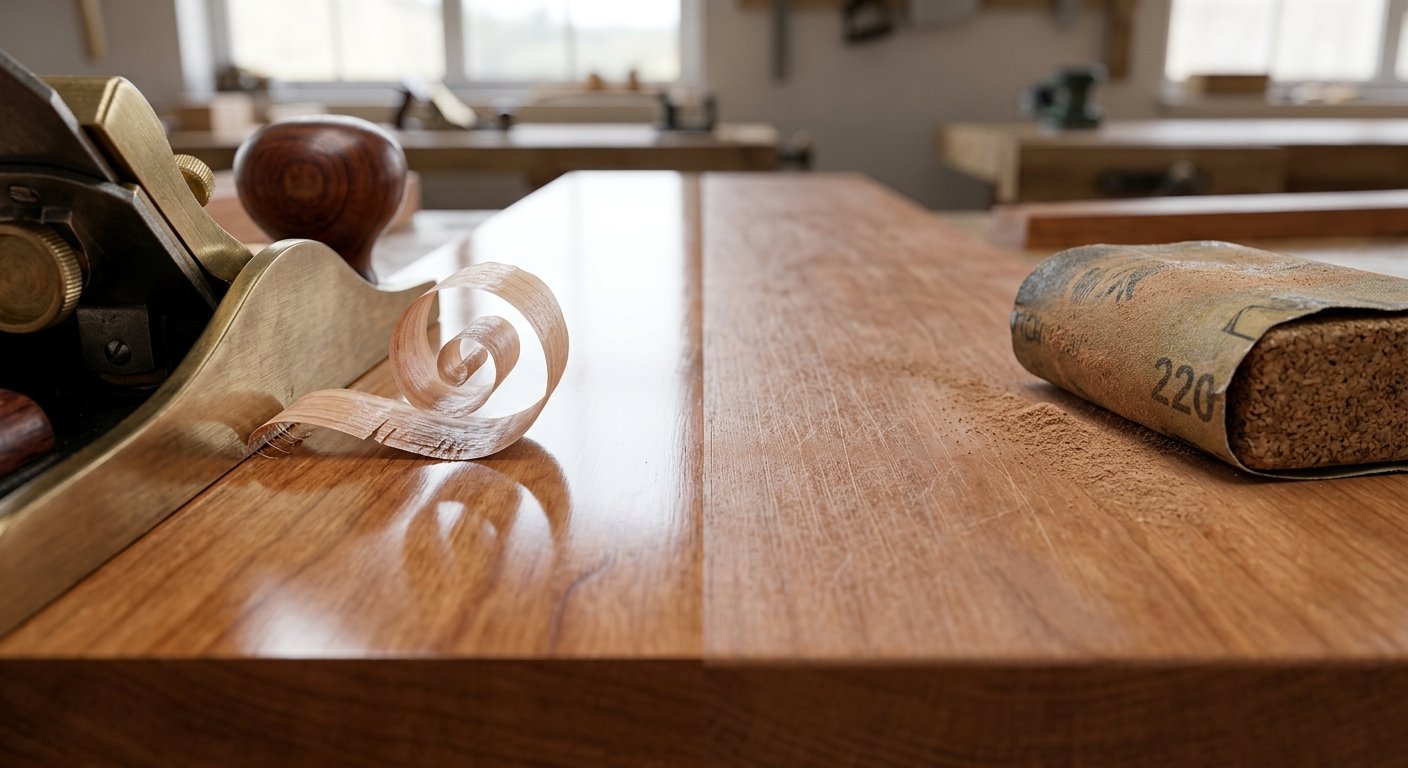
Walk into any woodworking forum and ask whether you should plane or sand, and you will get twenty different answers before lunch. Some people swear a sharp smoothing plane leaves a surface no sandpaper can match. Others say they have not touched a hand plane in years and their furniture looks just fine.
Both camps are partly right. The real question in planing vs sanding is not which one wins. It is which one fits the job in front of you. A rough pine board needs something very different from a cherry drawer front that is ready for finish. If you are also weighing Hand Sanding vs Power Sanding: Which Method Is Best for Your Project? you will find that answer tied closely to the points below.
This guide walks through how each method works, when to pick one, how to combine them, what they cost and what to buy first. Think of it as a talk with a patient friend who has ruined a few boards so you do not have to.
At first glance both methods do the same thing. They make a board flatter and smoother. But they get there in opposite ways, and that changes how the wood looks and feels at the end.
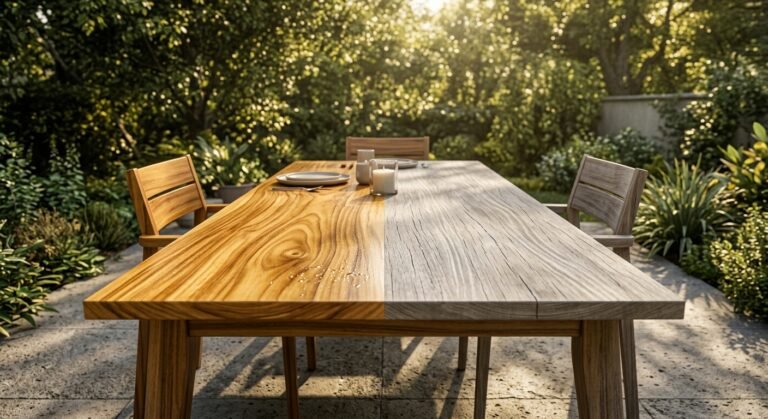
A plane is a cutting tool. The blade sits at a set angle and slices a thin curl off the board. When the blade is sharp and the tool is set well, the fibers are cut cleanly across their length. The result is a surface that looks almost polished. Light bounces off it evenly, and you can feel how slick it is with your fingertips.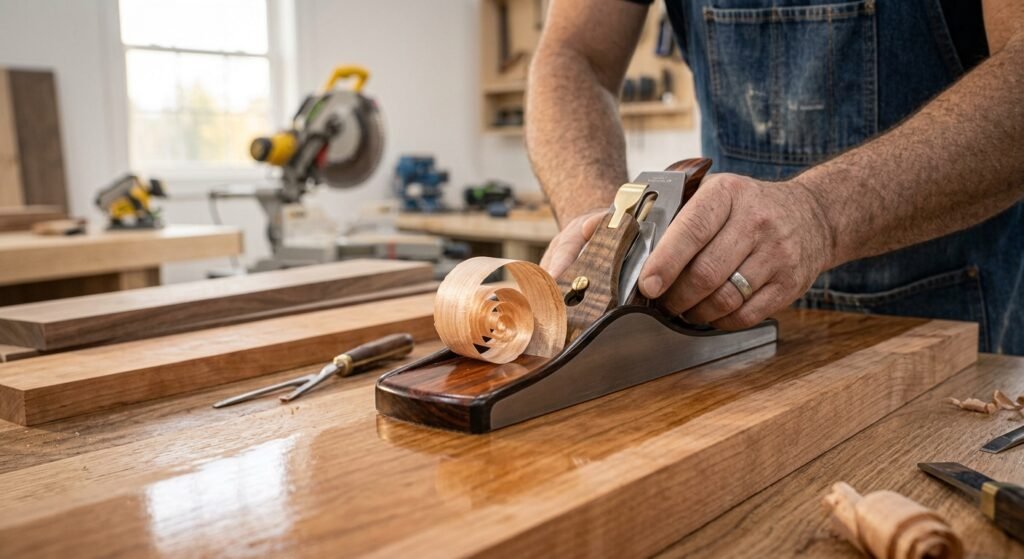
A hand plane gives you very fine control. A smoothing plane, for example, is short and made to take whisper thin shavings. You can sneak up on a line, take one more pass and stop the moment the surface is right. Power tools do the same cutting job at a much bigger scale. A jointer flattens one face and squares an edge. A planer, with its spinning cutter head, brings the other face parallel and sets thickness.
The catch is tearout. If the blade is dull or you plane against the grain, the fibers can lift and rip instead of cutting. Cherry and curly maple are well known for this. Learning to read the grain direction before you start saves a lot of frustration.
Sanding works in a totally different way. Sandpaper is covered in tiny mineral grains, and each grain scratches away a bit of wood. You are not slicing the fibers. You are wearing them down with thousands of small scratches. Coarse grit makes deep scratches and removes wood fast. Fine grit makes shallow scratches that are harder to see.
That is the whole idea behind moving up through the grits. Each step removes the scratches left by the one before it. If you skip a step, the old scratches stay behind and show up the moment you wipe on stain.
Sanding also leaves dust in the pores of the wood. That dust can fill the pores and block some of the stain or oil from soaking in. A planed surface is cleaner in that sense, because it is cut and not scuffed. 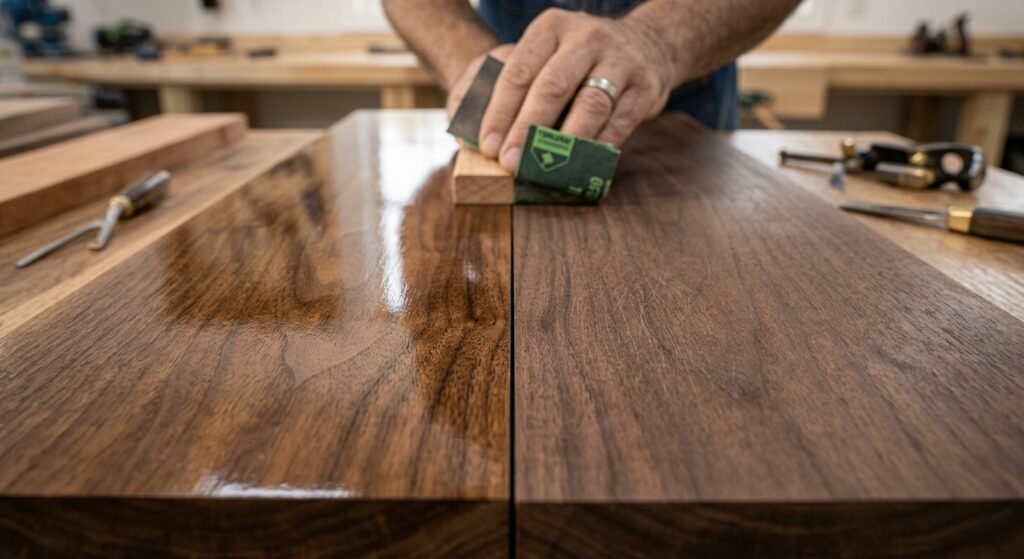 Still, sanding is easy to learn, cheap to start and very forgiving for a beginner.
Planing is the better pick when the problem is the shape of the board, not just how it feels. If the board is not flat, square or the right thickness, no amount of sandpaper is a good fix.
Lumber straight from the yard is rarely friendly. It can be cupped, bowed or twisted, and the surface is covered in saw marks. A belt sander could grind through that, but it would take forever and make a lot of heat and dust. A plane or a jointer gets there much faster.
Here is how many woodworkers handle a cupped board. They flatten the hollow face first, either with a jointer or a hand plane working across the width and then along the length. Once one face is truly flat, everything else gets measured from it. Trying to skip this step is how you end up with a tabletop that rocks on the bench.
A real life example makes this clear. Say you buy a wide pine board for a workbench top. It has a cup of nearly a quarter inch. If you try to sand it flat, you will go through several belts and still miss spots. A few passes with a jack plane across the grain, then a smoothing plane to clean up, and it is done in under an hour.
The second big job for planing is material removal. When you need to drop a board from one inch to three quarters, planing takes off wood quickly and keeps both faces parallel. A thickness planer is the standard choice here. You feed the board through, the drum and cutter shave it down and you repeat until you hit your number.
A hand plane can square stock too. Check an edge against a square, plane until it sits at 90 degrees to the face and you are set for a glue up. That edge will usually be better than a sanded one, because sanding can round the corners without you noticing.
Speed is a real bonus. A lot of new woodworkers sand for an hour to remove what a plane would take off in five minutes.
Sanding earns its place when the job is about smoothness, not shape. It is also the better tool in places a plane simply cannot reach.
Once a board is flat and sized, you want it ready to take a finish. This is where sanding shines. A light pass with 220 grit takes off tiny ridges and leaves an even surface. For paint, that is often all you need. Paint hides small scratches and likes a bit of tooth to hold on to.
For stain it takes more care. Stain shows every scratch and every bit of glue squeeze out that you missed. Removing glue before you sand is smart, because sanding over dried glue pushes it into the pores and leaves pale patches that the stain will not penetrate. Scrape off the bulk with a chisel first, then sand.
Here is a tip from a forum thread many people pass around. Wipe the board with a damp cloth after sanding to see what the finish will show. The water lifts any dents and makes scratches stand out. Better to find them now than after the first coat.
For most projects, stopping at 220 grit is plenty. Going to 320 grit can actually close the pores on some woods and cause blotchy stain, so do not assume finer is always better. A clear sealer or oil will look better when the wood can still drink it in evenly.
Now think about a rounded table leg, a carved edge or the end of a board. A plane has trouble with all of these. Curves change the grain direction every few inches, and end grain is tough to cut without chipping. Sandpaper just does not care.
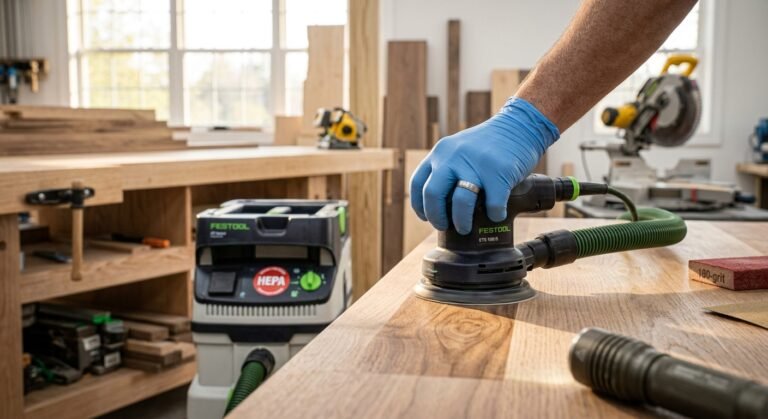
For curves, wrap the paper around a dowel or a foam block and follow the shape. For end grain, work through the grits more slowly, since the open pores soak up finish and look dark if left rough. A random orbital sander, often called a ROS, is great on flat panels and big surfaces. For tight spots like inside corners on a drawer, hand sanding gives you far more control than any machine.
If you are still deciding on that side of things, the article Hand Sanding vs Power Sanding: Which Method Is Best for Your Project? is a good place to read next. The short version is that power tools save time on big flat areas and hand work wins on detail.
Most skilled woodworkers do not pick one method. They use both, each at the right moment. Think of them as teammates, not rivals.
The order matters more than anything else in this section. Planing comes first because it does the heavy lifting. Sanding comes second because it only polishes.
Here is a simple workflow that works well on a cherry drawer front or a small table.
Start with flattening. Use a jointer or a hand plane to get one face flat and one edge square. Then use a planer to bring the board to its final thickness and width. Check your work with a straightedge and a pencil mark. If the pencil lines vanish evenly across the surface, the board is flat.
Next, clean up with a smoothing plane. Set the blade for a very fine cut and work with the grain. If you hit tearout, try skewing the plane a little or flip the board and plane from the other direction. When a plane keeps tearing, a card scraper can save the day. A scraper does not cut like a plane. It scrapes off a fine shaving with a tiny burr on the edge, and it handles swirly grain that fights back.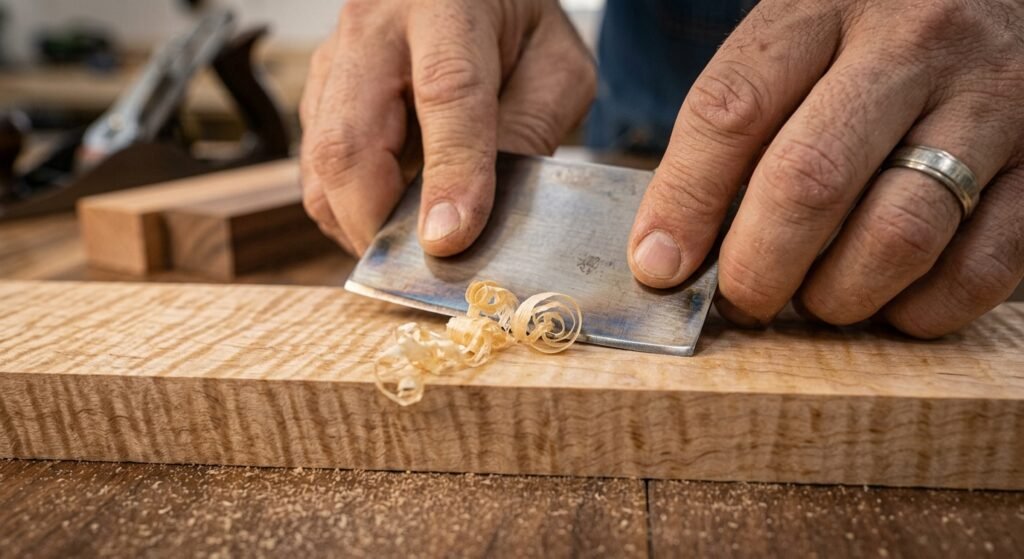 Some people burnish the edge with a rod to raise a fresh burr when it gets dull.
Then comes sanding. Start at 150 or 180 grit just to knock off any leftover marks, then finish at 220. Always follow the grain, or you will leave cross scratches that are very hard to remove. 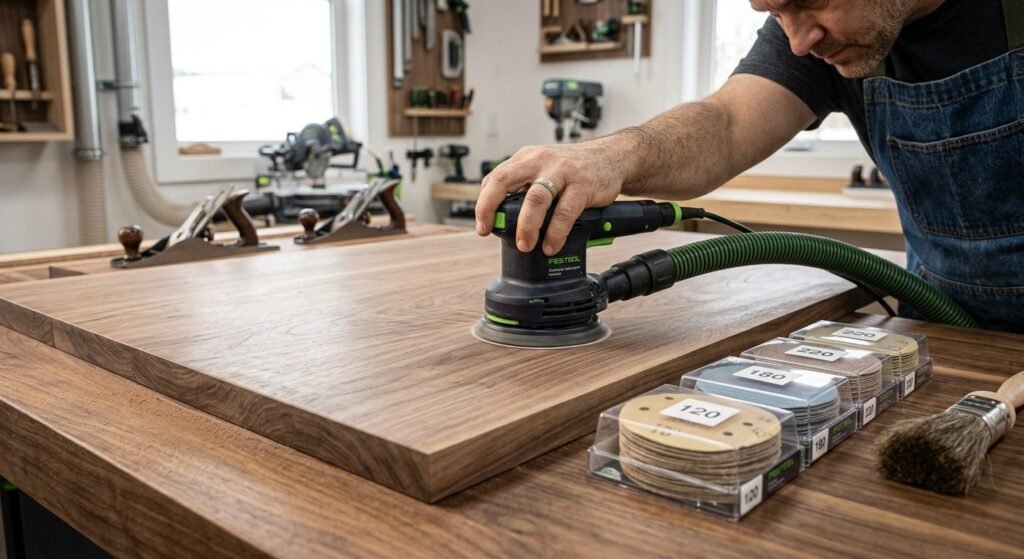 Take your time and sand evenly, not just in one spot.
Last, prep for finish. Vacuum the dust, wipe with a clean cloth and test on a scrap piece first. Then apply your stain, oil or seal coat.
A good rule to remember is plane or scraper first, sand second. If you find yourself sanding for a long time, you probably skipped a step earlier. That is the whole idea behind not doing too much sanding. You want the plane to do the real work so that the sandpaper only has to say hello.
Money and time are real factors, especially for a newbie setting up a first shop. Here is how the two methods compare over the long run.
Planing has a higher starting cost but a lower running cost. A good smoothing plane can cost anywhere from a modest used find to a few hundred dollars for a premium one. You also need a way to sharpen. That means a honing guide, a few stones or diamond plates and a strop. Once you have those, you can hone plane blades again and again for years. A sharp blade takes about five minutes to touch up.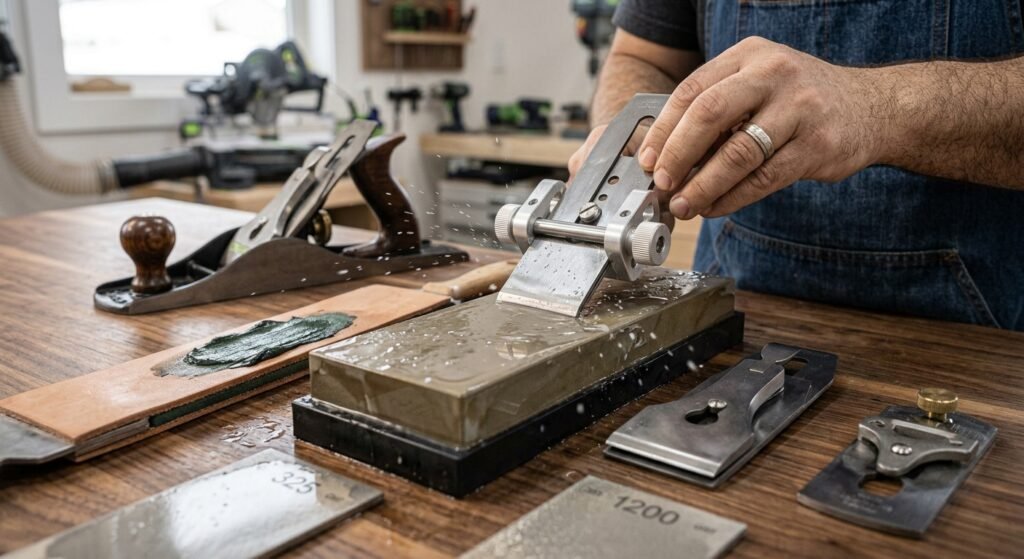
Sanding flips that. Sandpaper is cheap to start with. A few sheets and a block cost almost nothing, and a ROS is affordable. But paper wears out fast, belts clog and discs need replacing. Over a year of regular projects, the cost adds up more than people expect. A dull sheet also cuts slowly, so you work harder for less result.
Time is the other side of this. A plane can flatten a board far faster than paper, but only after you have learned to set it up and keep it sharp. That learning curve is real. Sanding has almost no curve. You can start today and get decent results. Many carpenters keep both methods in their back pocket because each pays off in a different way.
If you want to read more on this, sites like Woodcraft Today and other woodworking related topics pages offer plenty of sharpening guides and tool reviews to help you decide.
If you are just starting out, the best first buy depends on what you plan to build and how much space you have.
For a tight budget and a small shop, start with sanding gear. A random orbital sander, a pack of 120, 180 and 220 grit paper, a sanding block and a decent card scraper cover a lot of ground. You can finish small boxes, shelves and simple furniture with just that. It is a low risk way to get comfortable with surface prep.
If you plan to buy rough lumber, though, add a plane early. A No. 4 smoothing plane is the classic first choice. It is easy to find, easy to tune and works on most boards from soft pine to harder woods like cherry. Pair it with a basic sharpening setup and a small combination square so you can check for 90 degrees as you go.
For a bigger budget and a growing shop, think about machinery. A benchtop planer is often the first power tool that makes a real difference. It saves hours of work on thickness. A jointer comes next if you need flat faces and square edges without hand work. A belt sander can help on big glue ups, but be careful because it removes wood very quickly and leaves deep scratches.
Our honest advice is simple. Buy a ROS first, add a smoothing plane second and a scraper third. That mix covers about ninety percent of what a hobby woodworker will face. Everything else can wait until a project truly asks for it.
The planing vs sanding debate is really about using the right tool at the right time. Planing cuts and shapes. It is fast, clean and perfect for flattening, thickness and squaring. Sanding smooths and blends. It is simple, gentle and ideal for curves, end grain and final prep before finish.
Use a plane or scraper to get the surface right, then sand lightly to even things out. Skip the heavy sanding when you can, and skip the plane only when the job calls for something else. Keep your blades sharp, follow the grain and test on a scrap before you commit to a good board.
Now it is your turn. Grab a scrap of pine, take a few passes with a plane and a few with sandpaper, then compare the two side by side. You will see and feel the difference in minutes. If this guide helped, share it with a friend who is just getting into the craft and leave your own tips in the comments.
It depends on the wood and the goal. A sharp smoothing plane can leave a surface smoother and cleaner than sandpaper, with no dust packed into the pores. But sanding is easier and works on curves and end grain where a plane struggles. Many woodworkers use both.
Often yes, especially if you plan to use an oil or clear finish. A well tuned plane leaves a surface that needs little extra work. If you are staining, a very light pass with 220 grit can help the color go on evenly and clean up any small marks.
For most projects, 220 grit is the sweet spot. Going finer, like 320 grit, can close the pores on certain woods and make stain look blotchy. If you are painting, 180 to 220 is usually plenty.
Check the grain direction first and plane with it. Use a very sharp blade and set a shallow cut. Skewing the plane slightly can help. If tearout still happens, switch to a card scraper, which handles wild grain much better than a plane.
In many cases, yes. A scraper removes fine shavings and leaves a clean surface without dust. It works well on figured wood and for removing glue marks or small irregularities. It takes a little practice to sharpen and burnish the edge, but it saves paper and time once you learn it.
If you buy rough lumber, yes. A sander cannot fix a twisted or cupped board without huge effort. A jointer and planer, or a good hand plane, will flatten and size the board far faster. If you buy lumber that is already milled flat, a sander may be enough for small projects.
A hand plane usually costs more upfront but less over time, since you can sharpen the blade again and again. Sandpaper is cheap at first but wears out and needs constant replacing. For a busy shop, the plane often wins on total cost.
If you would like, I can turn this into a downloadable file, such as a Word doc or Markdown, so you can paste it straight into your CMS.