Physical Address
304 North Cardinal St.
Dorchester Center, MA 02124
Physical Address
304 North Cardinal St.
Dorchester Center, MA 02124

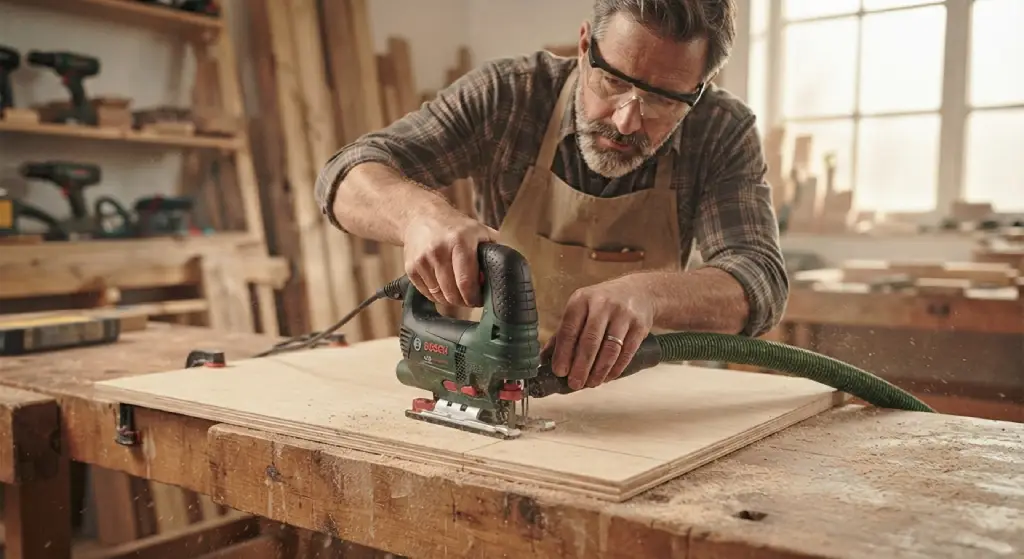
If you’ve ever loaded a fresh sheet of sandpaper onto your sander only to watch it rip apart within minutes, you know how frustrating this problem can be. Sandpaper tearing on sanders is one of the most common complaints among DIYers and woodworkers alike, and it usually points to a fixable issue rather than bad luck. Whether you’re working on a furniture restoration project or learning how to sand reclaimed wood for a rustic accent piece, torn sandpaper will slow you down and waste money on replacement sheets.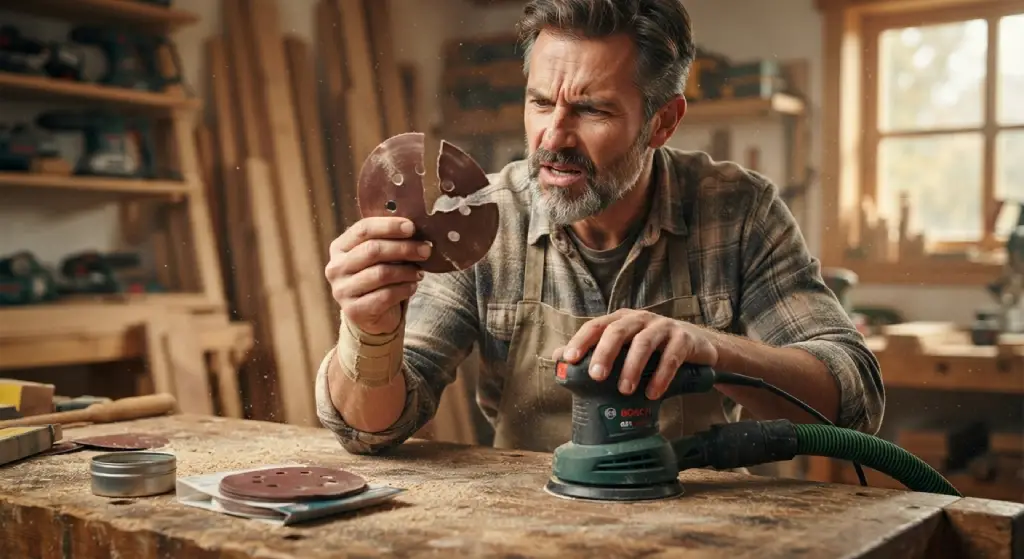
This guide walks through why sandpaper rips, how your sander itself might be causing the problem, and practical fixes that will help your sandpaper last longer. By the end, you’ll know exactly how to stop sandpaper from tearing and keep your sanding projects running smoothly.
Sandpaper tearing on sanders happens for a combination of reasons, but most cases trace back to three root causes: the wrong sandpaper for the job, poor installation, or a sander that’s past its prime. Sandpaper is made of an abrasive grit bonded to a paper or cloth backing. When that backing gets stressed beyond what it can handle, through friction, heat, or incorrect tension, it rips.
Palm sanders, orbital sanders, sheet sanders, and drum sanders each have their own quirks when it comes to holding a sheet of sandpaper securely. A palm sander, for example, relies on clips or hook-and-loop backing to keep the paper in place, while a sheet sander might use a clamping mechanism. If any of these attachment points fail or aren’t used correctly, the paper will slip, bunch up, and eventually snap.
Understanding the mechanics behind your specific tool matters. A Ryobi sander, a Bosch model, or any other brand will have slightly different hardware, but the underlying principles of why sandpaper tears remain the same across the board.
Not all sandpaper is built the same, and using the wrong type for your sander or project is one of the fastest ways to end up with a ripped sheet. Coarse grit sandpaper, for instance, is designed for heavy material removal and tends to have a thicker backing that holds up under pressure. Fine grit paper, on the other hand, often has a thinner, more delicate backing meant for light finishing work.
If you use fine grit paper for aggressive sanding, the backing can’t handle the stress and will tear quickly. Similarly, using a sheet of sandpaper that isn’t rated for your sander’s speed or sanding pattern (orbital versus belt, for example) puts unnecessary strain on the material.
Another issue is buying generic or low-quality sandpaper. Cheaper sandpaper often skimps on the adhesive that bonds the grit to the backing, which weakens the overall structure. Spending a little more on a trusted brand will save you money in the long run since you won’t need to buy replacement sheets as often.
Even the best sandpaper will tear if it isn’t installed correctly. Each sander has a specific method for attaching paper, whether that’s hook-and-loop, clamps, or clips, and skipping steps or rushing the process often leads to problems.
A sheet sander, for example, typically uses clamps on either end to hold the paper taut. If you don’t pull the paper tight enough before clamping, slack will form. That slack lets the paper shift during use, creating friction points that wear through the backing fast. Insert the sandpaper carefully, make sure it’s centered, and double check that there’s no sideways movement before you start sanding.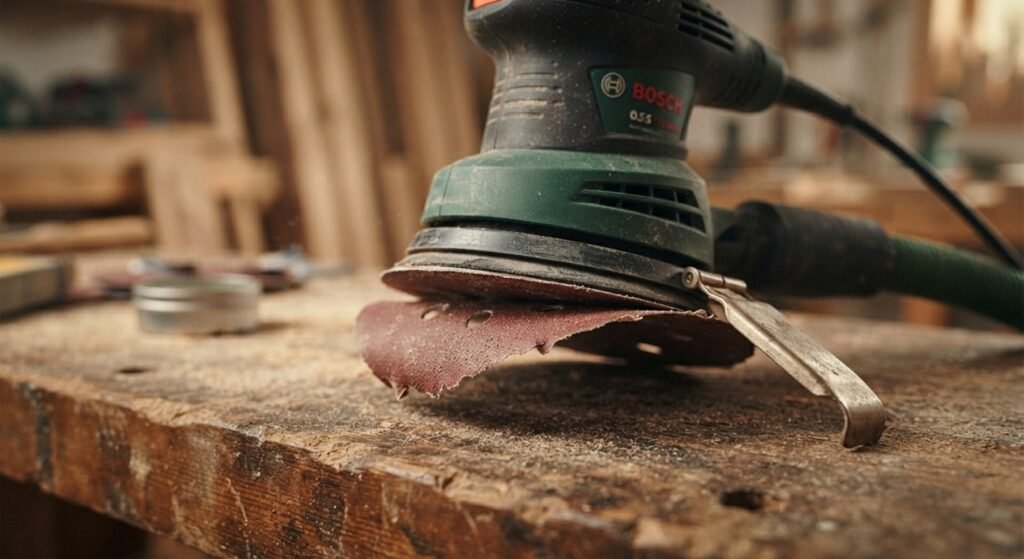
For sanders with hook-and-loop attachment, press the paper firmly onto the pad and run your hand over it to confirm there are no air bubbles or loose edges. Loose edges catch on the workpiece, and that’s often the first tear you’ll notice.
It’s tempting to push down hard on your sander to speed up the job, but excessive pressure is a major cause of sandpaper tearing. Sanders are engineered to do the work through speed and vibration, not brute force. When you apply too much pressure, you increase friction and heat, both of which weaken the paper’s backing and adhesive.
Excessive pressure also causes uneven wear, where one section of the sandpaper takes on more stress than the rest. That uneven wear creates weak spots that eventually give way. Letting the sander’s motor and grit do the work, while you simply guide it across the surface, will extend the life of your sandpaper significantly.
Sometimes the problem isn’t the sandpaper at all. The sander itself may be contributing to the tearing, especially if it hasn’t had regular maintenance in a while.
The sanding pad is what the sandpaper sits on, and if that pad is cracked, warped, or has rough edges, it will chew through sheets quickly. A damaged pad creates friction points that don’t exist on a smooth, properly functioning pad. Over time, consistent use wears down even quality pads, especially on tools that get heavy use like a palm sander used for regular home repair projects.
Inspect your sanding pad regularly for signs of damage. If you notice chips, tears in the pad’s surface, or an uneven shape, it’s likely contributing to your sandpaper problems. Many sander models, including popular Ryobi and Bosch tools, allow you to order a replacement pad rather than buying an entirely new sander.
Hook-and-loop systems, often referred to as Velcro-style attachment, rely on tiny hooks gripping the loops on the back of the sandpaper. Over time and with repeated use, those hooks wear down and lose their grip strength. When the hook-and-loop surface weakens, the sandpaper can slide slightly during operation, and that movement creates the friction and stress that leads to tearing.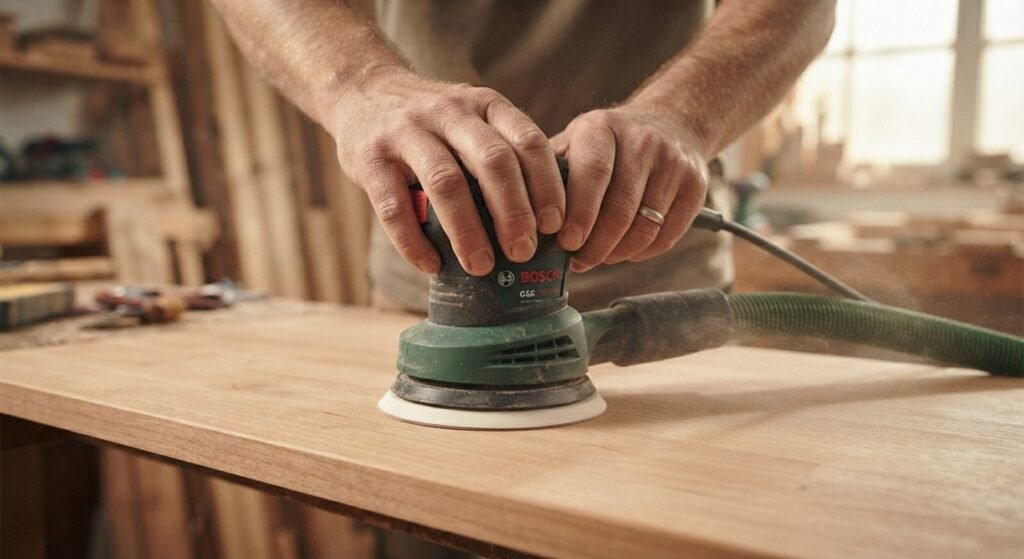
If you’ve noticed your sandpaper slipping more than it used to, even with new sheets, a worn hook-and-loop surface is a likely culprit. Unfortunately, this type of wear isn’t always something you can repair. In many cases, replacing the pad (which includes the hook-and-loop surface) is the most reliable fix.
Pad misalignment happens when the sanding pad isn’t seated correctly on the sander’s drive mechanism. This can occur after dropping the tool, after a repair, or simply from loosening screws over time due to vibration. A misaligned pad spins or moves unevenly, which puts inconsistent pressure on the sandpaper and causes it to rip in specific spots rather than wearing evenly.
If you suspect pad misalignment, check the screws or fasteners holding the pad in place and retighten them if needed. On some models, a technician or the manufacturer’s service center can help realign or replace the pad if tightening doesn’t solve the issue. Many sanders also come with a warranty that covers this kind of defect, so it’s worth checking your paperwork before attempting a DIY fix on a newer tool.
Now that you understand the common causes, here are practical ways to stop sandpaper from tearing during your projects:
Match the grit to the job. Use coarse grit for heavy material removal and finer grit for finishing work. Don’t force a delicate sheet to do a job meant for thicker paper.
Install the paper correctly every time. Take the extra thirty seconds to make sure the sheet is centered, pulled taut, and firmly attached, whether you’re using clamps or hook-and-loop.
Let the tool do the work. Avoid pressing down hard. A light, even touch combined with the sander’s natural motion will extend the life of your sandpaper and give you a smoother finish.
Reinforce the edges. Some home repair pros use a small strip of duct tape along the edges of the sandpaper sheet before installing it, especially on sheet sanders. This reinforces the area most prone to tearing where the clamp grips the paper.
Keep the sander clean. Dust and debris buildup on the pad or inside the sander can create friction points that damage sandpaper. Regular maintenance, including wiping down the pad and checking the dust collection system, keeps everything running smoothly.
Rotate or flip sheets when possible. On larger sheets used with sheet sanders, you can sometimes reposition the paper to use a fresh section once one area wears down, getting more use out of a single sheet.
Picking the correct sandpaper starts with knowing your sander type. Palm sanders and orbital sanders typically use square or rectangular sheets, often with hook-and-loop backing for quick changes. Sheet sanders use standard sheets of sandpaper that get clamped into place, while drum sanders require sandpaper sized specifically for the drum’s circumference.
Grit selection matters just as much as the shape. Coarse grit (40 to 60) works well for removing old finish or leveling rough wood. Medium grit (80 to 120) is ideal for general smoothing. Fine grit (150 and above) is best reserved for final finishing touches before staining or painting. If you’re learning how to sand reclaimed wood, you’ll likely move through all three grit ranges, starting coarse to remove old paint or grime, then progressing to finer grits for a smooth, ready-to-finish surface.
It’s also worth paying attention to the backing material. Paper-backed sandpaper is affordable and works fine for most household projects, but cloth-backed sandpaper offers more durability for heavier, more frequent use. If you find yourself replacing sandpaper constantly, upgrading to a higher quality sheet with a sturdier backing is often worth the extra cost.
A sanding pad doesn’t last forever, and knowing when to replace it can save you from a cycle of frustrating, torn sandpaper. Signs that it’s time for a new pad include visible cracks or chips, a hook-and-loop surface that no longer grips sandpaper securely, uneven wear patterns, or a pad that feels loose or wobbly when attached to the sander.
Most sander manufacturers, including Ryobi and Bosch, sell replacement pads that are compatible with specific models. Replacing a worn pad is typically far cheaper than buying a new sander, and it often solves persistent tearing issues that no amount of careful installation can fix. If your sander is still under warranty, check with the manufacturer first, since pad defects are sometimes covered.
Beyond the specific causes already covered, a few general habits tend to shorten the lifespan of sandpaper and lead to frustrating tears:
Skipping the inspection step before each use is a common mistake. Taking a few seconds to inspect both the sandpaper and the pad before starting can catch small issues before they turn into bigger problems.
Using the same sheet for too long is another frequent error. Sandpaper dulls with use, and a dull sheet requires more pressure to be effective, which increases the likelihood of tearing. Changing sandpaper regularly, even before it looks visibly worn, keeps your sanding efficient and reduces strain on the material.
Ignoring the sander’s dust collection system also causes problems. A clogged dust port can lead to debris building up around the pad, creating rough patches that snag and rip sandpaper. Regular cleaning keeps everything moving smoothly.
Finally, many people underestimate the importance of using two sheets interchangeably on bigger projects, allowing one to cool down and reset while the other is in use. Heat buildup from continuous use softens adhesive and weakens backing faster than most people realize.
Sandpaper tearing on sanders is almost always a solvable problem once you understand the root cause. Whether it’s choosing the wrong grit, rushing the installation process, applying too much pressure, or working with a sander that needs a pad replacement, each issue has a straightforward fix. Taking the time to inspect your tool, use quality sandpaper suited to your project, and handle your sander with a light touch will extend the life of every sheet and make your sanding projects far less frustrating.
If you’re tackling a bigger project, like learning how to sand reclaimed wood, applying these troubleshooting tips from the start will save you both time and money. A little preparation goes a long way toward smoother results and fewer torn sheets.
Why does my sandpaper keep ripping on my palm sander?
Palm sanders often tear sandpaper due to a worn hook-and-loop surface, incorrect installation, or using a grit that doesn’t match the job. Check the pad for wear and make sure the sheet is firmly attached before sanding.
Can I repair a torn sheet of sandpaper instead of replacing it?
In some cases, a small piece of duct tape on the back of a torn sheet can extend its use for light tasks, but this is a temporary fix. For consistent results, replacing the sheet is the better option.
How often should I change the sandpaper on my sander?
Change sandpaper whenever it feels smooth to the touch, shows visible wear, or no longer removes material efficiently. Waiting too long to swap sheets increases the risk of tearing.
Does a higher grit number mean the sandpaper is more durable?
Not necessarily. Higher grit numbers refer to finer abrasives, which often have thinner backing meant for delicate finishing work rather than heavy-duty durability.
Why does my Ryobi sander tear sandpaper more than my old sander did?
This usually points to a pad issue rather than the brand itself. Check for pad misalignment, wear on the hook-and-loop surface, or buildup of dust and debris that could be affecting grip.
Is it normal for sandpaper to slip even when properly installed?
Slight slipping is often a sign that the hook-and-loop surface is worn or the clamp mechanism isn’t holding the sheet tightly enough. Inspect your sander’s attachment system if slipping continues.
What’s the best way to extend the life of my sandpaper?
Use the correct grit for your task, avoid pressing down too hard, keep your sander clean, and inspect both the sandpaper and sanding pad regularly for signs of wear.