Physical Address
304 North Cardinal St.
Dorchester Center, MA 02124
Physical Address
304 North Cardinal St.
Dorchester Center, MA 02124

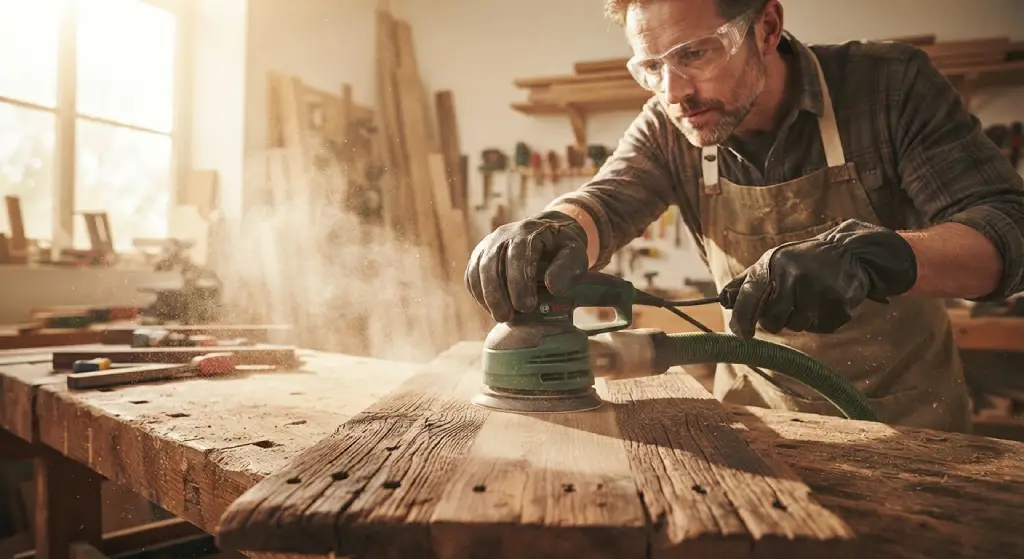
There’s something special about working with reclaimed wood. Every plank carries a history, from the nail holes to the weathered grain that no new lumber can replicate. But before that old barn wood becomes a stunning accent wall or coffee table, it needs proper care, and that starts with learning how to sand reclaimed wood the right way.
Unlike fresh lumber from the mill, reclaimed wood often comes with hidden dangers like old nails, loose screws, and decades of grime. Rushing through the sanding process can damage both your tools and the wood’s natural beauty. This step-by-step guide walks you through everything you need to know, from inspecting your wood for hidden metal to choosing the right grit for a smooth, professional finish.
Whether you’re a hobbyist building smaller projects or working toward a full flooring installation, these easy steps will help you sand and finish reclaimed wood while keeping its rustic character intact.
Reclaimed wood is lumber that’s been salvaged from old structures like barns, warehouses, and factories, then repurposed for new projects. This timber often comes from old barn wood, shipping pallets, or demolished buildings, and it carries decades of weathering, old paint, and natural patina that new wood simply can’t match.
Many woodworkers prefer reclaimed materials because of the story each piece tells. The knots, saw marks, and weathered surface of the wood give furniture and flooring a character that mass-produced lumber lacks. Using reclaimed wood is also a more sustainable choice, since it reduces the demand for freshly cut timber.
That said, reclaimed barnwood isn’t ready to use straight out of the pile. It needs careful cleaning, inspection, and sanding before it’s safe and suitable for your project.
Sanding reclaimed wood helps remove old finishes, splinters, and rough patches while preserving the wood grain underneath. It also makes the wood safer to handle by smoothing out sharp edges and splintered sections that could cause injury.
Beyond safety, sanding reclaimed wood helps prepare the surface so your chosen finish, whether it’s tung oil, polyurethane, or a simple wax, can absorb evenly. Without proper sanding, finishes tend to look blotchy and wear unevenly over time.
Many professional woodworkers also sand lightly to maintain the patina rather than strip it away completely. The goal isn’t to make reclaimed wood look brand new. It’s to clean and smooth the surface just enough to make it functional while letting the wood’s natural beauty and history shine through.
Before you even think about turning on a sander, take time to inspect every piece of reclaimed wood closely. This step is often skipped by beginners, but it’s one of the most important parts of the entire process.
Old barn wood and barn board frequently contain embedded nails, screws, and other hidden metal that isn’t always visible to the naked eye. Running a sander over a hidden nail can ruin your sandpaper, damage your equipment, or even cause a dangerous kickback.
Use a metal detector to locate any embedded hardware before you begin. A simple handheld metal detector made for woodworking can save you time, money, and a trip to the emergency room. Once you find hidden metal, use a plier or hammer to carefully remove it without splitting the wood.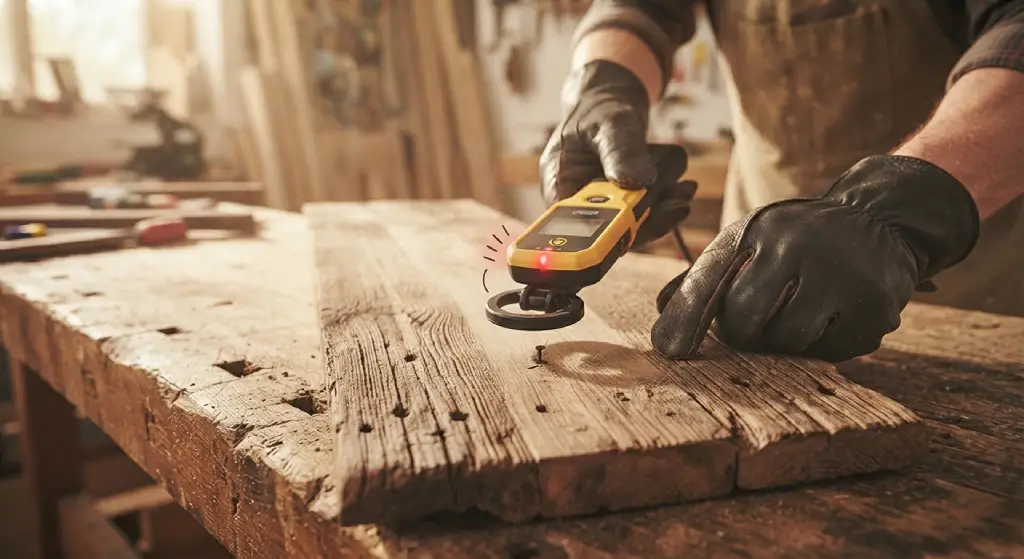
Reclaimed wood that’s been sitting in an old barn or outdoors for years may have suffered from moisture damage, pests, or general wear. Inspect each plank for soft spots, rot, or deep cracks that could compromise the wood’s structural integrity.
Press firmly on different sections of the board. If it feels soft or crumbly, that section may not be salvageable. Loose boards or warped planks should be set aside, since sanding won’t fix structural problems. For smaller projects like picture frames or shelves, you can often cut around damaged sections and still use the solid parts of the plank.
Having the right tools on hand makes the entire sanding process smoother and safer. Here’s what you’ll need before getting started.
You’ll need a range of sandpaper grits to properly sand reclaimed wood, starting coarse and working toward fine. A belt sander works well for larger pieces like flooring planks, while an orbital sander is better suited for furniture pieces and smaller projects. For tight corners or detailed work, hand sanding with a sanding block gives you more control.
A hand plane can also come in handy for leveling uneven boards before sanding, especially if you’re working with old barn wood that’s warped slightly over time.
Reclaimed wood can harbor old paint (sometimes lead-based in older structures), mold, and fine dust that’s harmful to breathe in. Always wear a dust mask or respirator, safety glasses, and work gloves to protect yourself from splinters and debris.
Good ventilation is essential too. If you’re working indoors, open windows or use a fan to keep dust from settling in enclosed spaces. Making it safe for yourself should always come before making progress on the project.
Preparation makes a significant difference in how smoothly the sanding process goes. Skipping prep work often leads to clogged sandpaper and uneven results.
Once you’ve located hidden metal with a metal detector, remove every nail, screw, and piece of hardware you can find. Pliers work well for pulling nails, while a screwdriver or drill can back out old screws. Take your time here, since rushing can split or crack the wood, especially with old, dry timber.
Before sanding, clean the wood to remove loose dirt, cobwebs, and grime that’s built up over the years. Use a stiff brush to scrub the surface and knock loose debris out of cracks and grooves. For particularly dirty reclaimed barnwood, a mild wood cleaner mixed with a gallon of water and a stiff brush can help lift grime without damaging the surface.
If the wood is extremely dirty or has been stored outdoors, a light pressure wash can help, but be cautious. Too much pressure can damage soft or weathered wood, so keep the nozzle at a safe distance and use a lower setting. Always let the wood dry completely before moving on to sanding, since sanding wet wood clogs sandpaper and produces poor results.
Once your wood is clean, dry, and free of hardware, it’s time to start sanding. Working through the grits in order ensures an even, smooth finish without damaging the wood’s character.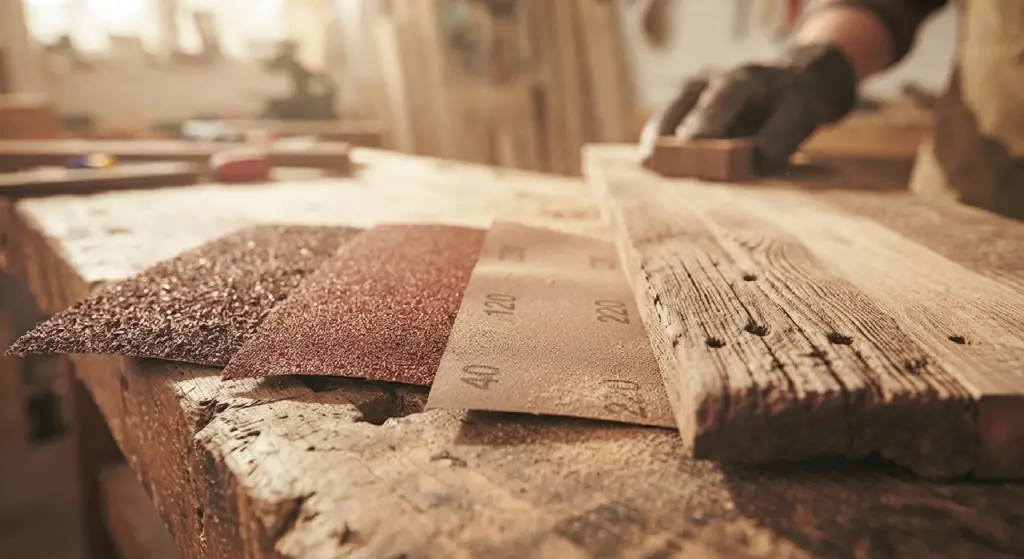
Begin with a coarse grit, somewhere between 40 and 60 grit, to remove old finishes, rough patches, and any remaining splinters. This stage removes as much of the old surface as needed to reveal fresh wood underneath, without going overboard and erasing all the character.
Sand in the direction of the grain to avoid scratches that run across the wood. Going against the grain can leave marks that are difficult to fix later, even with finer sandpaper.
After the coarse pass, switch to a medium grit, typically 80 to 120 grit. This step smooths out the scratches left by the coarse paper and starts to even out the surface of the wood. Take your time here, checking your progress by running your hand across the board to feel for rough spots.
The final pass uses fine grit sandpaper, usually 150 to 220 grit, to create a smooth, finished surface ready for your chosen finish. This stage brings out the natural beauty of the wood grain and prepares it to properly absorb oils, stains, or sealants.
Always sand lightly during this final stage. Fine grit sandpaper is meant to polish, not remove large amounts of material, so a gentle touch goes a long way.
One of the trickiest parts of working with reclaimed wood is finding the balance between smoothing the surface and preserving its natural patina. If your goal is a rustic look, sanding too aggressively can strip away the very features that make reclaimed wood desirable in the first place.
To keep the patina while still making the wood safe and usable, consider spot sanding only the areas that need it most, like splintered edges or especially rough patches. Leave the rest of the surface with its original texture intact. Hand sanding, rather than using a belt sander across the entire piece, gives you more control over how much character you remove.
Lighter grits, like 120 or higher, are generally safer choices if your priority is keeping the aged look. Save the coarse grits for areas with structural rough spots or old finishes that need to come off completely.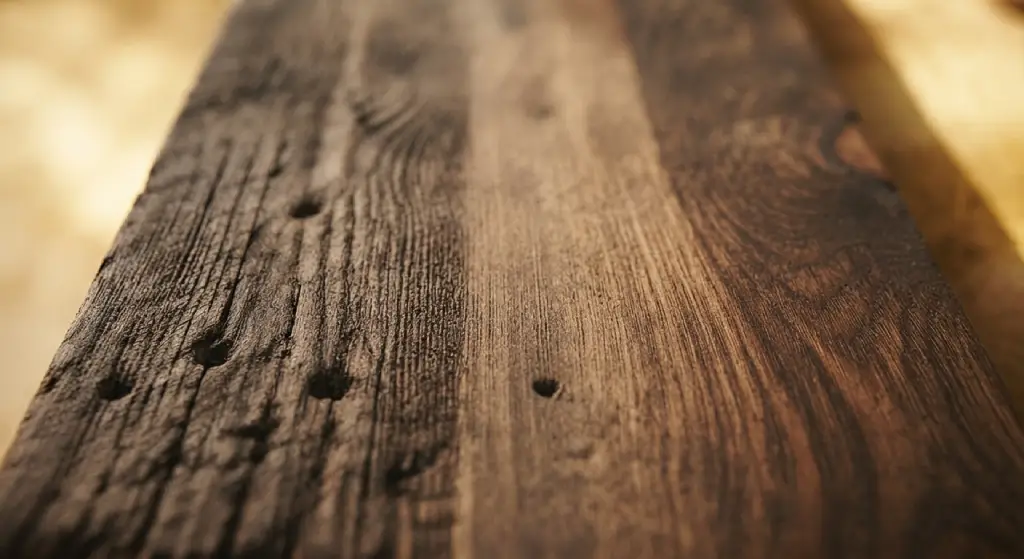
Many professional woodworkers recommend testing your approach on a small, hidden section first. This lets you see how much of the patina disappears with your chosen grit and sanding pressure before committing to the entire piece.
After sanding, the wood will be covered in fine dust that needs to be removed before applying any finish. Use a brush to scrub away loose dust, followed by a vacuum with a brush attachment to pull dust out of grain lines and crevices.
A slightly damp cloth can help pick up any remaining fine particles, but avoid soaking the wood. Let it dry completely before moving forward, since any trapped moisture can interfere with how well your finish adheres.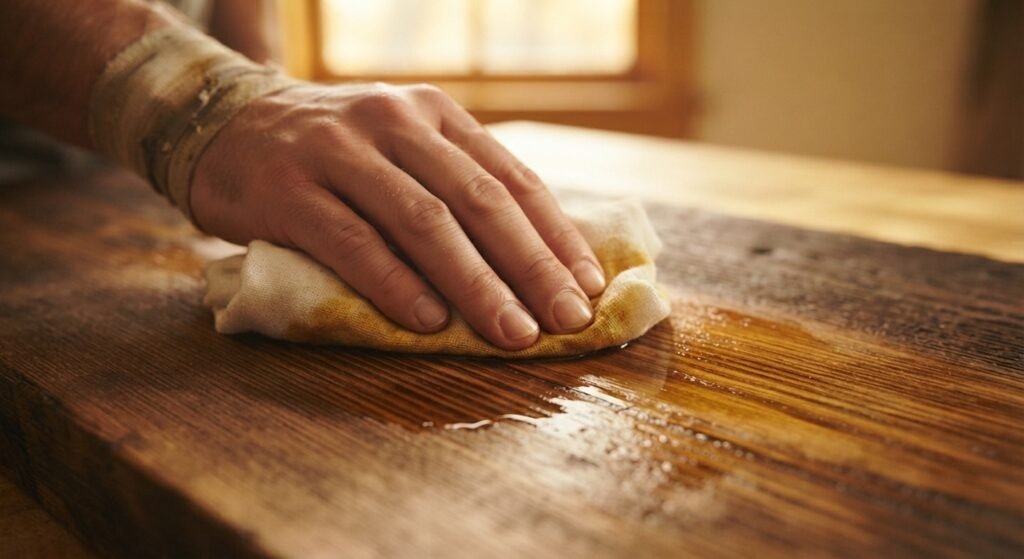
Once the wood is clean and dry, you’re ready to apply your chosen finish. Tung oil is a popular option for bringing out the wood grain while deepening the color naturally. For floor projects or pieces that’ll see heavy use, polyurethane in a satin finish offers durability while still looking natural. Whatever finish you choose, apply it evenly and let it dry fully between coats, sanding lightly between coats with fine grit paper for the smoothest final result.
Even experienced woodworkers can run into trouble when sanding reclaimed wood. Here are a few mistakes worth avoiding.
Skipping the metal detector step is one of the most common and costly errors. A single hidden nail can ruin an expensive sanding belt or damage your sander’s motor.
Sanding against the wood grain is another frequent mistake. It creates scratches that are difficult to remove, even with multiple passes of finer sandpaper.
Using harsh chemicals to clean reclaimed wood before sanding can also cause problems. Strong chemical cleaners can strip too much of the surface or react poorly with old finishes, so stick with mild wood cleaners and water whenever possible.
Finally, rushing through the grits, or skipping coarse and medium grits entirely, often leads to an uneven finish. Each grit stage serves a purpose, and skipping steps usually means redoing work later.
Learning how to sand reclaimed wood properly takes patience, but the results are worth it. From inspecting for hidden nails to working through each sandpaper grit, every step plays a role in creating a safe, smooth surface that still tells the story of where the wood came from.
Whether you’re building furniture, installing flooring, or creating an accent wall from old barn wood, taking the time to sand and finish reclaimed wood correctly makes all the difference in the finished product. Start with a small project to practice these techniques before tackling a larger piece, and you’ll develop a feel for how much sanding each type of reclaimed material needs.
Ready to start your next project? Grab your metal detector, sandpaper, and safety gear, and give that old timber the second life it deserves.
What grit sandpaper should I use first on reclaimed wood?
Start with a coarse grit between 40 and 60 to remove old finishes and rough patches. This prepares the surface for medium and fine grit sanding later in the process.
Can I sand reclaimed wood without removing its rustic look?
Yes. Spot sanding rough areas instead of the entire surface, along with using lighter grits like 120 or higher, helps preserve the wood’s natural patina and character.
Do I always need a metal detector before sanding reclaimed wood?
It’s highly recommended. Old barn wood and salvaged lumber often contain hidden nails and screws that can damage your sanding equipment or cause injury if missed.
What’s the best finish for reclaimed wood after sanding?
Tung oil works well for enhancing the wood grain and color, while polyurethane in a satin finish offers more durability for floors and high-use furniture pieces.
How do I clean reclaimed wood before sanding?
Use a stiff brush to scrub off loose dirt and debris, then wipe down with a mild wood cleaner mixed with water. Let the wood dry completely before sanding.
Is reclaimed wood safe to use indoors after sanding?
Yes, once it’s been properly inspected, cleaned, and sanded to remove old paint, splinters, and hidden hardware, reclaimed wood is safe for indoor furniture and flooring projects.
How long does it take to sand a piece of reclaimed wood?
This depends on the size and condition of the piece, but smaller projects can take a few hours, while larger items like flooring planks may take a full day or more when sanding through multiple grits.