Physical Address
304 North Cardinal St.
Dorchester Center, MA 02124
Physical Address
304 North Cardinal St.
Dorchester Center, MA 02124

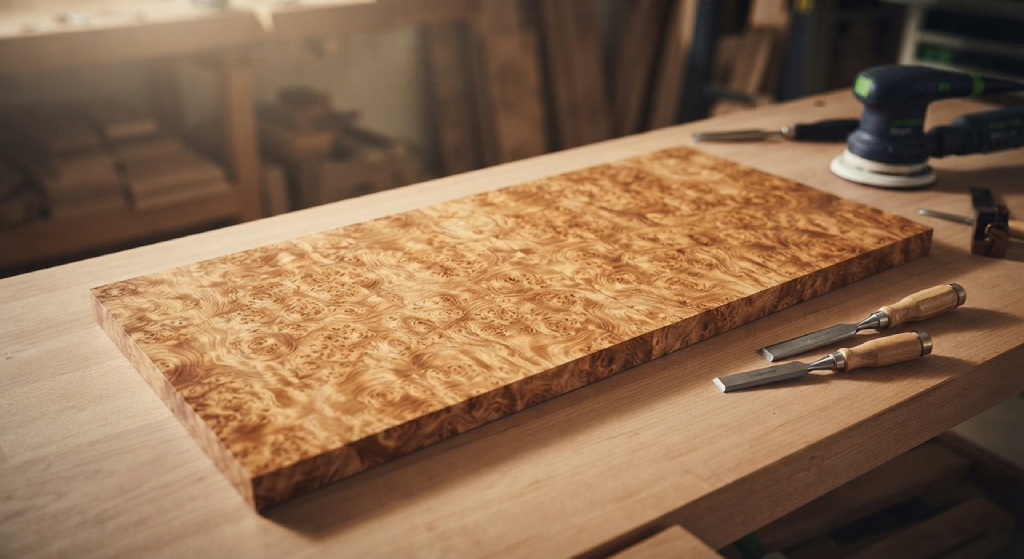
Few materials in woodworking turn heads quite like burl wood. Those swirling grain patterns, tight knots, and unpredictable figuring make every piece one of a kind. But that same wild character that makes burl wood so beautiful also makes it one of the trickiest surfaces to sand properly.
If you’ve ever tried sanding a maple burl slab or a chunk of redwood burl only to end up with uneven patches, tear-out, or a finish that looks cloudy instead of glossy, you’re not alone. Burl grain doesn’t behave like standard softwood or straight-grained hardwood. It grows in every direction at once, which means your sanding approach needs to change too.
This guide walks you through the entire process of how to sand burl wood, from understanding what makes burl grain so unique to choosing the right grit sandpaper, sanding around voids, and prepping the surface for a high gloss finish. Whether you’re working on a small burl veneer accent or a full coffee table slab, these steps will help you get a smooth finish that shows off the wood’s natural color and figure.
Burl wood forms when a tree experiences stress, injury, or infection, causing the grain to grow in tight, swirling clusters instead of straight lines. This unusual growth pattern is what gives burls their signature look, full of knots, eyes, and dense figuring that straight-grained lumber simply can’t match.
Maple burl and walnut burl are two of the most popular choices among woodworkers, prized for their rich colors and dramatic grain movement. Redwood burl is another favorite, especially for larger slabs and furniture pieces, thanks to its warm reddish tone and bold figuring. Because burl grain runs in so many directions within a single piece, sanding it evenly takes more patience than sanding a plain board.
This is also why burl veneer is such a common product. Since solid burl wood is rare, expensive, and often unstable, thin veneer sheets let woodworkers add that same striking figured wood look to furniture, boxes, and panels without needing an entire slab. Whether you’re working with solid burl or veneer, the sanding principles stay largely the same, though veneer requires a lighter touch to avoid sanding through the thin top layer.
Before you even pick up a piece of sandpaper, take time to inspect the wood. Burl pieces often come with bark inclusions, voids, cracks, or soft spots that need attention before sanding begins. Fill any deep cracks or holes with wood filler or epoxy resin, matching the color as closely as possible to the surrounding grain. Let the filler cure fully before moving forward, since sanding over wet filler will smear it into the open grain and create a mess.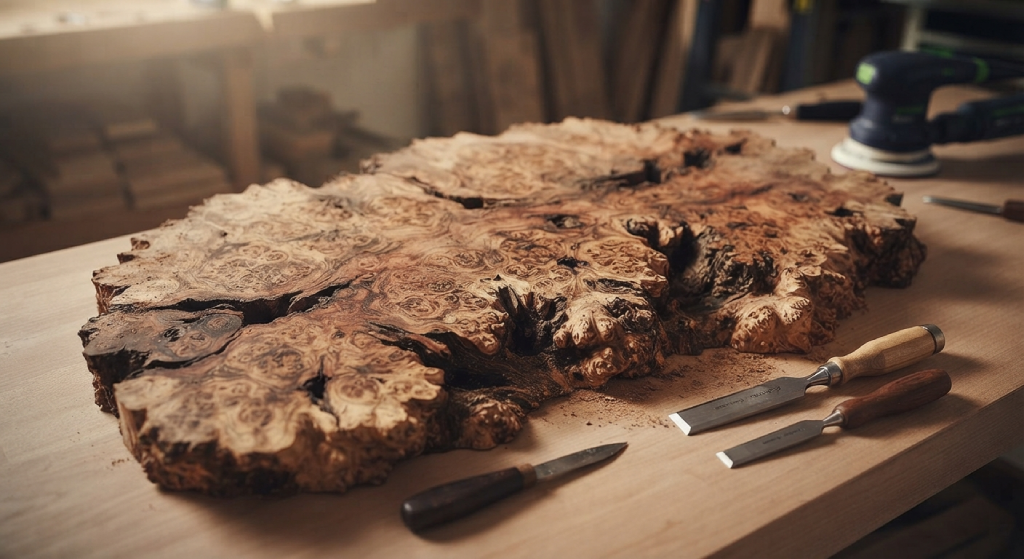
Once the wood is dry and any repairs have cured, wipe down the surface to remove loose debris, dust, or old finish residue. If you’re working with a piece that previously had a coat of varnish, polyurethane, or lacquer, you may need to strip it first. A dull scraper or a light pass with coarse grit sandpaper can help remove old finish without gouging the burl grain underneath.
Secure the piece firmly on a workbench, using clamps or a non-slip mat, since burl slabs are often irregular in shape and can shift while sanding. A stable surface makes it much easier to apply even pressure, which matters a lot given how unpredictable burl grain patterns can be.
Grit selection is one of the most important parts of learning how to sand burl wood. Because the grain shifts direction constantly, using the wrong grit sandpaper at the wrong stage can leave visible sanding scratches that are hard to remove later. Always sand in stages, moving from coarse to fine, and never skip grits by a wide margin. Jumping too far ahead, like going from 80 grit straight to 320, leaves scratches from the previous grit that will show through your finish.
Start with a coarse grit, typically between 60 and 100, if the burl surface is rough, uneven, or still has saw marks from milling. This stage levels out high spots and removes major imperfections. Move slowly and check your progress often, since burl wood can have soft and hard sections within inches of each other, and coarse grit can dig into softer areas faster than expected.
Once the surface is level, switch to a medium grit, usually somewhere between 120 and 220. This stage smooths out the scratches left by the coarse grit and starts to reveal the natural color and grain pattern hiding underneath. Many woodworkers consider 220 grit a solid stopping point before moving into finer paper, since it strikes a good balance between smoothness and prepping the wood to properly absorb stain or sealer.
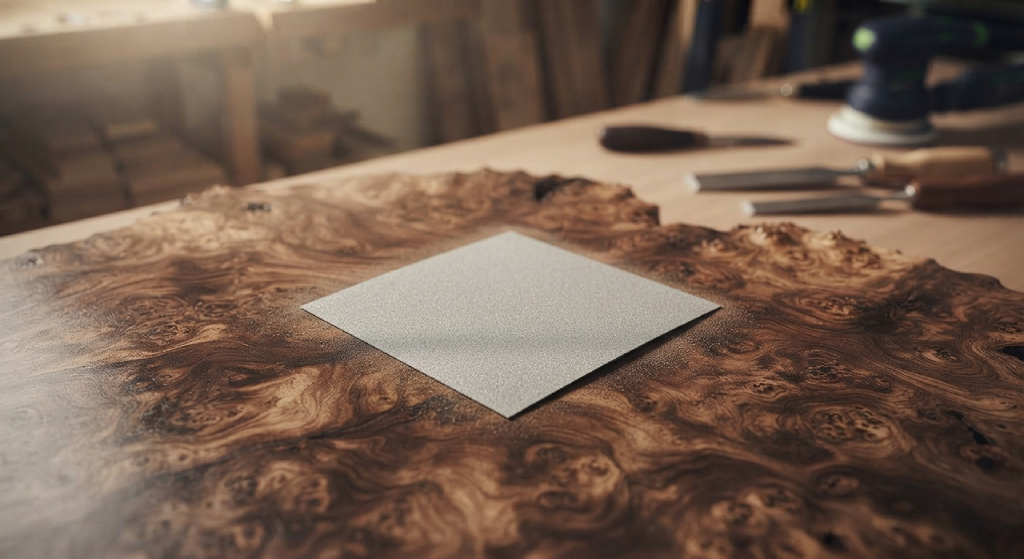
The final sanding stage uses fine grit paper, ranging from 320 up to 400 grit or higher, depending on how glossy you want the final finish to be. Fine grit sandpaper removes any remaining scratches and creates the smooth, almost polished feel that burl wood is known for. If you’re aiming for a high gloss finish, some woodworkers even go beyond 400 grit, sanding with 600 grit paper between coats of lacquer for an extra smooth, glass-like surface.
Once you’ve gathered your sandpaper in ascending grits, the actual sanding process follows a fairly consistent rhythm, even with burl’s unpredictable grain.
Begin with your coarse grit and work in small, overlapping sections rather than trying to cover the whole piece at once. Apply light, even pressure and check the surface frequently under good lighting to spot any low areas or missed spots. Burl grain doesn’t always let you sand with the grain in a traditional straight line, since the grain swirls and changes direction throughout the piece. Instead, follow the general flow of the grain pattern as best you can, adjusting your hand or sander angle as the figure shifts.
After the coarse pass, wipe away sanding dust and switch to your medium grit. Repeat the same overlapping motion, spending extra time on any areas where the wood grain is especially tight or figured, since these spots tend to hold onto marks longer. Move to your fine grit last, using lighter pressure since the goal now is polishing rather than removing material.
Throughout the entire process, thorough sanding at each stage matters more than rushing to the next grit. Skipping steps or moving too quickly through the grits is one of the most common mistakes woodworkers make with burl, and it almost always shows up once the finish is applied.
One of the biggest challenges in sanding burl wood is handling the natural voids, eyes, and swirling grain patterns that make burl so visually striking in the first place. These areas often sit lower or higher than the surrounding wood, which means standard flat sanding can either miss them entirely or sand them unevenly.
For small voids and eyes, a folded piece of sandpaper or a sanding sponge works better than a flat sanding block, since it can flex into the recessed areas without flattening the surrounding wood too much. Go slowly around these spots, checking often, since it’s easy to sand a void larger than it needs to be.
Swirling grain areas require extra attention because the direction of the wood fibers changes every inch or two. Sanding straight across these zones can cause the sandpaper to catch on raised grain, leading to small tear-outs. Light, circular motions with medium and fine grit sandpaper tend to work better in these figured wood sections than long straight strokes.
If a void is deep enough to expose gaps or cracks, this is often where wood filler or a clear epoxy pour comes in, applied before your final fine-grit sanding pass. Filling first and sanding after gives you a flush surface without disrupting the surrounding burl grain pattern.
Deciding between hand sanding and power sanding depends largely on the size of your burl piece and how much control you need. Power sanders, like random orbital sanders, cover ground quickly and work well for larger burl slabs, coffee table tops, or flat sections where speed matters. However, power sanders can be less forgiving on burl’s uneven, swirling grain, since it’s easy to remove too much material in one spot before you notice.
Hand sanding gives you more control, especially around voids, edges, and areas with tight figuring. 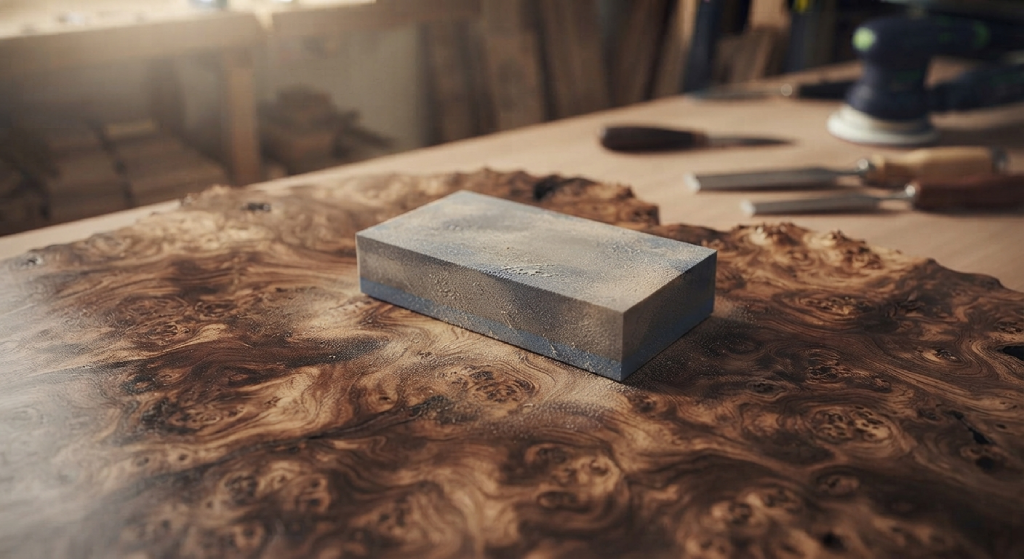 Many experienced woodworkers use a combination approach: power sand the flatter, more open grain sections to save time, then switch to hand sanding for detailed areas where the grain shifts direction or where voids and eyes need careful attention.
If you do use a power sander, keep it moving constantly and avoid letting it rest in one spot, since burl’s mix of hard and soft grain can lead to uneven sanding fast. Lower speed settings also help reduce the risk of burning the wood or creating swirl marks that are difficult to sand out later.
Dust removal isn’t just a cleanup step, it directly affects the quality of your sanding and finishing process. Sanding dust that gets trapped in the wood’s open grain or voids can interfere with how evenly your next grit sands, and it can also mix into stain or lacquer, leaving a cloudy or gritty texture in your finish.
After each sanding stage, use compressed air to blow dust out of tight voids, eyes, and grain lines, since these areas trap sanding dust more than flat surfaces. Follow up with a tack cloth or a slightly damp rag to pick up any remaining fine dust. Avoid using a heavily wet rag on bare wood, since excess moisture can raise the grain and create a rougher surface for your next sanding pass.
Taking a few extra minutes to remove dust thoroughly between each grit change makes a noticeable difference in the final smoothness of the wood, especially once you reach the fine grit stages leading into finishing.
Once your sanding is complete and the surface feels smooth to the touch, it’s time to think about wood finishing. Burl wood’s dense, swirling grain often has more open grain pockets than standard lumber, which means it tends to soak up finish unevenly if you’re not careful.
Many woodworkers start with a sanding sealer or a thin coat of shellac before applying their main finish. This step helps fill the open grain slightly and creates a more even surface for absorbing stain, oil, or topcoats. If you’re using an oil finish like tung oil or danish oil, apply it in thin coats, wiping away excess after a few minutes to avoid a sticky or uneven surface. Tung oil in particular tends to bring out the natural color of burl wood beautifully, deepening the figure without hiding it.
For a glossier look, lacquer is a popular choice for burl pieces, especially maple burl and redwood burl slabs used in furniture. Spray lacquer allows for thin, even coats that build up gradually into a high gloss finish. Apply light coats rather than thick ones, letting each layer dry fully before adding the next. Between coats of lacquer, a light pass with 400 grit or even 600 grit sandpaper helps smooth out any dust nibs or minor imperfections, setting up the surface for the next layer.
If you’re using varnish or polyurethane instead, the same principle applies: thin coats, adequate drying time between each one, and light sanding between layers using finer grits. Most finishing schedules call for at least two to three coats, sometimes more for a true glossy finish, with a final coat of paste wax or steel wool buffing to achieve a satin or high gloss sheen depending on your preference.
Once the finish has cured fully, which can take anywhere from a day to a couple of weeks depending on the product, a final buff with a soft cloth brings out the shine and highlights the burl grain pattern you worked so hard to reveal.
Sanding burl wood takes more patience than working with standard lumber, but the payoff is worth it. That unpredictable, swirling grain is exactly what makes burl pieces stand out, whether it’s a small burl veneer inlay or a full maple burl slab destined to become a coffee table. Moving through your grits in order, taking care around voids and figured areas, and prepping the surface properly before finishing all add up to a smoother, more professional result.
If you’re working on your first burl project, start small. A cutting board or a small box made from walnut or maple burl gives you a chance to practice sanding technique and finishing without the pressure of a large furniture piece. Once you’re comfortable with how burl grain behaves under sandpaper, tackling bigger projects like a redwood burl table becomes a lot less intimidating.
What grit sandpaper should I start with on burl wood?
Most burl wood projects start with a coarse grit between 60 and 100, depending on how rough the surface is. If the wood already has minimal saw marks, starting at 100 or even 120 grit may be enough.
Can I use a power sander on burl wood?
Yes, power sanders work well on larger, flatter sections of burl wood and can save significant time. For areas with voids, tight figuring, or edges, hand sanding usually offers more control and reduces the risk of removing too much material.
Why does my burl wood have uneven color after sanding?
Uneven color often comes from stopping at different grits across the surface or from sanding dust getting trapped in open grain areas. Sanding evenly through each grit stage and cleaning dust thoroughly between passes usually resolves this.
How do I fill voids in burl wood before finishing?
Deep voids and cracks are typically filled with wood filler or clear epoxy resin before the final sanding stages. Let the filler cure completely, then sand it flush with fine grit sandpaper so it blends smoothly with the surrounding burl grain.
What’s the best finish for burl wood?
It depends on the look you want. Tung oil and danish oil bring out natural color with a more subtle sheen, while lacquer and polyurethane offer a glossier, more built-up finish. Many woodworkers use a sanding sealer first regardless of which topcoat they choose.
Do I need to sand between coats of finish?
Yes, light sanding with fine grit paper, usually 320 to 400 grit, between coats of lacquer, varnish, or polyurethane helps remove dust nibs and creates a smoother surface for the next layer to bond to.
How long should I wait before buffing a finished burl piece?
Wait until the finish has cured fully, which can range from 24 hours to a couple of weeks depending on the product used. Buffing too early can smear or dull the surface instead of creating a glossy shine.