Physical Address
304 North Cardinal St.
Dorchester Center, MA 02124
Physical Address
304 North Cardinal St.
Dorchester Center, MA 02124

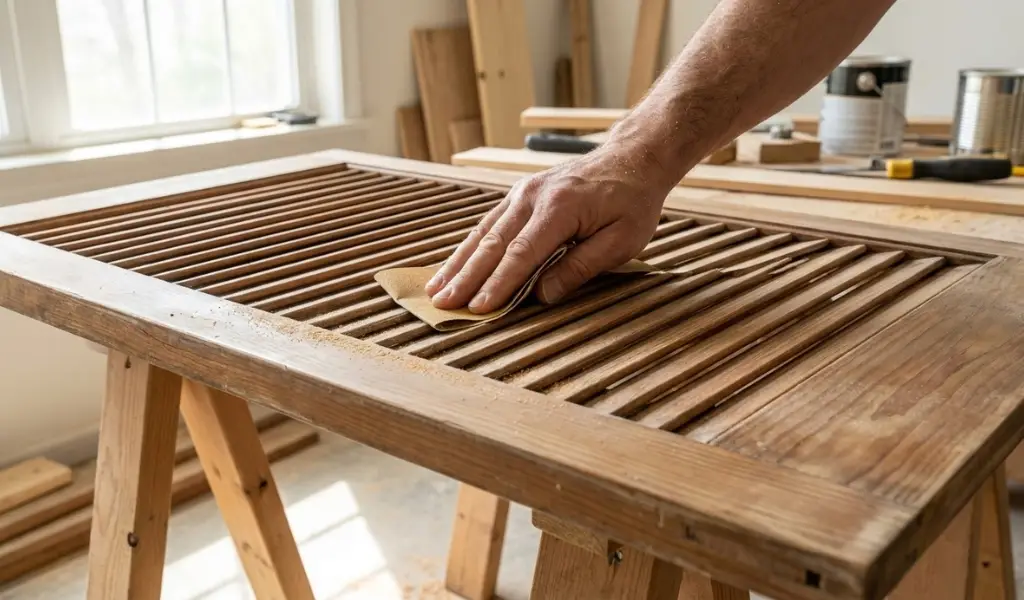
If you have ever stood in front of a louvered closet door with a piece of sandpaper in your hand, wondering where to even begin, you are not alone. Learning how to sand louvered doors is one of those small home projects that sounds simple until you actually start. Those narrow slats, tight corners, and fragile edges make a plain flat door look easy by comparison. This is The Complete Guide to Sanding Wood louvered doors the right way, without wasting hours or damaging the slats in the process.
Whether you are prepping an old louvered door for a fresh coat of paint, restoring a vintage shutter, or simply cleaning up a closet door before staining it, this guide walks you through every step. We will cover the right tools, the smartest techniques, and the small tricks that make painting louvered doors and closet doors so much easier once the sanding is done properly.
Louvered doors look charming on a closet or as a shutter on a window, but they were clearly not designed with sanding in mind. Anyone who has tried to prep a louver door for paint knows that the shape itself works against you.
Unlike a flat panel door where you can move a sanding block back and forth in long even strokes, a louvered door is made up of dozens of thin, angled slats packed close together. Each slat has two sides and two edges, and getting into that narrow gap between them takes patience. A standard sanding block simply will not fit, and a flat sheet of sandpaper folded the wrong way tears apart in minutes. Many people give up halfway through and end up with a closet door that has some slats smooth and others still rough with old paint. Working slowly and in small sections is really the only way to get even results across the whole surface of the doors.
The second challenge is that louver slats are thin, and thin wood breaks easily. Press too hard with an orbital sander or push a metal scraper at the wrong angle and you can crack a slat or round over an edge that should stay crisp. The corners where the slats meet the frame are especially delicate. If you scratch the surface too aggressively here, you end up with gouges that show right through the new paint. This is why hand sanding, and gentle hand sanding at that, is usually the safer route for louvered closet doors compared to power tools, especially on older or already brittle wood.
Before you touch a single slat, it helps to gather the right tools. Using the wrong ones is the fastest way to turn a weekend project into a multi weekend headache.
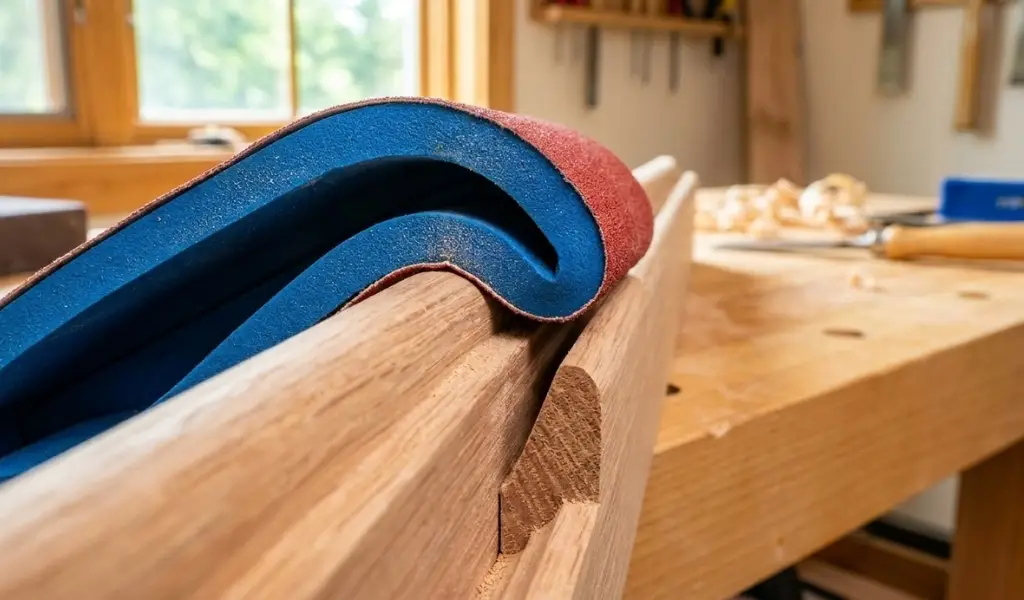
A profile sanding block, sometimes called a contour sanding grip, is shaped specifically to hug curved and angled surfaces. These are a lifesaver for louver doors because they let you sand both the flat part of the slat and the angled edge in one motion. Flexible sanding sponges are another great option since they bend around the slat shape without losing their grit. Keep a few grits on hand, something coarse like 100 grit sandpaper for stripping rough spots, and a finer grit for the smoothing pass before paint.
If your louvered door has years of old paint buildup, a small detail sander with a pointed or triangular head can speed things up considerably. These sanders are compact enough to slip between slats and reach corners that larger tools cannot touch. For doors with thick, flaking layers of old paint or varnish, a chemical stripper applied before sanding can soften the coating so it lifts away with far less scrubbing. This is especially useful on antique shutters or louvre doors where the paint has built up over decades.
You do not always need fancy tools. A regular sheet of sandpaper folded into a tight crease can slide into the narrow gap between slats and work almost like a shoeshine cloth, pulling back and forth to smooth both sides at once. Folding the paper into quarters also gives you a firmer edge for detail work around corners. This trick alone can save you money if you are working on a large painting project with several louvered closet doors to prep.
Getting the prep work right sets the tone for the entire painting process. Rushing this stage almost always shows up later in the finish.
Start by removing any doorknobs, hinges, or pulls, and setting the hardware aside somewhere safe. Take the door off its hinges and lay it flat on a pair of sawhorses or a workbench. Sanding a door while it hangs vertically is awkward and increases the chance of uneven pressure or missed spots. Working in a well ventilated work area is also important, especially once you start stripping old finishes, so open a window or move the project to a garage if possible.
If the door has thick, flaking paint or a heavy coat of old varnish, deal with that before you pick up any sandpaper. A chemical stripper or a heat gun can loosen stubborn layers so you are not fighting them with abrasives alone. Scrape gently with a plastic or soft metal scraper, always moving with the wood grain rather than against it. This step alone can cut your sanding time in half, because you are not trying to sand through thick paint one slat at a time. Once the bulk of the old paint is gone, wipe the door down and let it dry completely before moving on.
This is the heart of the project, and where most of your time will actually go. Louvered doors reward patience here more than speed.
Start at the top of the door and work your way down, one slat at a time. This keeps you from losing track of which slats you have already done, especially on a door with dozens of narrow louvers. Use your folded sandpaper or profile block to sand the top surface of each slat, then flip your angle slightly to catch the underside. Pay close attention to the wood fibers, sanding with the grain rather than across it to avoid leaving visible scratch marks once paint or stain goes on. For louver doors that will be painted rather than stained, you do not need to sand down to bare wood everywhere, just enough to knock down the shine and give the new paint something to grip onto. Lightly sand the frame around the slats as well so the whole door has a consistent, even finish before you start painting.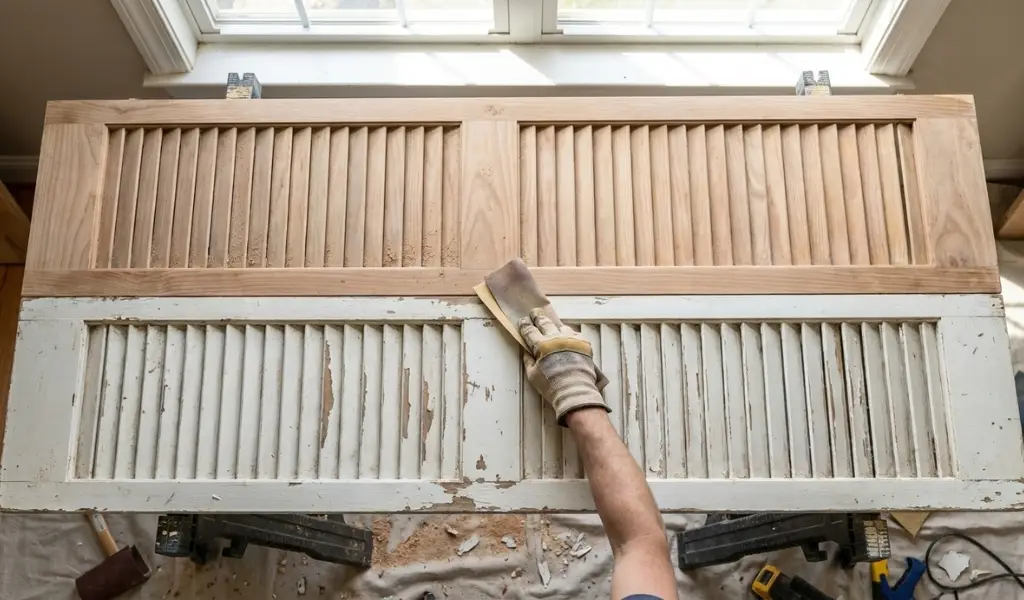
If you are restoring a shutter or a louvre style door that will be stained instead of painted, take a little more care here, since stain highlights every scratch and missed spot far more than paint does.
Once every slat has been sanded, the job is not quite finished. Skipping cleanup is one of the most common mistakes people make before painting louvered doors.
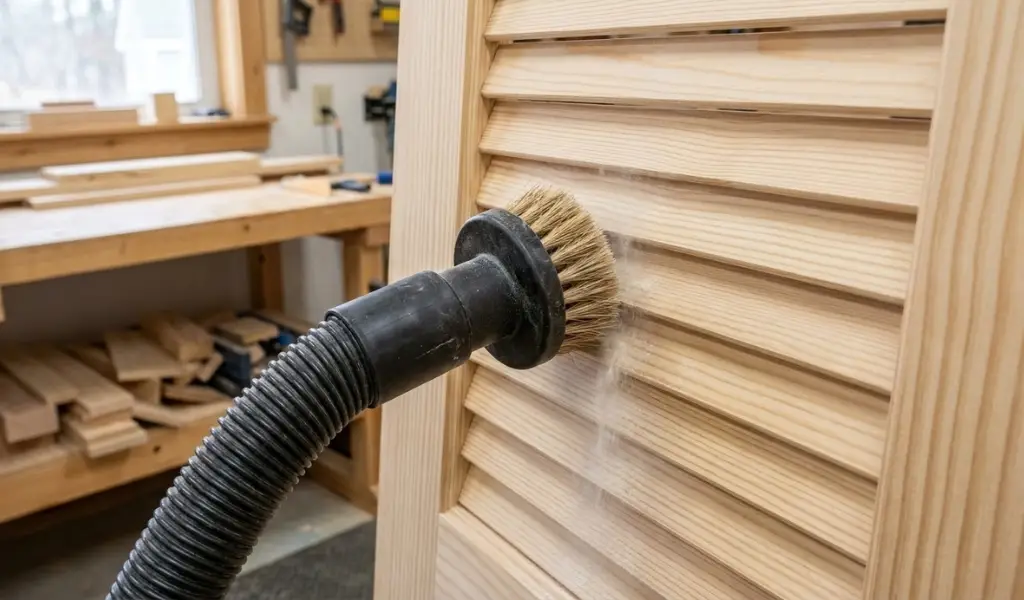
Sanding a louvered door kicks up a surprising amount of fine dust that settles into every groove and corner. Use a vacuum with a brush attachment to pull dust out from between the slats, since a dry cloth alone will not reach into those tight spaces. Follow up with a tack cloth or a slightly damp rag to catch anything left behind.
Let the door dry fully if you used a damp cloth, since any trapped moisture can affect how well the primer and paint adhere.
At this point the surface of the doors should feel smooth to the touch with no rough patches or leftover flecks of old paint. This is also a good time to check for any small cracks or gaps in the slats that might need a bit of wood filler before you start painting.
Once your louvered door is clean and smooth, the next decision is what kind of paint to use and how to apply it. This step matters just as much as the sanding itself when it comes to a professional looking result.
For most closet doors and interior shutters, latex paint is the easier choice. It dries faster, cleans up with water, and holds up well over time. Oil-based paint gives a slightly harder, more durable finish and is popular for doors that see heavy use, but it takes longer to dry and requires mineral spirits for cleanup. Either kind of paint can work well on louvered doors as long as you apply thin, even coats rather than thick ones that pool in the corners.
This is where louvered doors really test your patience if you choose the wrong tool. Painting the louvers with a paintbrush alone is possible, but it is slow and it is very easy to leave drip marks between the slats. Most experienced painters recommend using a paint sprayer for louvered closet doors because it coats every angle and gap evenly without pooling. A light, steady pass with the sprayer, held at a consistent distance, gives a smoother result than brushing every single slat by hand.
If you do not have access to a sprayer, cans of spray paint work reasonably well for smaller louver doors or shutters, though you may need several light coats to get full coverage. Whichever method you choose, always keep the sprayer or can moving to avoid a heavy first coat that runs before it dries.
Lay the door flat again for painting, just as you did for sanding. This keeps drips from running down the slats and pooling at the bottom. Apply a thin first coat and let it dry fully before adding a second. Two light coats almost always look better than one thick one. Between coats, a very light sanding with fine grit paper can smooth out any small bumps and help the next layer bond better. Wear a mask while spraying, especially in a closed work area, since paint fumes build up quickly in a small closet or garage space.
A lot of people tackling their first louvered door painting project underestimate how much time the sanding stage takes compared to the actual painting. Setting aside a full afternoon just for sanding and cleanup, then a separate day for priming and painting, tends to produce far better results than trying to rush through everything in one sitting. Doors and shutters with many slats, like bifold doors, benefit especially from this slower pace since there are simply more surfaces to prep.
Another practical tip is to number the doors or slats with painter’s tape before removing them, particularly if you are working on a full set of louvered closet doors. It is easy to mix up which door belonged where once they are all lying flat and unpainted.
Sanding louvered doors does take more patience than a flat panel door, but it is far from impossible once you have the right tools and a clear process. Start by removing hardware and taking the door down, strip any heavy old paint first, then work through each slat methodically from top to bottom using a profile block or folded sandpaper. Finish with a thorough dust removal before moving on to primer and paint. With a little care, your closet door or shutter will end up with a smooth, even surface ready for a fresh coat of paint that actually looks professional. Grab your sanding tools, clear out your work area, and give your louvered doors the update they deserve.
What grit sandpaper should I use on louvered doors?
Start with a coarser grit, around 100 grit sandpaper, if there is old paint or rough texture to remove, then switch to a finer grit for the final smoothing pass before painting.
Can I use an orbital sander on louvered closet doors?
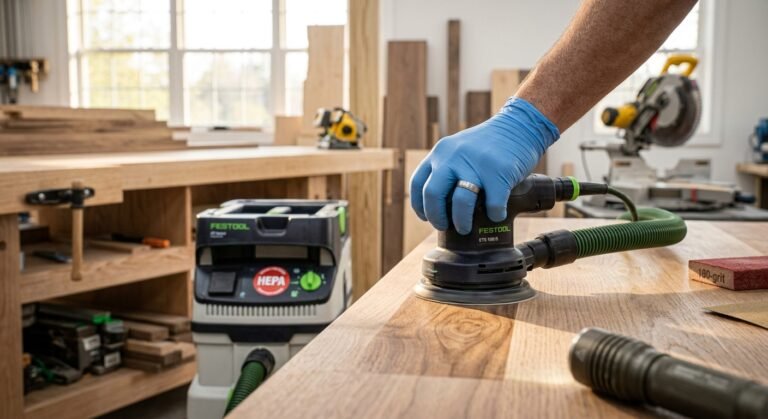
An orbital sander works well on the flat frame areas but is too bulky for the narrow slats. Save it for the border and use hand tools or a detail sander for the louvers themselves.
Do I need to remove all the old paint before repainting a louvered door?
Not always. If the old paint is intact and not flaking, a light sanding to rough up the surface is usually enough. Only fully strip the door if the paint is peeling or badly cracked.
Is it better to spray paint or brush paint louvered doors?
A paint sprayer generally gives a smoother, more even coat on louvered doors since it reaches every angle without leaving brush marks or drips between the slats.
How long should I let the first coat of paint dry before adding a second?
This depends on the paint, but most latex paints need at least two to four hours before a second coat, while oil-based paint may need closer to twenty four hours. Always check the product label for exact drying times.
Should I take the door off its hinges before sanding?
Yes, laying the door flat on sawhorses makes it much easier to sand and paint evenly, and reduces the risk of drips or missed spots compared to working on a hanging door.
How do I clean dust out of the slats before painting?
Use a vacuum with a brush attachment to remove dust from between the slats, then wipe the door down with a tack cloth or slightly damp rag before it fully dries and you begin priming.