Physical Address
304 North Cardinal St.
Dorchester Center, MA 02124
Physical Address
304 North Cardinal St.
Dorchester Center, MA 02124

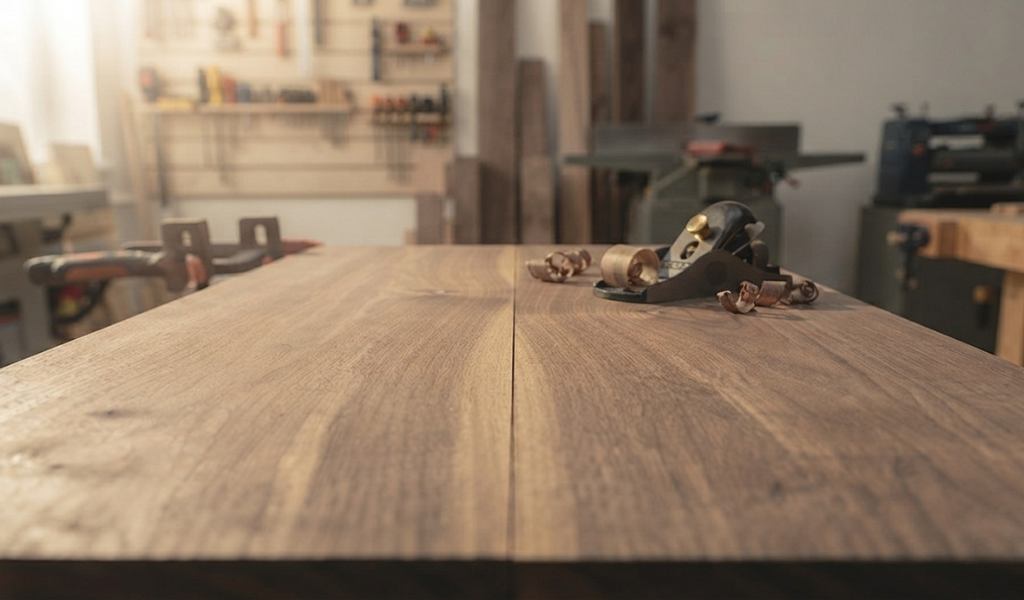
If you have ever run your hand across a tabletop and felt a tiny ridge where two boards meet, you already know why sanding wood joints flush matters so much. That small bump is the difference between a project that looks handmade in a good way and one that looks unfinished. Getting joints perfectly flush is one of those woodworking skills that separates a rough build from a piece you would be proud to put in your living room.
This is exactly what The Complete Guide to Sanding Wood is meant to help with. Whether you are gluing up a cutting board, fitting a dovetail drawer, or leveling a tabletop after a glue-up, the process of making everything sit flat and even comes down to a handful of reliable techniques. You do not need a workshop full of expensive machines to get there either. A block plane, some sandpaper, and a bit of patience will take you most of the way.
In this guide we will walk through why joints end up uneven in the first place, how to prep them before you even pick up sandpaper, which grits to use and when, and how to avoid the common mistakes that leave low spots, swirl marks, or damaged surrounding wood. By the end you will have a repeatable system for getting flush joints every time, with much less sanding than you are probably doing right now.
A flush joint simply means that two pieces of wood meet at the same plane with no step, ridge, or gap between them. Run your fingers over it and you should not feel where one board ends and the next begins. This matters for more than looks. A joint that is not flush catches dust, wears unevenly with use, and can even weaken over time because pressure is not distributed across the full surface.
Getting a joint flush is really the final step of joinery. The cutting, gluing, and clamping get you close, but sanding and planing are what bring everything into one continuous surface. This is especially true on projects where appearance matters most, like table tops and cutting boards, where every seam is visible and touched constantly.
Different joints behave differently once you start working them flush. Butt joints, where two flat edges meet, are usually the trickiest because there is nothing locking the pieces into alignment during glue-up, so slight misalignment is common. Dovetail joints interlock mechanically, which helps keep things aligned, but the end grain sections still need careful attention since they sand differently than the long grain around them. Box joints and finger joints behave similarly to dovetails in this respect. Edge-to-edge glue-ups, like those used for slabs and tabletops, are butt joints on a larger scale, and this is where most woodworkers spend the bulk of their flush trim work.
Good results start well before sandpaper ever touches wood. The old advice to dry fit first is not just a suggestion, it is the step that saves you the most work later. Assemble your joint without glue and check for gaps, twist, or height differences. If something is off, it is far easier to fix now than after the glue has set.
Once you are happy with the fit, pay close attention during the actual glue-up. Use bar clamps across the joint and check with a straightedge as you tighten them, because clamping pressure applied unevenly is one of the biggest causes of misalignment. A small step at this stage can turn into an hour of extra sanding later. Wipe away squeeze-out before it dries, since dried glue will gum up sandpaper and dull your planer blades fast.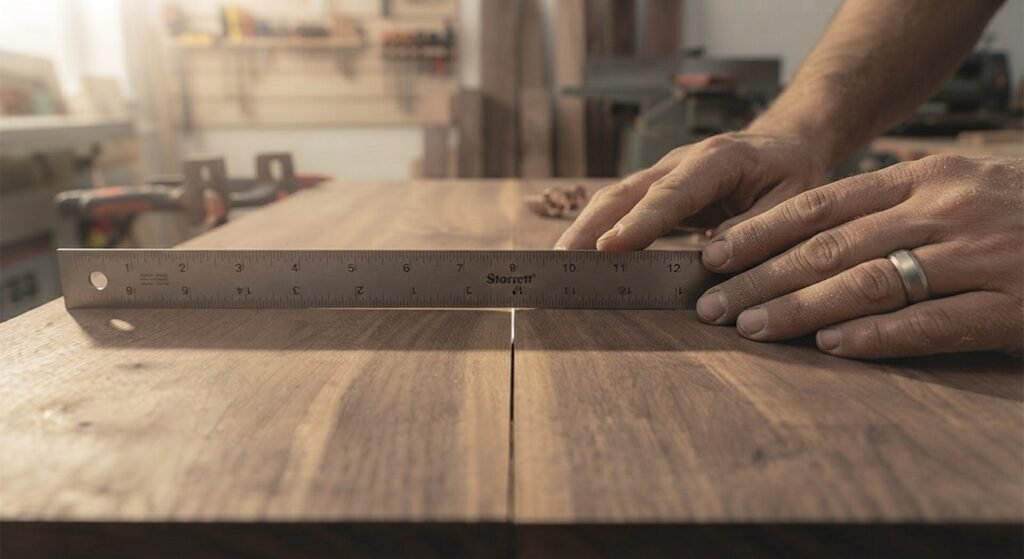
After the glue has cured, inspect the joint under raking light, meaning light coming across the surface at a low angle. This makes even tiny high spots and gaps obvious. Mark them lightly with a pencil so you know exactly where to focus your work instead of sanding the whole surface blind.
Grit selection is where a lot of woodworkers waste time, either by starting too fine and struggling to remove material, or starting too coarse and creating scratches that take forever to sand out. Matching the grit to the actual problem in front of you saves real time.
When a joint has a noticeable step, something in the 60 to 80 grit range is the right starting point. This coarse sandpaper cuts fast and removes material quickly, which is exactly what you need when one board sits proud of another. Just be careful, coarse grit removes wood fast in both directions, so keep the sanding block moving and check your progress often.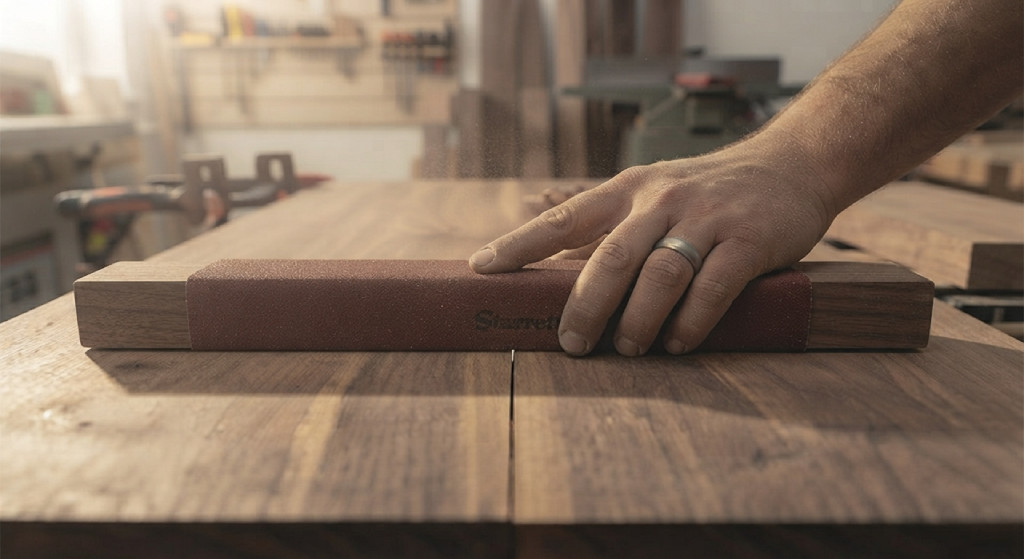
Once the joint is close to flat, step up to 100 to 120 grit. This is the leveling stage, where you are smoothing out the marks left by the coarse grit and bringing the whole area into one even plane. Most of your flush sanding work happens here, and it is worth taking your time at this stage since it sets up everything that follows.
The last pass should be 150 to 220 grit, sometimes finer if you are prepping for a film finish like lacquer. This stage is about finish sanding, not material removal. You are erasing the scratch pattern left by the medium grit so the surface feels smooth and takes stain or finish evenly across the joint line.
Start by identifying the high side of the joint using your straightedge or raking light. Focus your coarse grit sanding on that high area only, checking frequently so you do not overcorrect and create a new low spot on the other side.
Work in the direction of the wood grain whenever possible, since sanding across grain leaves scratches that are hard to remove later, especially noticeable on hardwood species like maple or walnut. On glue-ups involving different boards, grain direction can run differently from piece to piece, so in tricky spots a slight diagonal pass can help blend the transition before you switch to straight strokes with your final grit.
Once the joint reads flat to touch and to a straightedge, move to your medium grit and sand the entire area, not just the joint line, so the transition between old and new sanding blends seamlessly. Finish with your fine grit across the whole surface. This layered approach, working from coarse to fine while widening your sanding area each time, is what produces flush joints every time rather than a visible ring around the repaired spot.
A sanding block, whether store bought or just a block of wood wrapped in sandpaper, is one of the simplest tools for keeping joints flat. Hand sanding without a block lets your fingers apply uneven pressure, which can actually create small dips right at the joint line, the opposite of what you want.
A basic cork or rubber sanding block works fine for most jobs. For longer glue-ups like a tabletop, a longer block, even a piece of scrap plywood with sandpaper attached, helps bridge across the joint and keeps you from rocking into a low spot. This is a cheap trick that makes a real difference on wide panels.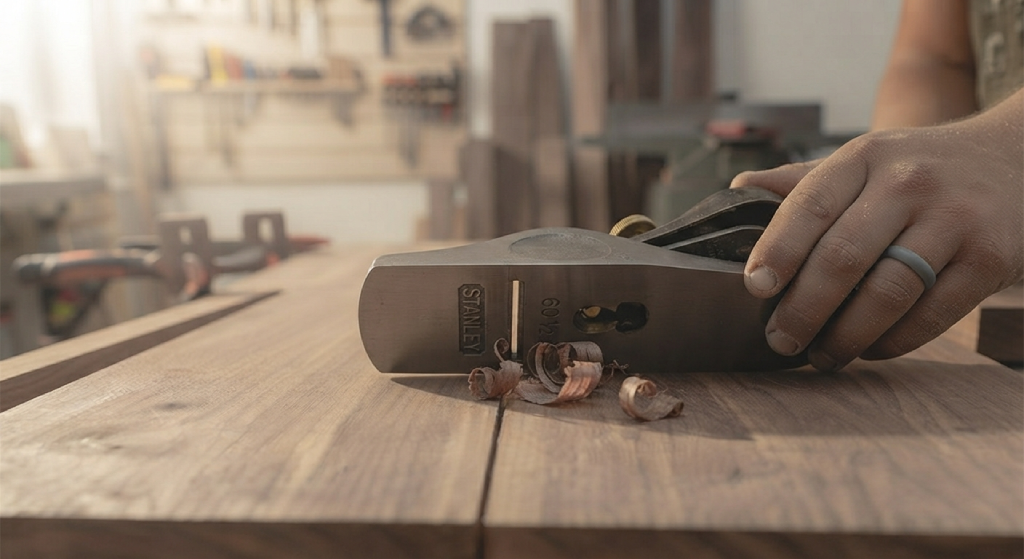
When using a sanding block, keep it flat against the surface and use long, even strokes rather than short scrubbing motions. Let the sandpaper do the work instead of pressing hard, since excess pressure loads the paper with dust and reduces how well it cuts.
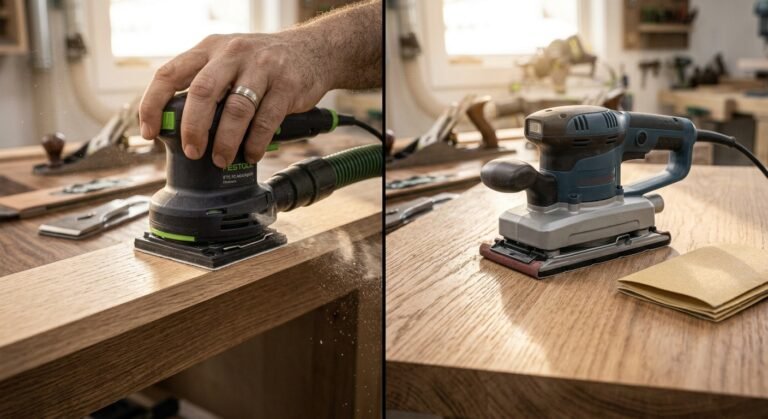
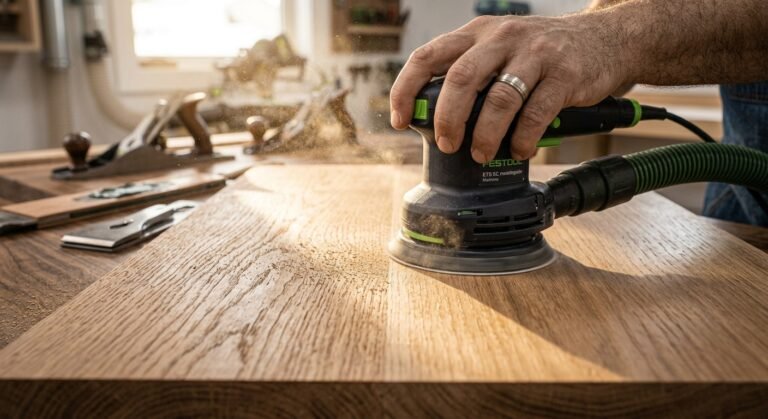
Power tools speed things up considerably, but they also make it easier to create problems if you are not careful. A random orbital sander is the go-to choice for most joint work because its swirling motion resists leaving visible scratch patterns, unlike a belt sander, which removes material aggressively and can dig a trench into a joint if you linger too long in one spot.
That said, a belt sander does have its place. On a large slab glue-up with a significant step between boards, a belt sander with 60 or 80 grit can level things quickly before you switch to a random orbital sander for refinement. Keep the sander moving at all times and let its own weight provide the pressure rather than pushing down on it.
A trim router fitted with a flush trim router bit is another option, particularly useful for trimming edge banding, inlay, or joint overhangs down close to the surface before sanding takes over for the final smoothing. This flush trim approach saves enormous time compared to sanding down a proud edge entirely by hand, since the router bit follows the surface below it and trims the excess in one or two passes. Just take light passes and watch for tearout, especially on figured or cross grain sections.
Even experienced woodworkers run into trouble at joints from time to time. Knowing what causes these issues makes them much easier to avoid.
It is easy to get tunnel vision on the joint itself and sand right through the surrounding finish or thin veneer nearby. When working close to an edge, thin section, or a previously finished area, use painter’s tape to mark boundaries and check your progress often. This is especially important on curved or shaped work where it is easy to lose track of your original surface line.
Pressing too hard is one of the most common mistakes, particularly with power sanders. Extra pressure does not necessarily mean faster results, it usually means uneven results, since it is nearly impossible to apply consistent pressure by hand over a large area. Let the tool and the grit do the work, and keep your motion steady and even.
Using a block that is too small for the job is another common issue. A tiny block concentrates pressure into a small area and can dig a hollow right at the joint. Match your block size to the joint length, and for long glue-ups, consider a longer sanding aid so pressure spreads across the whole seam rather than just the spot under your hand.
When a joint has a stubborn high spot that will not sand down evenly, a hand plane is often faster and more accurate than sandpaper. A low angle block plane is ideal here because its shallow cutting angle handles end grain and tricky joint areas without tearing out the fibers. Take thin, controlled passes and check frequently with a straightedge so you do not overshoot and create a dip on the other side.
Prevention really does beat correction when it comes to flush joints. Start every glue-up with boards that are already close in thickness, since a planer run before glue-up removes a lot of guesswork later. During clamping, alternate bar clamps above and below the workpiece to balance pressure and reduce the chance of the panel bowing or boards sliding out of alignment as you tighten.
Check your joint with a straightedge immediately after clamping, while the glue is still workable enough to make small adjustments. Once everything looks flat, let the glue cure fully before you start sanding. Sanding a joint that has not fully cured can smear glue into the wood grain, which then shows up as blotchy patches once you apply finish.
Also pay attention to how you support the workpiece while sanding. A wobbly or unsupported panel flexes under pressure, which throws off your sanding accuracy at the joint. A flat, solid workbench surface underneath your project makes a noticeable difference in how flat your final result turns out.
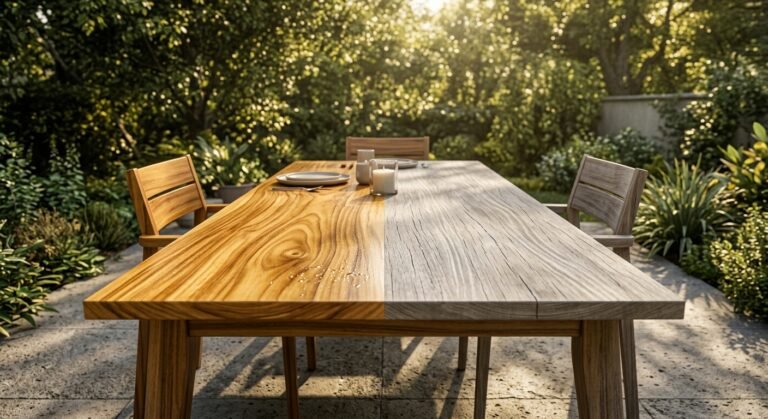
Once your joints are flush and the surface feels smooth under your hand, take a moment before moving to finish. Wipe the entire surface with a slightly damp cloth to raise the wood grain, then let it dry and give it one more light pass with your finest grit sandpaper. This step, often skipped, prevents the grain from rising unevenly once you apply stain or a water based finish, which would otherwise make the joint line reappear as a rough patch.
Check the whole surface one final time under raking light. This is your last chance to catch anything before finish goes on, and it only takes a minute. A little extra care here is what makes the difference between a joint that looks good in the shop and one that still looks flawless years later.
Sanding wood joints flush is not complicated once you understand the process, but it does reward patience and attention to detail. Good glue-up technique, the right grit progression, and the correct tool for each stage will get you flush joints every time with far less effort than starting with the wrong approach. Whether you rely on a hand plane, a sanding block, power tools, or a mix of all three, the goal stays the same, a surface that feels like one continuous piece of wood rather than several boards stuck together.
Next time you are working through a glue-up, slow down at the clamping stage and check your alignment before the glue sets. That single habit alone will save you more sanding time than any tool upgrade. Grab your sandpaper, start coarse, work your way to fine, and enjoy the satisfaction of a truly flush joint.
What grit sandpaper should I start with for an uneven wood joint?
Start with 60 to 80 grit if there is a visible step or ridge. This coarse grit removes material quickly. Once the joint is close to flat, move up to 100 to 120 grit before finishing with 150 to 220 grit.
Can I use a hand plane instead of sandpaper on joints?
Yes, and often a hand plane is faster for removing high spots. A low angle block plane works especially well on end grain and joint areas because it cuts cleanly without tearing the fibers.
Why does my joint still show a line after sanding?
This usually means the sanding did not extend far enough beyond the joint itself, or the grit progression was skipped. Widen your sanding area with each grit change and make sure you are not stopping at fine grit too soon after coarse grit work.
Is a random orbital sander better than a belt sander for joints?
For most finish work, yes, since it resists leaving visible scratch marks. A belt sander is useful for leveling large steps quickly but needs a light touch to avoid digging into the joint.
How do I stop sanding from creating a dip at the joint?
Use a sanding block that is longer than the problem area, and keep your strokes long and even rather than concentrated on one spot. Checking often with a straightedge helps you catch a dip before it becomes noticeable.
What is a flush trim router bit used for in joint work?
A flush trim router bit follows an existing surface and trims excess material down to match it. It is commonly used for edge banding, inlay work, or leveling a proud edge before final sanding takes over.
How long should I wait after glue-up before sanding a joint?
Follow the glue manufacturer’s cure time, typically 24 hours for a full cure, even if it feels dry to the touch sooner. Sanding too early can smear soft glue into the wood grain and cause blotching under finish.