Physical Address
304 North Cardinal St.
Dorchester Center, MA 02124
Physical Address
304 North Cardinal St.
Dorchester Center, MA 02124

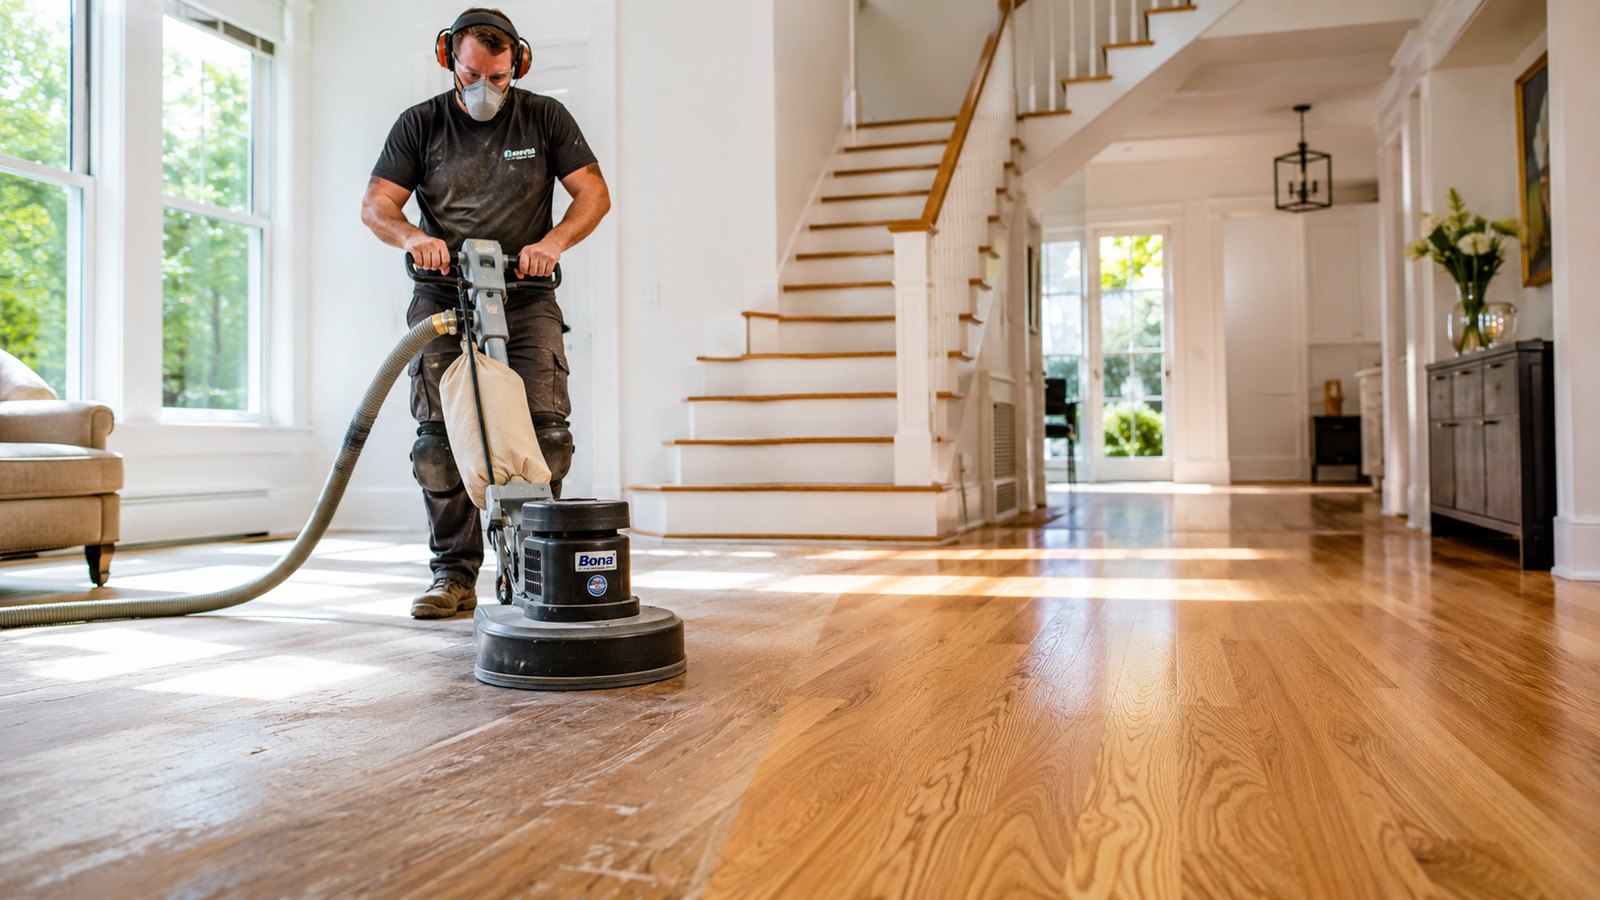
Hardwood floors are one of the most durable and timeless investments you can make in a home. But even the toughest wood floor takes a beating over the years. Scratches from furniture, stains from spills, and decades of foot traffic can turn a once-stunning floor into something dull and worn. That’s where the benefits of solid wood flooring sanding really shine. Floor sanding gives your hardwood a second life restoring its original beauty without the cost and hassle of full replacement.
Whether you have a Victorian parquet floor or wide-plank white oak, sanding and refinishing your hardwood floors is one of the most effective ways to refresh your home. If you’re serious about getting the most out of your equipment, we recommend starting with our ultimate guide to woodworking sanding techniques. This guide walks you through everything you need to know: what the sanding process involves, when to do it, how it protects your floors, and why it’s worth every penny.
Solid wood floor sanding is the process of removing the top layer of a hardwood floor using abrasive sandpaper and sanding machines. The goal is to strip away the old finish, remove surface imperfections, and expose fresh, clean wood underneath.
Unlike laminate flooring, solid wood floors can be sanded and refinished multiple times throughout their lifespan. This is one of the biggest advantages of choosing real hardwood in the first place. Sanding doesn’t just clean the surface it resets the floor entirely, giving you a smooth surface ready for a new coat of varnish, oil, or polyurethane.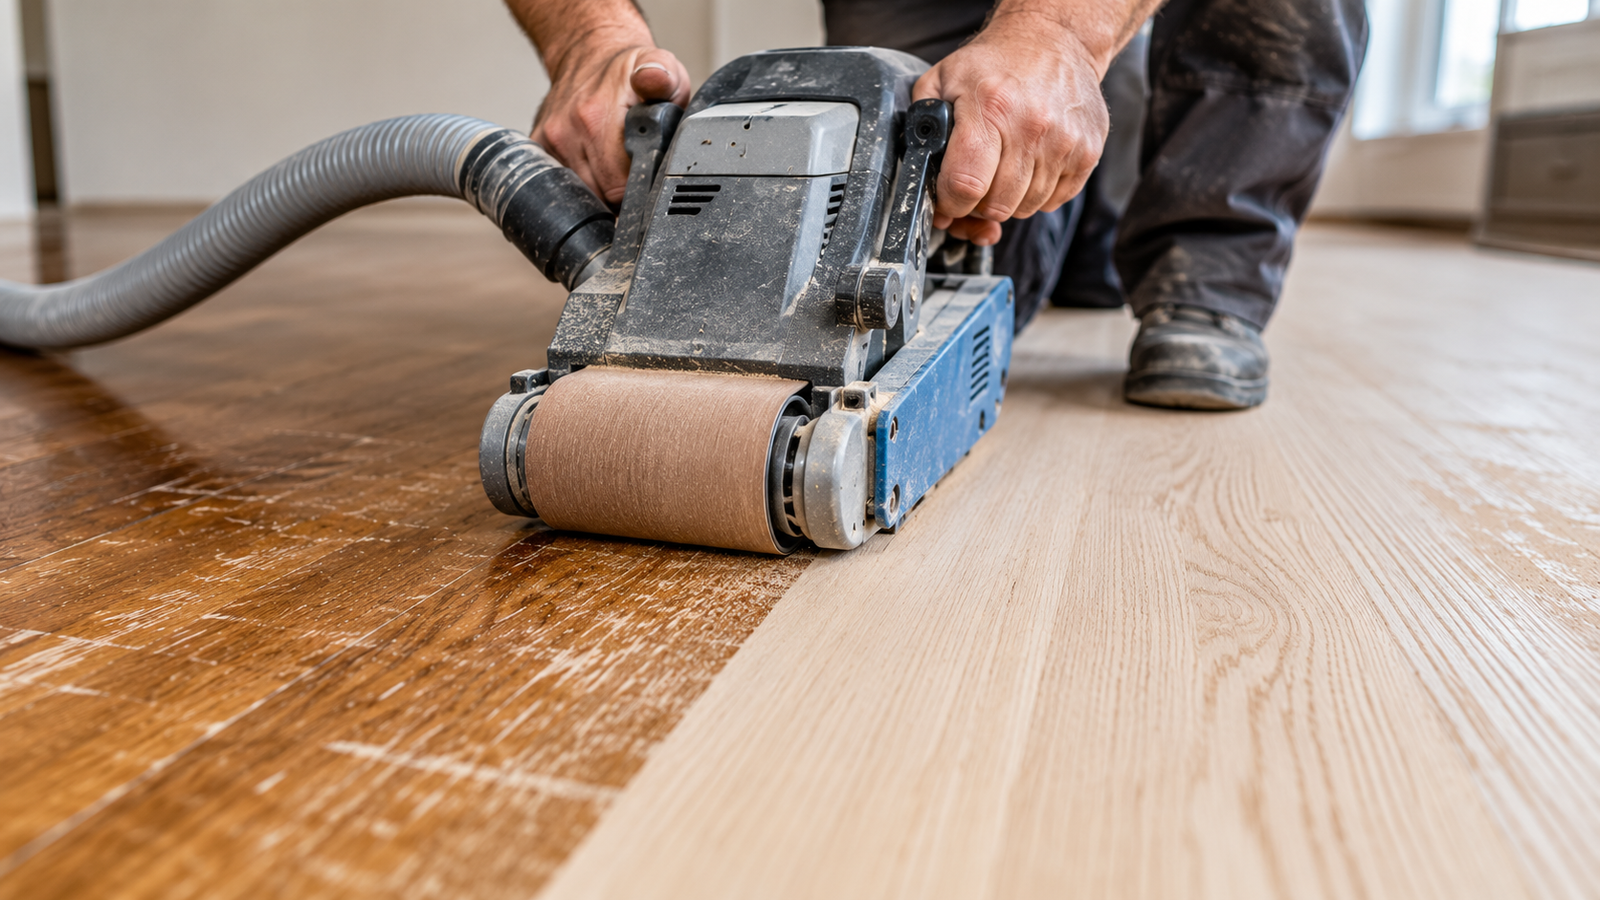
Parquet floors, wide-plank boards, and even older floorboards that have managed to survive decades of use can all benefit from the process. It’s a form of floor restoration that preserves the character of the wood while eliminating the damage life leaves behind.
The sanding process typically follows a sequence of steps, each designed to progressively smooth and prepare the wood surface.
First, the floor is assessed for nails, staples, or debris that could damage the sander. Then, a coarse-grit sandpaper is used to remove the old topcoat and any deep scratches or stains. From there, the grit gets progressively finer, with each pass creating a smoother surface without sanding marks.
Edges and corners are handled separately using an edge sander, since drum sanders can’t reach right up to the walls. Once the sanding is done, the floor is vacuumed and cleaned to remove all dust before any sealer or finish is applied.
Modern dustless sanding systems have made the process significantly cleaner than it used to be. Rather than leaving a place for dust to settle throughout the home, these machines capture most of the particles at the source a big improvement for households with children or allergy sufferers.
Knowing when to sand your floors is just as important as knowing how. Sanding too early wastes the wood’s thickness. Waiting too long can mean the damage has worked its way deeper into the wood than sanding can fix.
General signs that your floor is ready for sanding include visible scratches and dents, areas where the finish has worn away completely, grey or black staining from water damage, a floor that looks dull even after mopping, and boards that feel rough or uneven underfoot.
As a rule of thumb, most solid wood floors benefit from sanding every 10 to 15 years, depending on the level of foot traffic and how well they’ve been maintained between refinishes. Floors in high-traffic areas like hallways and kitchens may need attention sooner.
One of the most immediate and satisfying benefits of floor sanding is the visual improvement it delivers. Years of wear and tear build up in layers old varnish yellows, the wood darkens unevenly, and scratches catch the light in all the wrong ways. Sanding strips all of that back, revealing the rich grain and natural tones of the wood beneath.
After sanding, you also get the opportunity to stain the floor in a new color. Whether you want to go darker with a walnut stain, lighter with a white oil, or keep the wood’s natural look with a clear coat, the options are wide open. This level of customization is something you simply can’t get with any other flooring type.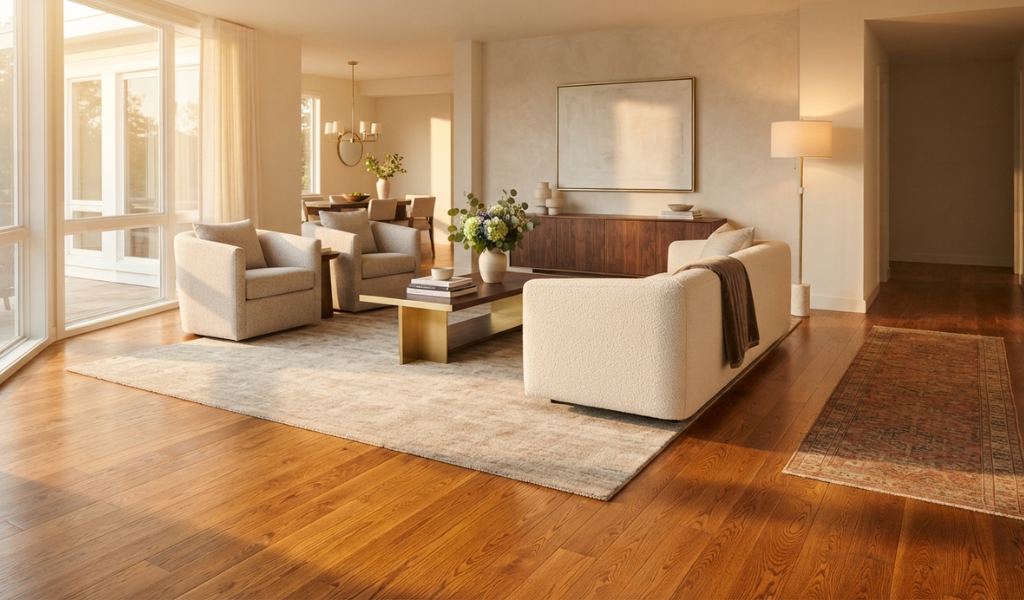
Everyday life is hard on floors. Pet claws, chair legs, dropped pots, and spilled wine all leave their mark. Some of these imperfections sit on the surface, while others bite deeper into the wood. Sanding is the most effective way to remove them entirely rather than just covering them up.
Deep scratches that polishing or buffing can’t fix are leveled out during the sanding process. Stains from water, ink, or oil that have penetrated the old finish are sanded away along with the top layer of wood. Cracks and splinters that catch on socks and bare feet are smoothed down so the surface feels safe and comfortable again.
Over time, floorboards can cup, warp slightly, or wear unevenly. High-traffic areas may sit lower than sections of the room that rarely get used. Sanding levels all of this out, creating a smooth surface that looks and feels consistent from one end of the room to the other.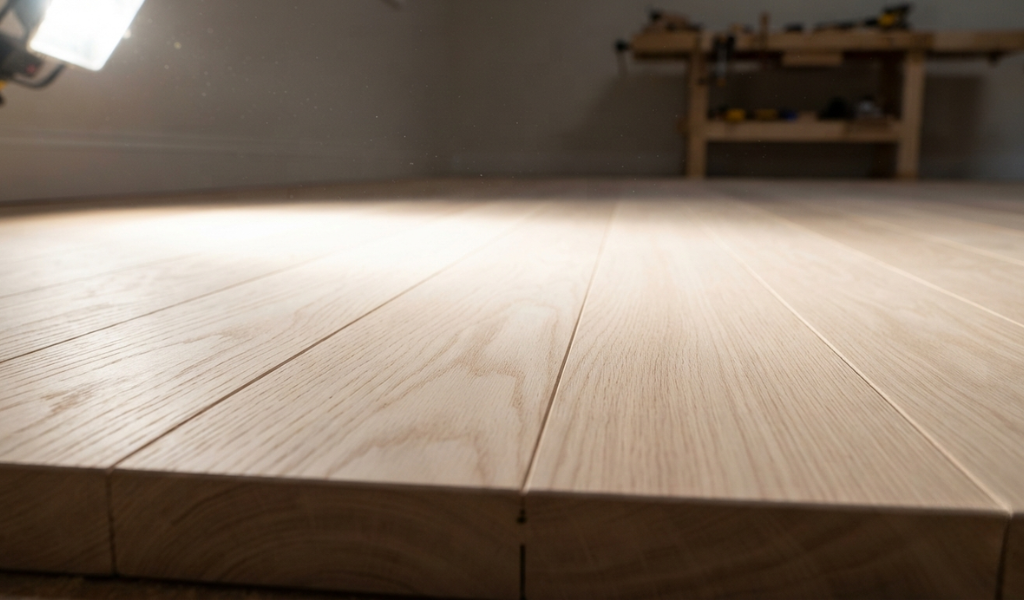
This evenness matters both aesthetically and practically. An uneven floor can cause furniture to rock, rugs to bunch, and creates a generally unkempt appearance regardless of how clean the rest of the room is.
Solid hardwood floors have been known to last 300 years and count when properly maintained. Sanding plays a central role in that longevity. By removing worn finish and renewing the protective coating, you’re actively extending the life of your floor with each refinish cycle.
This is one of the key benefits that sets solid wood apart from laminate or engineered flooring. Laminate can’t be sanded at all. Engineered wood has a veneer top layer that allows for only one or two light sandings. Solid hardwood, depending on the thickness of the floor, can typically be sanded at least 10 times over its lifetime.
As the finish on a hardwood floor wears away, the bare wood underneath becomes exposed to everything that lands on it dirt, moisture, cleaning products, and physical impact. Without that protective layer, the wood itself starts to absorb damage that goes far beyond cosmetic.
Sanding removes what remains of the old, degraded finish so a fresh, properly bonded coat can be applied. The result is a floor that’s better protected than it was before the process started.
Applying a new topcoat over an old, worn finish doesn’t work well. The new product doesn’t bond properly, and you end up with peeling or uneven results. Sanding gives the wood a clean, open surface that absorbs the new sealer evenly and bonds correctly.
After sanding, you can choose from a range of finish options: polyurethane for maximum durability, hard wax oil for a more natural look, or water-based varnish for a quick-drying, low-odor option. Each protective coating performs best when applied over properly sanded wood.
Without a protective coating, wood is porous. It absorbs moisture from spills, humidity, and mopping, which can cause the boards to swell, stain, or develop mold over time. Dirt and grit also work their way into unfinished wood, creating a place for bacteria to settle.
A freshly sanded and sealed floor creates a barrier that repels water, makes it easy to clean, and keeps the wood from absorbing contaminants. Floors that are regularly maintained this way stay healthier and last significantly longer.
Replacing a hardwood floor is an expensive undertaking. Depending on the size of the space, materials alone can run into the thousands of dollars and that’s before labor, removal of the old floor, and disposal costs. Sanding and refinishing your hardwood floors, on the other hand, is a fraction of that price.
For a 1,000 sq ft floor, professional refinishing typically costs between $1,000 and $2,500 depending on the condition of the floor and local rates. Full replacement of the same area with comparable hardwood could cost three to five times that amount. The financial case for sanding is hard to argue with.
Real estate agents consistently list hardwood flooring as one of the top features buyers look for. Floors that look good, smooth, clean, and well-maintained create an immediate positive impression that can influence both the speed of a sale and the final price.
A freshly sanded and refinished floor signals to buyers that the home has been properly cared for. It removes an item from their mental list of things that need fixing, making the home more move-in ready and therefore more attractive. In competitive markets, that can make a real difference.
Keeping your floors sanded and sealed on a regular schedule prevents the kind of deep, structural damage that becomes expensive to fix. Water damage that reaches the subfloor, warping that requires board replacement, and staining that can’t be removed without major intervention all of these are largely avoidable with consistent maintenance.
Sanding is a great way to stay ahead of the curve. Small investments in floor restoration every decade or so protect you from much larger repair bills down the road.
Old hardwood floors, especially ones with worn finishes or gaps between boards, can trap dust, pet dander, pollen, and other allergens in cracks and splinters. Regular mopping and vacuuming can remove surface debris, but the particles embedded in rough or damaged wood are much harder to reach.
Sanding removes the top layer of wood entirely, along with everything trapped in it. The smooth surface left behind gives dust and allergens far fewer places to settle and accumulate.
There’s a direct link between floor condition and indoor air quality. Floors which have managed to trap years of dust, mold spores, or pet dander can release those particles back into the air during everyday activity walking, vacuuming, or simply moving around the room.
After sanding and sealing, the floor is smooth and non-porous. It’s much easier to clean your floors thoroughly, and there are fewer hidden reservoirs of contaminants affecting the air you breathe at home.
A sealed, smooth wood floor is one of the most hygienic flooring options available. Spills wipe up cleanly, dirt doesn’t sink into the surface, and the floor can be sanitized without worrying about water damage. For homes with young children, pets, or anyone with respiratory conditions, this is a meaningful practical benefit.
Successful floor sanding starts with choosing the right sequence of sandpaper grits. Most jobs begin with a coarse grit typically 36 or 40 to remove the old finish and any major imperfections. From there, the process moves through progressively finer grits, such as 60, 80, and 100, until the surface is smooth and ready for finishing.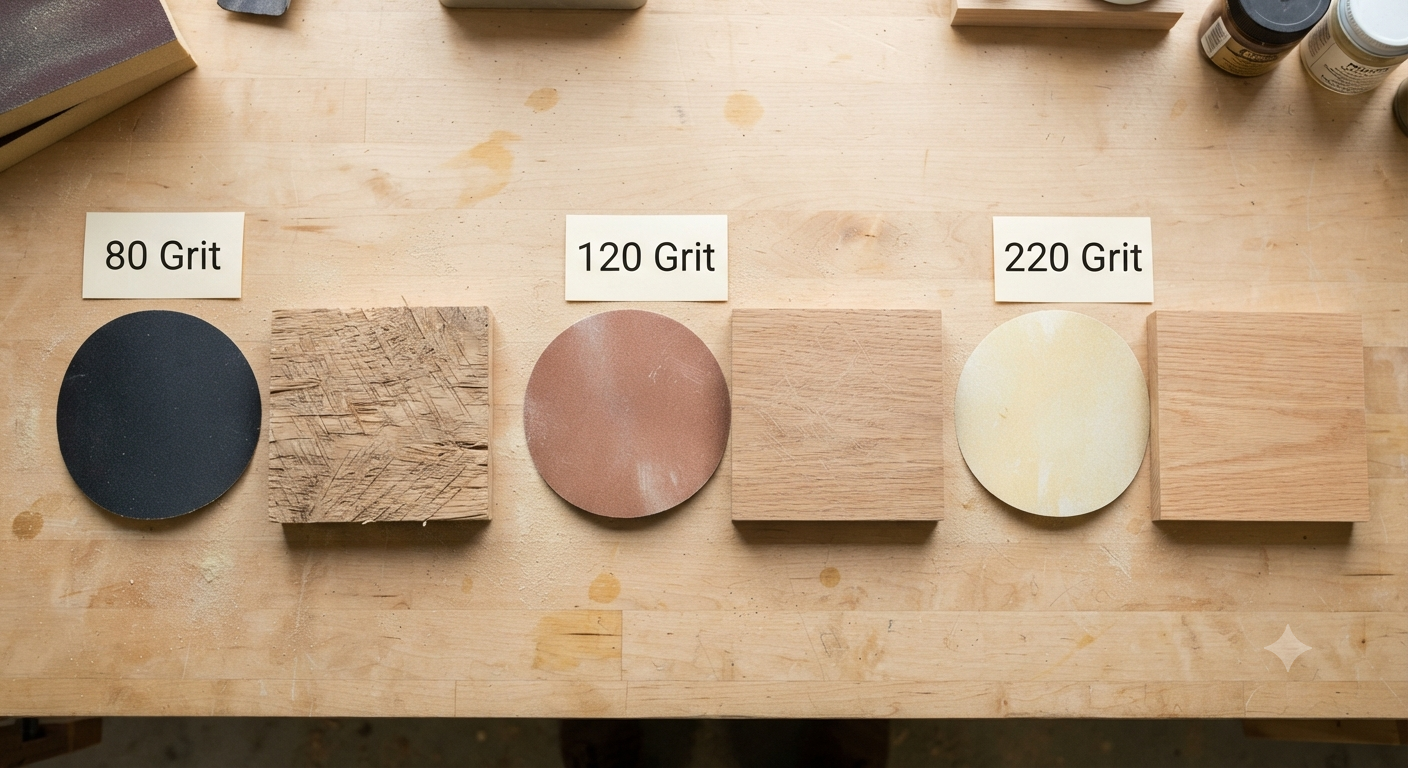
Skipping grits is one of the most common mistakes DIYers make. Each stage of the grit sequence removes the scratches left by the previous one. Jumping ahead leaves visible sanding marks in the final surface that become obvious once the finish is applied.
The quality of the sanding machines you use matters enormously. Drum sanders and belt sanders are powerful tools that require careful handling to avoid gouging the wood. Orbital sanders are gentler and better suited for final finishing passes.
Renting good-quality equipment from a flooring supplier is always preferable to using cheaper, underpowered machines. Better yet, hiring a professional floor sanding service means the work is done with commercial-grade equipment that delivers a consistently high standard of results.
A few errors can undo a lot of good work. Sanding against the grain leaves scratches that are almost impossible to remove without starting over. Applying too much pressure on the sander creates uneven dips in the wood. Not cleaning the floor thoroughly between grit stages allows dust particles to scratch the surface during the next pass.
Another common mistake is rushing the finish. Applying a new topcoat before the previous coat has fully dried leads to adhesion problems, bubbling, and a floor that peels within months. Follow the manufacturer’s drying times carefully, especially in humid conditions.
DIY bamboo floor sanding is possible, but it requires a lot of preparation, patience, and the right equipment. For homeowners with a small room, a flat floor in good condition, and some experience with power tools, it can be a cost-effective option. The process can be repeated over time once you’re comfortable with it.
That said, professional floor sanding delivers results that are difficult to match at home. Experienced floor sanders know how to read a floor, adjust their approach for different wood species, and avoid the mistakes that lead to costly repairs. They also have access to dustless sanding equipment and commercial-grade finishes that produce a more durable result.
For larger spaces, older floors, parquet, or floors with significant damage, hiring a professional is almost always the better investment. The higher upfront cost is offset by the quality of the outcome and the reduced risk of something going wrong.
After sanding, choosing the right finish is critical. Polyurethane is the most popular choice for high-traffic areas because of its durability and resistance to scratches and water. Hard wax oil penetrates the wood rather than sitting on top of it, giving a more natural look and feel that’s easier to spot-repair. Water-based varnish dries quickly and has lower odor, making it practical for occupied homes.
Whatever finish you choose, apply it in thin, even coats and allow each one to dry fully before adding the next. Most floors need two to three coats for adequate protection, with a light buff between coats to ensure good adhesion.
Once your floor has been sanded and sealed, keeping it in good condition is straightforward. Sweep or vacuum regularly to prevent dirt and grit from scratching the surface. Use a damp mop rather than a wet one. Excess water is the enemy of hardwood. Avoid harsh cleaning products that strip the finish, and use felt pads under furniture legs to prevent dents and scratches.
Place rugs in high-traffic areas like hallways and in front of the kitchen sink to reduce wear on the finish. These small steps add years to the life of your newly refinished floor.
Most solid wood floors should be sanded every 10 to 15 years, though this varies depending on how much traffic the floor sees and how well it’s been maintained. A busy family home with pets and children may need attention closer to the 10-year mark. A spare bedroom or formal dining room that rarely gets used could go 20 years between sandings without issue.
The thickness of the floor is also a factor. Thicker boards have more material to work with and can be sanded more times. Thinner boards require more careful judgment to avoid sanding too close to the tongue-and-groove joints.
Between full sandings, you can extend the life of your finish with periodic buffing and a fresh topcoat. This process, sometimes called “screen and recoat,” removes light surface scratches and renews the protective layer without removing any wood. It’s a great maintenance option for floors that aren’t yet ready for full sand.
The clearest sign is a floor that looks dull, grey, or uneven even after thorough cleaning. If you can see bare wood where the finish has worn through especially in doorways and heavily used walkways it’s time to act before moisture and dirt work their way into the exposed wood.
Other signs include deep scratches and dents that buffing won’t fix, stains that have penetrated the finish and discolored the wood, boards that have started to feel rough or splintered underfoot, and a general sense that the floor looks tired no matter what you do to it.
Catching these signs early makes the sanding process easier and less expensive. The sooner you address the wear, the less material needs to be removed to get back to a healthy surface.
Is sanding hardwood floors worth it?
Yes, in most cases sanding hardwood floors is absolutely worth it. It costs significantly less than replacement, restores the floor’s appearance and durability, and can add value to your home. As long as the boards are in structurally sound condition and have enough thickness remaining, sanding is the most cost-effective way to bring hardwood back to life.
How many times can you sand solid hardwood floors?
The number of times a solid wood floor can be sanded depends on the thickness of the floorboard. Most solid hardwood floors are 18mm to 20mm thick, which allows for around 8 to 10 sandings over the floor’s lifetime. Thinner boards allow for fewer cycles. An experienced floor sander can assess your floor and tell you how many sandings remain.
How much does it cost to refinish 1,000 sq ft of hardwood floors?
Professional refinishing of 1,000 sq ft typically costs between $1,000 and $2,500 in the United States, though prices vary by region, floor condition, and finish type. DIY costs are lower but require equipment rental and materials. Either way, it’s a fraction of what full floor replacement would cost for the same area.
Can I stay in my house while the floors are refinished?
It depends on the size of the project and the products being used. Oil-based finishes produce strong fumes that require ventilation and may make parts of the home uncomfortable for 24 to 48 hours. Water-based finishes are lower odor and dry faster, making it easier to remain in the home. In most cases, you’ll need to stay off the freshly sanded and coated floors for at least 24 hours per coat.
What is the process of professional wood floor sanding and refinishing?
A professional floor sanding service typically begins with an assessment of the floor’s condition, followed by removal of old furniture and preparation of the space. The floor is then sanded in stages using progressively finer grits, with edges and corners done separately. Once sanding is complete, the floor is cleaned thoroughly before the chosen finish is applied in multiple coats. The entire process for an average-sized room usually takes one to three days.
What is the difference between sanding and buffing wood floors?
Sanding removes a layer of wood along with the old finish, addressing deep scratches, stains, and significant surface damage. Buffing is a much lighter process that scuffs the existing finish to prepare it for a new topcoat without removing any wood. Buffing is a maintenance step, while sanding is a restoration one. If your floor has surface-level dullness or light scratches, buffing and recoating may be enough. For deeper damage or a complete refresh, sanding is the right approach.