Physical Address
304 North Cardinal St.
Dorchester Center, MA 02124
Physical Address
304 North Cardinal St.
Dorchester Center, MA 02124

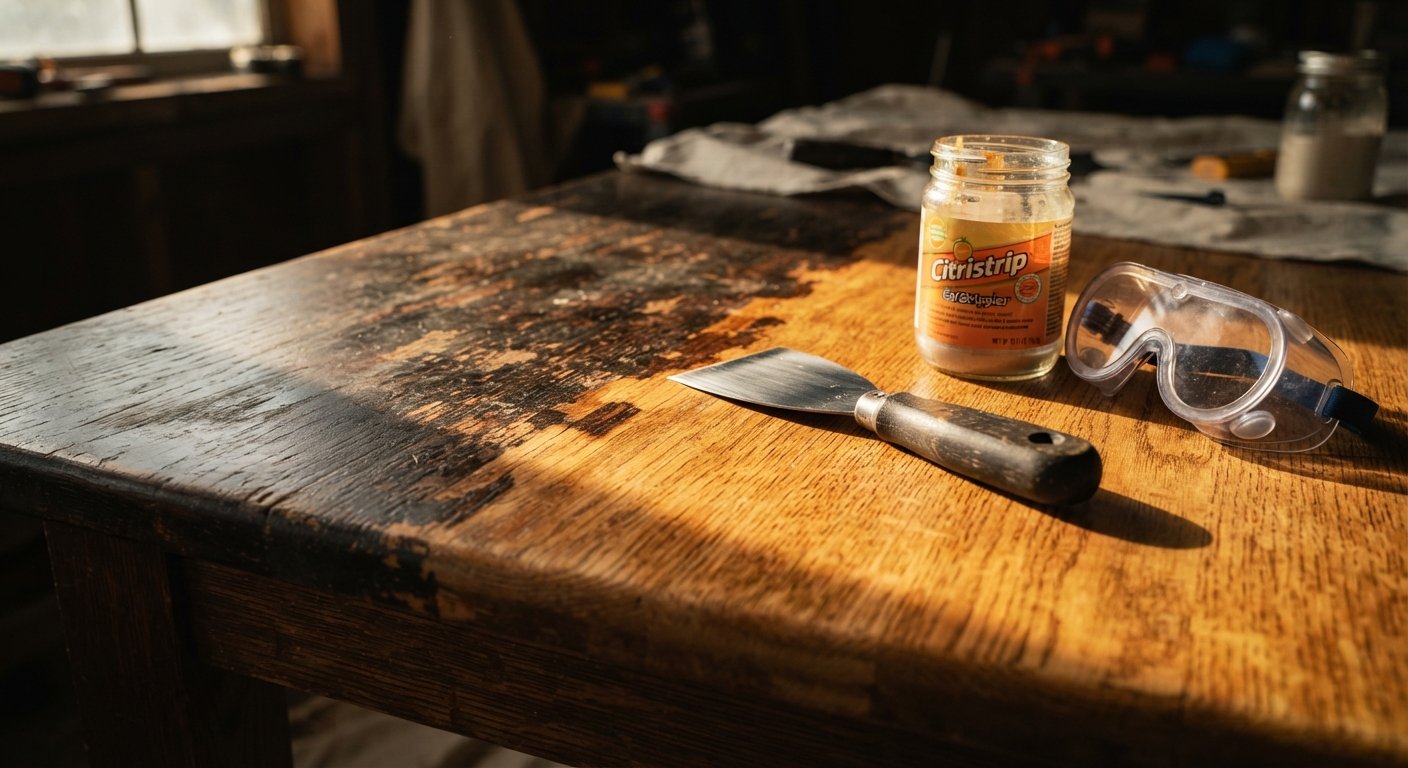
Old dressers, tables, and chairs often hide something beautiful under layers of paint, varnish, or stain. If you’ve ever found a secondhand piece with gorgeous wood grain buried under decades of neglect, stripping wood furniture is the first step toward bringing it back to life. This guide walks you through everything you need to know, from choosing the right chemical stripper to deciding between oven cleaner and citristrip for your next furniture stripping project.
Whether you’re restoring a family heirloom or flipping a thrift store find, learning how to strip furniture properly will save you time, protect the wood, and give you a finish you’ll actually be proud of. Let’s get into it.
Furniture restoration is part science, part patience. Before you grab a scraper or reach for a chemical stripper, it helps to understand why the process matters and what you’re dealing with.
Old finish doesn’t just look worn. It can hide cracks, water damage, or warped wood that you’ll need to address before applying a new coat of stain or paint. Stripping away the old finish gives you a clean surface to work with and lets you see the true condition of the piece. It also allows stain to penetrate evenly, which is something you simply can’t achieve by sanding or painting over old layers of paint and varnish. If you skip this step, your new finish may peel, bubble, or look patchy within months.
There’s also the character factor. Many older pieces of furniture are made from solid wood with a rich, natural wood grain that’s been hidden under paint for years. Stripping it reveals that original wood color and texture, something modern furniture rarely offers.
Not every piece of furniture needs the same approach. Before you strip wood furniture, take time to inspect it closely.
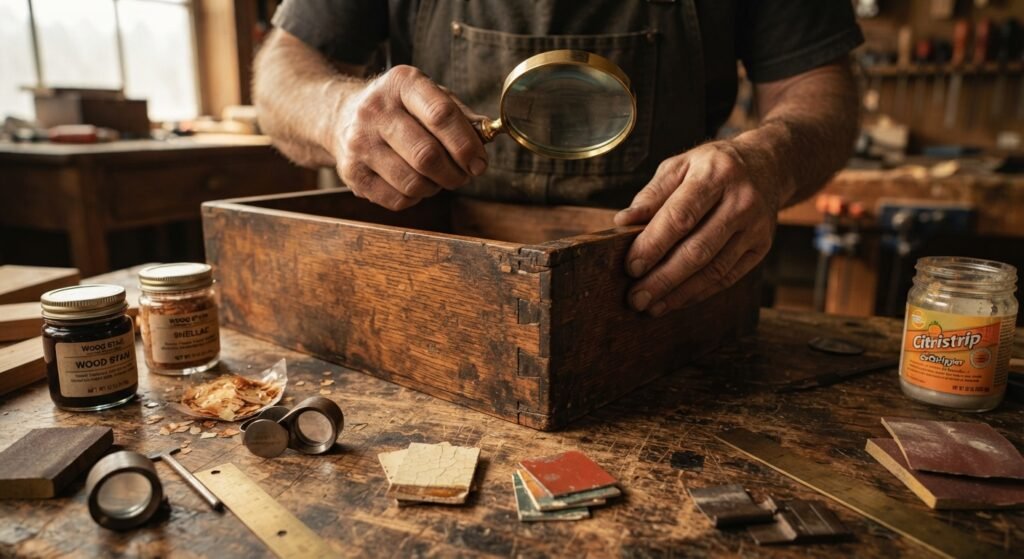
This assessment stage helps you choose the right stripper and avoid damaging the wood during the stripping process.
Having the right tools on hand before you begin makes the entire stripping project smoother and safer.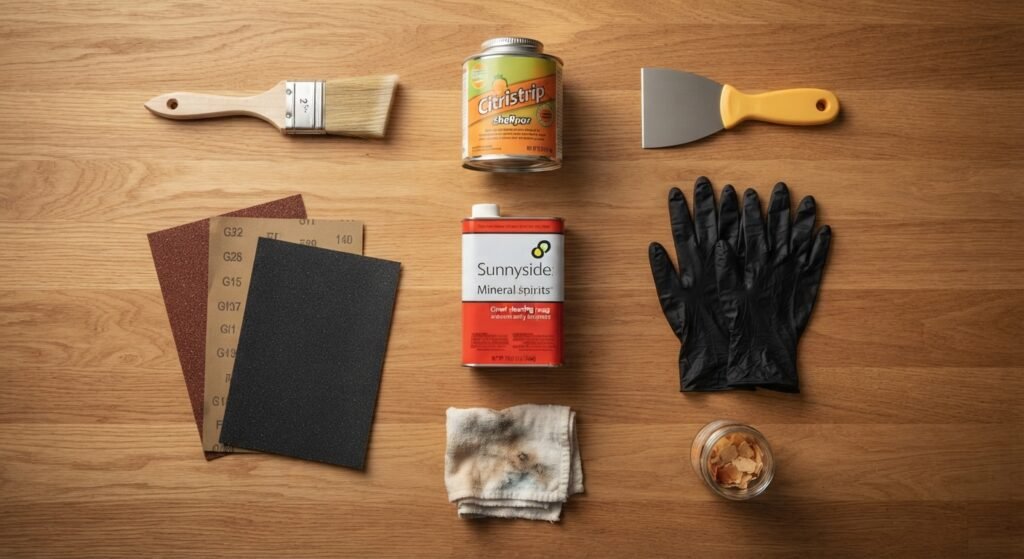
Here’s a basic list every beginner should gather:
Picking the right chemical stripper depends on the finish you’re removing and how much time you want to spend. Citristrip is a popular choice because it’s less harsh than traditional paint stripper, has a mild citrus smell instead of toxic fumes, and works well on both paint and varnish. It takes longer to work, usually a few hours, but it’s gentler on the wood grain.
Oven cleaner is a budget-friendly alternative that many DIYers swear by. Stripping furniture with oven cleaner works especially well on painted surfaces because the lye-based formula breaks down old paint quickly. However, using oven cleaner to strip wood furniture requires caution since it’s more aggressive and can damage the wood if left on too long, particularly on soft woods or veneer.
For heavier finishes like polyurethane or multiple layers of paint, a stronger furniture stripper with methylene chloride may be necessary, though these products come with more serious safety concerns.
Stripping wood furniture involves chemicals that can irritate your skin, eyes, and lungs. Always work in a well-ventilated area, ideally outdoors or in a garage with the door open. Wear rubber gloves rated for chemical use, safety goggles, and a respirator mask if you’re using a stronger stripper or working with old paint that might contain lead. Keep a damp cloth nearby to wipe up spills immediately and avoid working near open flames, since some chemical strippers are flammable.
Once you’ve gathered your materials and assessed your piece of furniture, it’s time to start the actual stripping process.
Start by laying down a drop cloth or old newspaper to protect your workspace. Stir the chemical stripper if needed, then apply a thick, even coat using a paint brush. Don’t skimp here. A thin layer won’t penetrate the old finish properly. Work in small sections, especially on detailed pieces like a dresser with carved edges or molding.
Let the stripper sit according to the product instructions. Citristrip typically needs several hours or even overnight for thick layers of paint, while oven cleaner works faster, often within 15 to 30 minutes. You’ll know it’s ready when the old paint or varnish starts to bubble and wrinkle.
Once the finish has softened, use a plastic scraper to gently remove it. Plastic scrapers are safer than metal ones because they won’t gouge or damage the wood underneath. Work with the grain of the wood, not against it, to avoid scratches. For stubborn corners or detailed areas, an old toothbrush or steel wool can help lift out residue.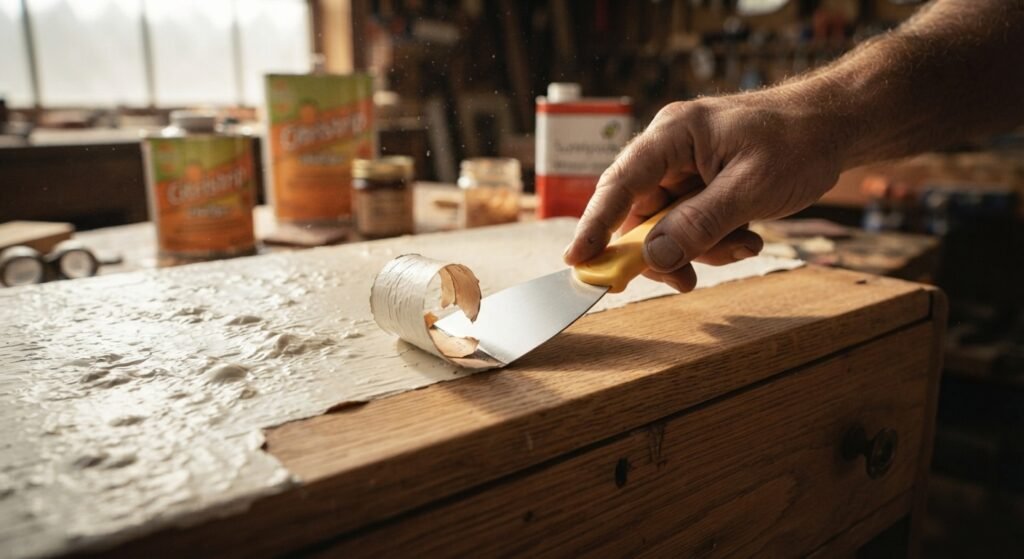
After scraping, wipe the surface down with mineral spirits to remove any leftover stripper and residue. This step is crucial because leftover chemical residue can interfere with staining or painting later. Let the wood dry completely, which can take anywhere from a few hours to a full day depending on humidity.
Once dry, lightly sand the surface with medium grit sandpaper to smooth out any rough patches, then finish with a finer grit before applying your next coat of stain or paint.
Not all strippers perform the same way on every type of finish. Knowing which product works best for your specific situation saves time and frustration.
Polyurethane and varnish are tougher than regular paint because they’re designed to be durable and water-resistant. A strong chemical stripper, such as a methylene chloride-based product, tends to cut through these finishes faster than citristrip alone. If you prefer a gentler option, citristrip can still work on varnish, but you may need to apply a second coat and let it sit longer. Always test a small hidden area first to see how the finish reacts before treating the entire piece.
Older furniture, especially pieces made before 1978, may be coated in lead paint. This requires extra caution. Chemical strippers that work at lower temperatures and in a liquid or gel form, rather than sanding, are the safer route since sanding lead paint can release harmful dust into the air. Citristrip is often recommended here because it doesn’t require heat and keeps the paint in a gel form as you scrape it away, limiting airborne particles. Always wear a respirator mask and dispose of the scraped material properly when dealing with suspected lead paint.
Chemical strippers, even milder ones like citristrip, are not something to handle carelessly. Many contain strong solvents that can cause skin irritation, respiratory issues, or worse with prolonged exposure. Oven cleaner, while effective, contains lye, which is corrosive and can cause burns if it touches bare skin.
Always read the product label for safety instructions and recommended protective gear. Keep children and pets away from your workspace while stripping furniture, and store leftover product in its original, labeled container.
When it comes to disposal, never pour chemical stripper or stripper and residue down the drain. Many municipalities classify these as hazardous waste, so check with your local waste management service for proper disposal guidelines. Rags soaked in stripper or mineral spirits should be laid flat to dry outdoors before disposal, since they can spontaneously combust if balled up while still damp.
Antique furniture and modern furniture call for different approaches when it comes to stripping and refinishing. Antique pieces are often made from solid wood with intricate detailing, and their value can be affected by how you handle the stripping process. For antiques, gentler strippers like citristrip are usually the better choice since they preserve the wood grain and reduce the risk of damaging delicate carvings or joints. Avoid aggressive sanding on antiques, as it can remove too much original wood and reduce the piece’s character and value.
Modern furniture, on the other hand, is often made from engineered wood or veneer over particleboard, which means chemical strippers need to be used carefully and for shorter periods to avoid soaking through to the glue layer underneath. In these cases, oven cleaner might be too harsh, and a milder paint stripper applied in thin coats is usually safer.
If you’re planning to bleach wood after stripping, to achieve a lighter, raw wood look, test the bleach on a small inconspicuous area first. Bleaching works differently depending on the wood species, and some woods lighten unevenly.
Stripping wood furniture takes patience, the right tools, and a bit of trial and error, but the payoff is worth it. Whether you’re using citristrip for a gentler approach or stripping furniture with oven cleaner for a faster, budget-friendly method, the key is matching your stripper to the finish and the type of wood you’re working with. Take your time during each step, from applying the stripper to sanding the final surface, and you’ll end up with a piece that looks refinished, not rushed.
If this is your first furniture stripping project, start with something small, like a side table or a chair, before tackling a larger dresser or antique piece. Once you get comfortable with the process, you’ll find it’s one of the most rewarding furniture projects to take on at home.
Is citristrip better than oven cleaner for stripping furniture?
Citristrip is gentler on wood and safer to use indoors since it has a mild odor and doesn’t contain harsh lye. Oven cleaner works faster and costs less, making it a good option for heavily painted pieces, but it’s more likely to damage the wood if left on too long. Choose citristrip for detailed or antique furniture and oven cleaner for simple, flat-surfaced pieces.
How long does it take to strip paint from wood furniture?
It depends on the stripper and the number of layers of paint. Citristrip typically takes a few hours to overnight for multiple layers, while oven cleaner can soften paint in 15 to 30 minutes. Thicker or older paint jobs may require a second application.
Can I strip wood furniture without using chemical strippers?
Yes, sanding is a chemical-free alternative, though it’s more labor-intensive and creates dust. A heat gun is another option for softening paint before scraping, but it requires care to avoid scorching the wood.
Do I need to sand after stripping furniture?
Yes, light sanding after stripping removes any leftover residue and smooths the wood surface before staining or painting. Start with a medium grit sandpaper and finish with a finer grit for the best results.
Is it safe to strip furniture with lead paint myself?
It’s possible, but it requires extra precautions. Use a liquid or gel stripper rather than sanding, wear a respirator mask, and dispose of scraped material according to your local hazardous waste guidelines.
What’s the best way to dispose of used chemical stripper?
Never pour it down the drain. Check with your local waste management facility, since most chemical strippers and oven cleaner residue are classified as hazardous waste and need special disposal.
Can I apply chalk paint directly after stripping wood furniture?
Yes, once the wood is fully dry and lightly sanded, chalk paint adheres well to raw or primed wood surfaces without needing a heavy primer coat, though a light coat of primer can still improve durability.