Physical Address
304 North Cardinal St.
Dorchester Center, MA 02124
Physical Address
304 North Cardinal St.
Dorchester Center, MA 02124


If you have ever stared down a glossy cabinet door or a shiny painted railing and dreaded the hours of hand sanding ahead, liquid sandpaper might be the shortcut you have been missing. This has quietly become a favorite among DIYers and painters who want smooth, paint-ready surfaces without filling the garage with dust. In this guide, we will walk through what it is, how it works, when to use it, and how to get the best results the first time.
Whether you are refinishing furniture, repainting kitchen cabinets, or getting a door ready for a fresh coat, understanding this product can save you time and frustration. Think of this as your companion piece to The Complete Guide to Sanding Wood, since the two methods often solve the same problem from different angles. Sometimes you need the physical bite of sandpaper, and sometimes a chemical deglosser gets the job done faster with less mess. Knowing which one fits your project is the real skill here.
Liquid sandpaper is not actually sandpaper at all. It is a chemical deglosser, usually sold as a liquid or gel, designed to break down the sheen on painted, varnished, or lacquered surfaces so new paint can grip properly. The name comes from the effect it produces rather than the tool itself. Instead of grit rubbing away material, this product chemically softens the top layer of a finish just enough to dull the shine and create a slightly rough profile that paint can bond to.
Most formulas are built around solvents such as methylene chloride substitutes or mineral spirits blends, though many newer versions are low odor and marketed as safer alternatives for indoor use. You will usually find it in the paint aisle right next to primers and strippers, often labeled as a deglosser or a paint prep solution.
The science behind it is fairly simple. Glossy paint and varnish form a hard, smooth shell that new paint struggles to stick to. When you wipe on a deglossing liquid, the solvents in the formula soften that shell just enough to etch the surface at a microscopic level. This creates thousands of tiny grooves invisible to the naked eye but perfect for giving primer or paint something to hold onto.
Unlike a stripper, it is not meant to remove the old finish completely. It simply changes the surface texture and appearance from shiny to matte. Once it dries, the surface feels smoother to the touch than sanded wood, but it has lost its slick, reflective quality, which is exactly the point.
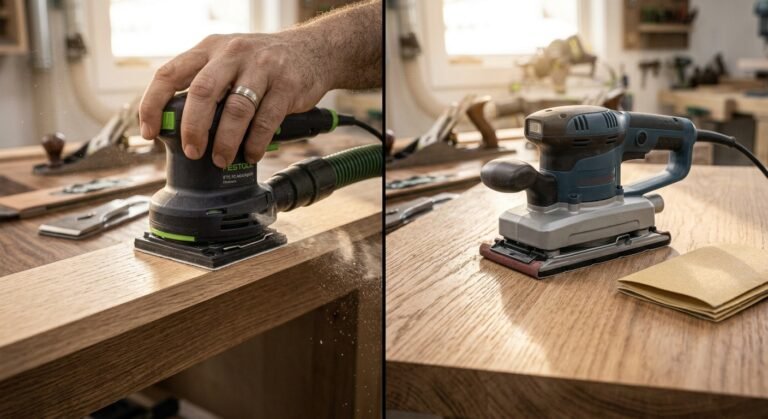
The biggest difference between the two comes down to method. Traditional sandpaper physically abrades a surface using friction, removing a thin layer of material and creating visible scratch patterns. Liquid deglosser works chemically, dissolving and softening the surface instead of grinding it away.
Sandpaper gives you more control over how much material you remove and can smooth out dents, drips, or uneven spots. Liquid deglosser cannot fix physical flaws. It only prepares a surface that is already smooth and structurally sound. On the other hand, deglosser reaches into corners, moldings, and carved details that sandpaper simply cannot get into without a lot of extra effort. For flat, open surfaces, sandpaper is often faster. For detailed trim work, the liquid version usually wins.
This product shows up most often in repainting projects where the goal is adhesion rather than reshaping the surface. It has a few common jobs around the house.
Glossy or semi-gloss paint on trim, doors, cabinets, and furniture is notoriously hard for new paint to stick to. A quick wipe with deglosser breaks that sheen down so the next coat bonds properly instead of peeling or chipping within months.
Stained or varnished wood furniture often has a hard protective topcoat. Rather than sanding every spindle and groove on a chair or banister, many people wipe on a deglossing solution to prep the wood grain for primer, especially on pieces with lots of detail.
Yes, and this is actually one of its most popular uses. It works well on finished or painted wood surfaces such as cabinets, doors, banisters, and furniture. It is not meant for bare, raw wood, since there is no gloss or finish to break down and the wood grain still needs mechanical sanding to smooth out fibers.
If your wood piece already has a coat of paint, stain, or varnish and you want to repaint it without stripping everything back to bare wood, this is exactly the scenario it was built for. It saves time on furniture with turned legs, spindles, or raised panel doors where a sanding block just cannot reach every angle.
There are a few situations where reaching for a bottle of deglosser makes more sense than pulling out sandpaper. Detailed trim, ornate furniture, and paneled doors are prime candidates because of all the nooks and crannies. Projects where dust control matters, such as painting inside an occupied home or a small apartment, also benefit since there is no airborne particulate to clean up afterward.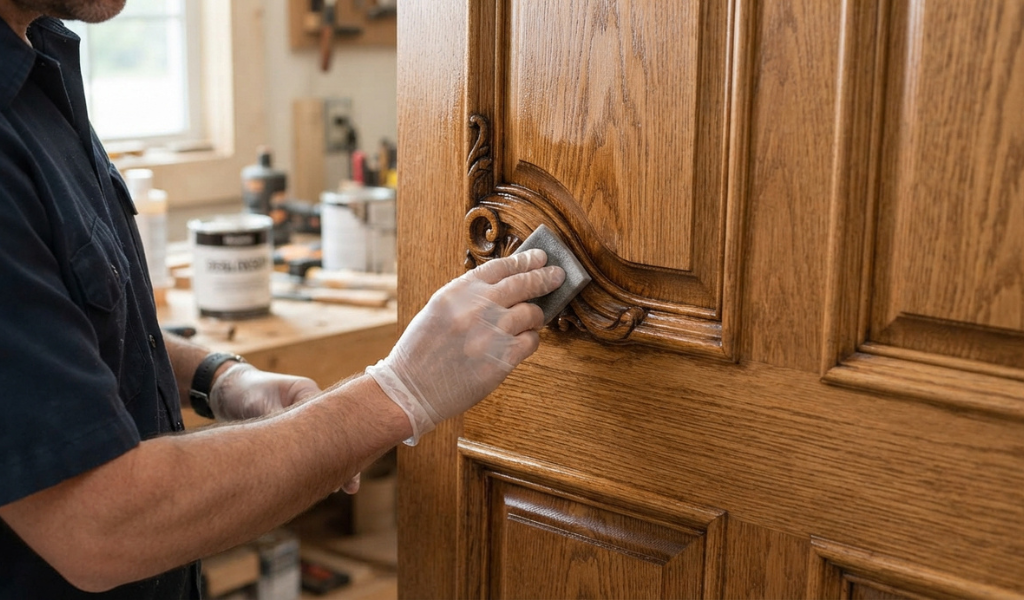
It is also a smart pick for anyone with limited time or physical ability to sand for long stretches, since applying a liquid and wiping it off takes far less physical effort than hand sanding a large surface. If you are working on a piece with intricate carving, molding, or hardware you cannot easily remove, liquid deglosser lets you prep around those details without damaging them.
Getting good results is mostly about following the process in order and not rushing the drying time.
Before anything else, wash the surface with a mild degreaser or soap and water to remove dust, grease, and grime. Any leftover residue will interfere with how evenly the deglosser works and can leave streaks in the final paint job. Let the surface dry fully before moving on.
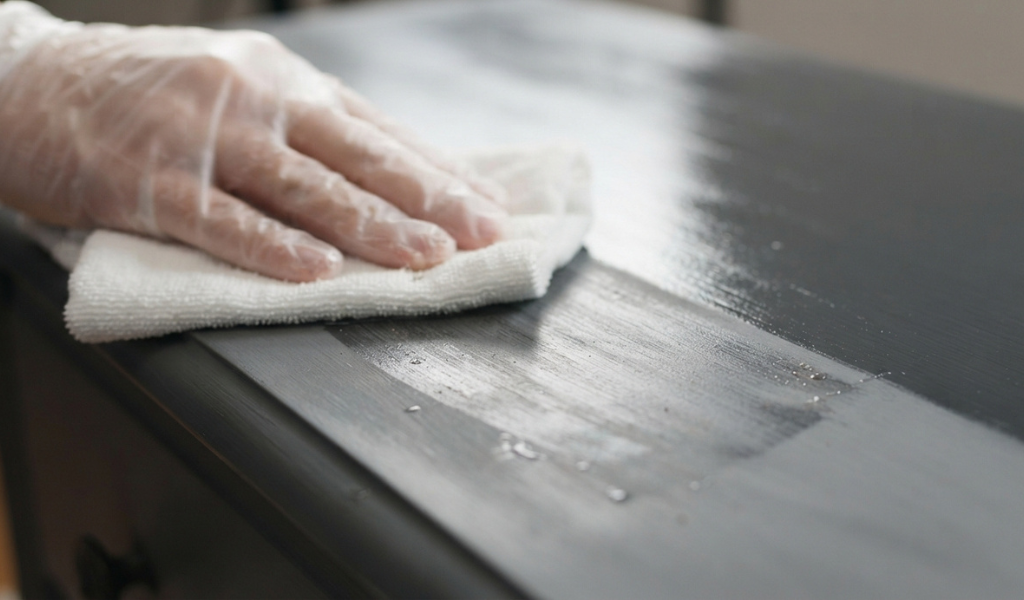
Using a lint free cloth, applicator pad, or fine synthetic scrub pad, apply the product in small sections following the grain or the direction of the surface. Work in circular or back and forth motions with light pressure, letting the chemical do the work rather than scrubbing hard. Keep the area ventilated and wear gloves throughout this step.
Once you have covered the section, wipe away the residue with a clean, dry cloth before it has a chance to dry into a hazy film. Move to the next section and repeat. After the entire piece is treated, let it dry according to the product label, which is usually somewhere between fifteen minutes and an hour, before applying primer or paint.
Most formulas act fairly quickly, often within a few minutes of contact. You will typically see the surface dull and lose its shine almost immediately after wiping. However, full drying time before painting varies by brand and can range from fifteen minutes up to a couple of hours in humid conditions. Always check the product label, since painting over a surface that has not fully dried can trap solvent underneath the new coat and cause adhesion problems down the road.
When people compare the two methods, it usually comes down to the type of project. Regular sanding remains the better option for bare wood, surfaces with visible flaws, or projects requiring heavy material removal, such as stripping thick layers of old paint. It also produces a slightly more mechanical texture that some painters feel holds primer a bit better on large flat surfaces like doors or tabletops.
Liquid deglosser shines on detailed or delicate items, saves time on large batches of trim, and eliminates the dust cleanup that comes with sanding. Many professional painters actually use both methods together, sanding flat areas for speed and using deglosser on detailed spots to save time, giving them the best of each approach.
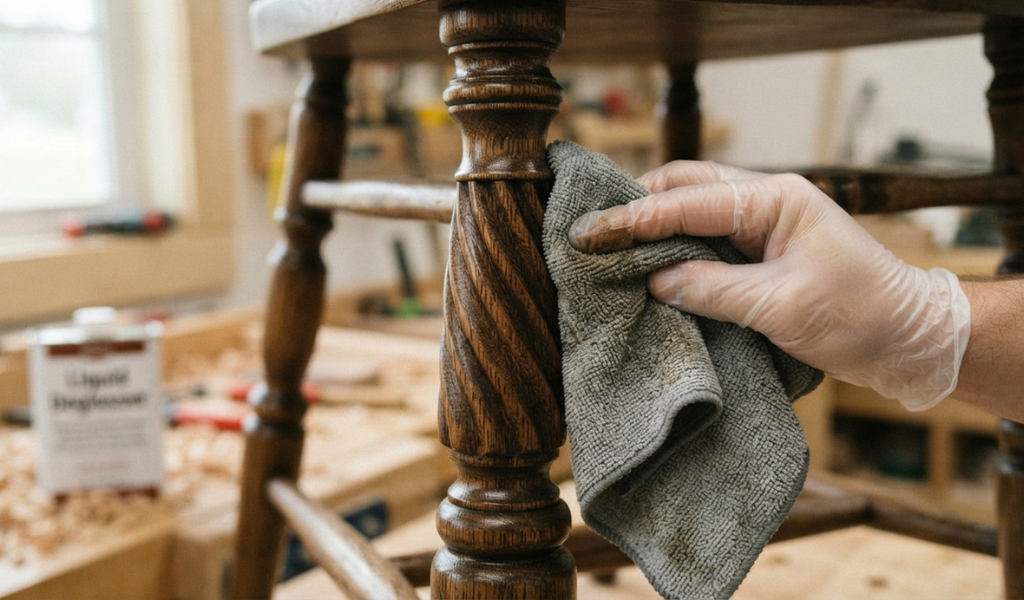
There are several reasons this product has earned a permanent spot in many painters’ toolkits. It eliminates sanding dust, which is a huge benefit indoors or around people with respiratory sensitivities. It reaches into carved details, corners, and moldings that sandpaper cannot easily access. It also saves significant time on large projects like kitchen cabinet refacing, where dozens of doors and drawer fronts would otherwise need individual sanding. On top of that, it is generally gentler on delicate veneers and antique finishes than aggressive sanding would be.
It is not a miracle product, and it does have real limits. It cannot smooth out physical damage such as dents, gouges, or drip marks, since it only affects the surface chemically rather than removing material. It is also not suitable for bare wood, heavily textured surfaces, or situations where you need to remove a finish completely rather than just dull it. Some users find the fumes unpleasant even with low odor formulas, and it typically costs more per square foot covered compared to a pack of sandpaper. Working with liquid chemicals also means dealing with proper disposal of used rags, which can be a fire hazard if left balled up.
Yes, that is the entire purpose of the product. Once the deglosser has been applied, wiped clean, and allowed to fully dry, the surface is ready for primer or direct-to-paint products depending on what you are using. Skipping primer is sometimes possible with certain paint and deglosser combinations, but using a bonding primer first is generally the safer route for long lasting adhesion, especially on surfaces that will see daily wear like cabinets or doors.
Used correctly, it is safe for home use, but it does involve working with solvents, so a few precautions matter.
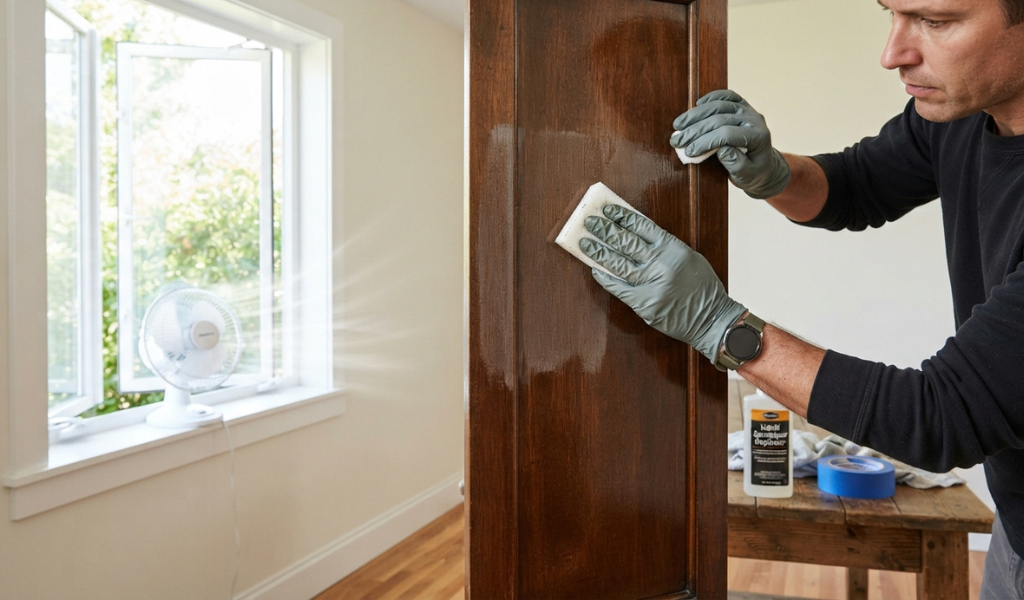
Always work in a well ventilated space, ideally with windows open and a fan moving air out of the room. Even low odor formulas release fumes that should not be inhaled in a closed space for extended periods.
Wear chemical resistant gloves to avoid skin irritation, and consider safety glasses to protect against splashes, especially when working overhead on cabinets or ceiling trim. If the product contacts skin, wash the area promptly with soap and water.
Even a simple product like this one can go wrong if you rush through it or skip steps.
Using more than needed does not speed up the process. It just creates excess residue that is harder to wipe away cleanly and can leave a sticky film that interferes with paint adhesion.
Applying deglosser over dirt, grease, or dust traps that debris under the new finish, leading to a rough or uneven paint job. Always start with a clean, dry surface.
Painting too soon after applying deglosser, before it has fully dried, can cause the new coat to bubble, peel, or take much longer to cure properly. Patience here pays off in a longer lasting finish.
Liquid sandpaper is one of those products that quietly makes painting projects faster and less messy once you understand where it fits. It will not replace a sander for every job, but for glossy trim, detailed furniture, and cabinet doors, it can save hours of tedious hand sanding while still giving paint the grip it needs to last. Pair it with proper cleaning, good ventilation, and patience during drying time, and you will end up with a smooth, paint-ready surface without ever picking up a sanding block. Next time you are staring down a shiny door or a piece of furniture that needs a fresh look, give deglosser a try and see how much time it saves you.
Yes, when used on the right type of surface. It effectively dulls gloss and creates a surface profile that paint can grip, though it is not a substitute for sanding when physical smoothing or heavy material removal is needed.
Not entirely. It works well for deglossing painted or varnished surfaces, but it cannot smooth rough wood, fill imperfections, or remove old finishes down to bare material the way sandpaper and sanders can.
It is generally not recommended for staining projects on bare wood. Deglosser is meant for finished surfaces, and using it before staining raw wood will not open the grain the way sanding does, which can lead to blotchy or uneven stain absorption.
No. A stripper is designed to fully remove old paint or varnish down to the bare surface, while a deglosser only dulls the sheen and leaves the existing finish in place.
Most projects only need a single application per section. If the surface still looks glossy after wiping, a second light pass can help, but heavy layering is rarely necessary.
Some formulas are labeled safe for painted metal and certain plastics, but always check the product label first, since not every deglosser is formulated for those materials.
Traditional formulas can have a strong solvent smell, though many newer low odor versions have significantly reduced this. Good ventilation makes a noticeable difference regardless of which type you choose.