Physical Address
304 North Cardinal St.
Dorchester Center, MA 02124
Physical Address
304 North Cardinal St.
Dorchester Center, MA 02124


Most paint failures trace back to one skipped step surface prep. Peeling, bubbling, and uneven finishes rarely happen because someone chose the wrong color. They happen because the wood wasn’t properly prepared before the first drop of paint touched the surface. Sanding sits at the heart of that preparation, and getting it right is what separates a paint job that lasts years from one that starts failing in months.
Whether you’re refreshing a piece of furniture, tackling a cabinet painting project, or working through a full exterior painting job, the process of sanding wood before painting follows a clear, repeatable sequence. This guide covers all of it: why surface abrasion matters for paint adhesion, which grits to use and when, how to handle previously painted wood, and the pro techniques that make any wood project cleaner and more durable from the start.
By the end, you’ll know exactly how to prep wood for paint or stain with confidence, avoid the mistakes that ruin otherwise good painting projects, and understand when you can take shortcuts and when skipping steps will cost you.
Paint doesn’t bond chemically to wood the way stain does. It sits on top of the surface and relies on mechanical adhesion, tiny surface irregularities that give the coating something to grip. That’s precisely what sanding provides. When you sand the surface of a piece of wood, you create microscopic peaks and valleys across the grain that allow paint to adhere properly, curing into a layer that resists chipping, peeling, and moisture penetration.
Unsanded wood presents two problems. New wood often carries mill glaze, a compressed, polished layer left by planer blades during milling. This glazed surface is too smooth for paint to hold reliably. Old wood, on the other hand, may have weathered fibers, contamination from oils and dirt, or an existing coat of paint that has lost adhesion. In either case, applying paint without sanding and prep first means the coating sits on top of a compromised surface rather than bonding to a sound one.
There’s also the matter of porosity. Wood absorbs paint differently depending on its moisture content, grain orientation, and how the surface has been prepared. Sanding opens the wood’s pores evenly, so the first coat of paint penetrates consistently rather than pooling in rough patches and skating over dense areas. The result is a smoother finish with fewer coats required and significantly better long-term durability.
Skipping sanding is occasionally possible, but only under specific conditions and those conditions are narrower than most people assume.
Liquid deglosser (also called liquid sandpaper) is a chemical alternative that dulls a glossy finish well enough for paint to grip in low-wear applications. If the existing surface is in excellent condition, free from peeling or damage, and the project won’t face heavy use like a decorative interior piece that won’t be touched often a deglosser plus a bonding primer can work. This is not a reliable method for kitchen cabinets, trim, furniture, or any exterior painting project.
Sanding is non-negotiable when:
In short: if the surface has any issues, or if durability matters, always sand. The amount of sanding required will vary, but skipping it entirely on structural or high-use surfaces is a risk that almost always shows up later.
Grit selection is one of the most consequential decisions in any sanding project. Start too coarse and you create deep scratches that show through paint. Start too fine and you won’t remove what needs removing. Choosing the right grit means matching the abrasive to the current condition of the surface and the goal of that sanding stage.
Here’s how the grit sequence works for wood before painting:
Coarse grit sandpaper (40–60 grit): Reserved for heavy-duty work stripping thick old paint, removing stubborn finishes, or flattening severely damaged surfaces. Coarse grit removes material fast but leaves deep scratches that must be worked out in subsequent stages. Use it only when the surface genuinely requires it.
Medium grit (80–120 grit): This is where most prep work happens. 100 grit handles surfaces with moderate damage or an existing finish that needs keying up. 120 grit sandpaper is the reliable starting point for wood that’s already in reasonable condition. After initial sanding with coarse grit, 120 grit erases the deeper scratches left behind and begins leveling the surface for finer work.
Fine-grit sandpaper (150–220 grit): This is your pre-paint range. 150 grit transitions smoothly from medium work, while 220 grit is the standard final-pass grit before primer or paint goes on. At 220 grit, you’re refining texture not removing material creating the smooth, uniform surface that allows paint to adhere evenly across the entire piece.
Never jump from coarse grit directly to fine grit. Each stage in the progression removes the scratches left by the one before it. Skipping a grit means those scratches survive under your finish, becoming clearly visible once paint is applied.
Choosing between hand sanding and a power sander depends on the size of the surface, its shape, and how much material needs to come off.
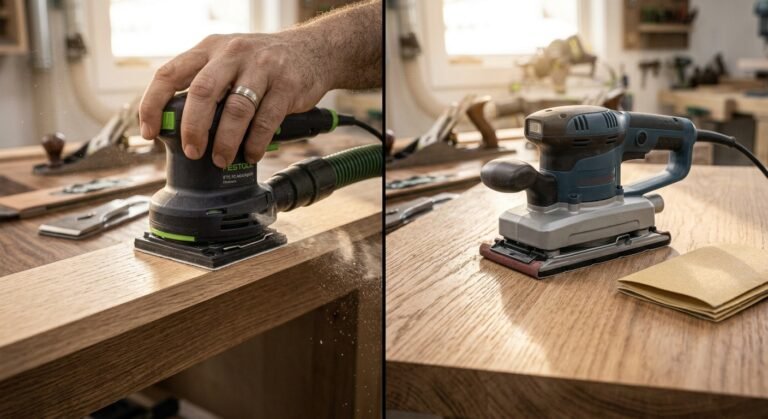
For large, flat surfaces, tabletops, cabinet doors, floor panels, a random orbital sander is the most practical tool. Its elliptical motion prevents the directional swirl marks that older orbital sanders left behind. Random orbital sanders accept disc-shaped sandpaper across all grit ranges, attach easily to dust collection systems, and handle both coarse sanding and finish work efficiently. For any DIY project involving flat wood panels, this is the tool worth investing in.
Belt sanders cut faster and more aggressively, making them useful for stripping thick coats of old paint or leveling wide, rough boards. They require a steady hand tilting the sander even slightly can gouge the surface. For most furniture and trim work, a belt sander is overkill.
Hand sanding, using a sanding block or sanding pad, remains essential for areas a power sander can’t reach: tight corners, carved profiles, routed edges, and detailed trim. A sanding block distributes pressure evenly across the surface, preventing the fingertip dips that create uneven spots. For contoured surfaces, sanding sponges conform to curved profiles and reach into recesses where a rigid block won’t seat properly.
For furniture before painting, the practical approach combines both: use an orbital sander for flat panels and larger surfaces, then finish by hand with fine-grit sandpaper along edges and details. This gives you the efficiency of power tools where they help most and the control of hand sanding where precision matters.
Before sanding begins, the surface needs to be clean, dry, and fully assessed. Sanding over contamination grease, wax, silicone, or dirt doesn’t remove it. It pushes it deeper into the wood’s pores and creates adhesion problems that no amount of sanding or primer will fix.
Clean the surface thoroughly with a degreaser or TSP (trisodium phosphate) solution, particularly on kitchen cabinet surfaces and any previously finished wood. Rinse and allow it to dry completely. Wood must be at equilibrium moisture content before sanding or painting.
Once clean, inspect the surface carefully under raking light (a light held at a low angle). Look for:
Use wood filler to repair gouges, holes, and cracks before sanding begins.
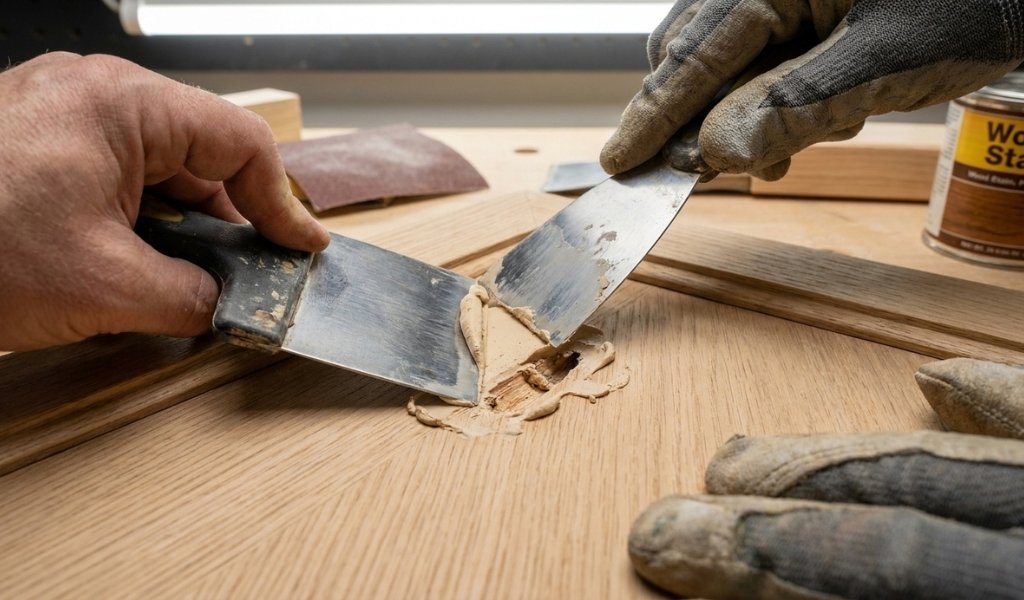
Apply the filler slightly proud of the surface, allow it to cure fully, then sand it flush in your first sanding pass. Attempting to fill after sanding means you’ll need to re-sand the repaired areas, adding work to an otherwise linear process.
Start sanding with the appropriate grit for your surface condition, typically 100 grit for surfaces with existing finishes or minor damage, and 120 grit for new wood in good condition.
The single most important rule in this step: always sand in the direction of the wood grain. Moving perpendicular to the grain direction creates cross-grain scratches that become highly visible under paint, especially sheen finishes. Always sand in the direction of the grain, keeping your strokes long, controlled, and parallel to the wood’s fiber direction.
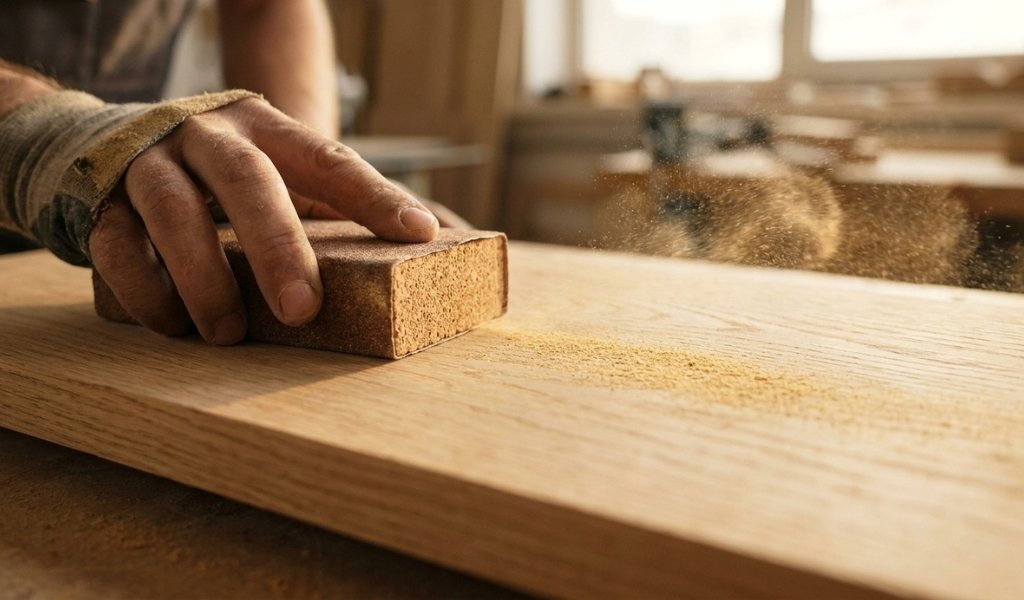
A reliable trick: draw a light pencil line across the surface before each grit stage. Sand until the line disappears completely. When it’s gone, you’ve covered the entire surface evenly at that grit, no guesswork, no missed sections.
Work through the grit sequence without skipping stages:
After each grit stage, wipe the surface down before moving to the next. This prevents coarser particles from contaminating your finer grit work.
Flat panels are straightforward. Profiles, edges, carved details, and tight corners require a different approach and the right sanding tool for each situation.
For inside corners and tight grooves, fold a piece of fine-grit sandpaper into a sharp crease and work it carefully into the corner. Avoid using excessive pressure the goal is light sanding to key the surface, not aggressive material removal that could damage the profile.
Sanding sponges are particularly useful here. Their flexibility allows them to conform to curved and contoured surfaces that rigid sanding blocks can’t properly contact. For detailed trim, routed edges, or furniture legs, a sanding sponge in 150 or 220 grit follows the surface geometry more accurately than any rigid sanding tool.
For very tight or irregular profiles, wrap sandpaper around a dowel, a pencil, or a piece of hose that matches the profile you’re working. This improvised sanding grip gives you precise control in areas where standard tools leave uneven contact. Use a sanding block on flat sections of the same piece to maintain consistent pressure; never use bare fingers on flat areas, as fingertip pressure creates uneven spots that show through paint.
On wood trim specifically, pay attention to inside corners where two painted surfaces meet. These areas are prone to paint buildup over time, and thorough sanding ensures the new coat lies flat without ridges.
Sanding dust is the enemy of a clean finish. Fine particles that are invisible to the naked eye will embed in your paint film, creating a gritty, rough texture that ruins an otherwise well-executed paint job. This step is not optional, sanding dust and debris must be completely removed before any primer or paint is applied.
Start by vacuuming the surface with a soft brush attachment to pull away the bulk of the sanding dust. Follow with a tack cloth a resin-treated cloth that picks up fine particles through gentle adhesion rather than pushing them around.
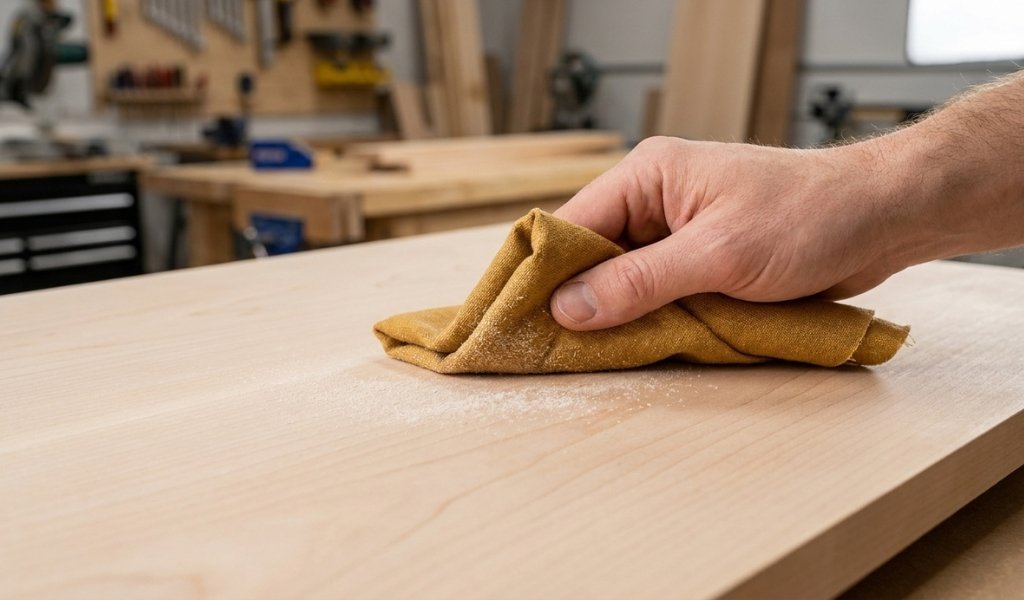
Wipe the surface lightly in one direction, folding the tack cloth regularly to expose a clean face.
For water-based primers and paints, a lightly dampened microfiber cloth works well in place of a tack cloth. Avoid compressed air for dust removal it disperses fine particles into the air and redeposits them on the surface and surrounding work area.
Once the surface is clean, apply primer before painting. A quality primer does several things: it seals the wood against moisture, provides a uniform base color that improves topcoat coverage, and adds another layer of adhesion between the wood and the paint. On bare wood, new wood, or any surface being completely repainted, primer before painting is the professional standard not an optional step.
Allow the primer to cure completely, then lightly sand using 220 grit to knock down any raised grain or texture the primer coat may have introduced. Wipe again with a tack cloth before applying the first coat of paint.
Previously painted wood requires a slightly different approach depending on the condition of the existing paint. If the old paint is sound no peeling, cracking, or flaking you don’t need to strip it completely. A thorough scuff sand using 120–150 grit sandpaper is sufficient to dull the surface and give the new paint mechanical grip.
Scuff sanding is exactly what it sounds like: a light sanding using medium grit to scratch the surface enough for adhesion without removing the full depth of the existing coating. It’s the standard technique between coats in a multi-coat painting project and the correct approach when painting over a well-adhered existing finish. After scuff sanding, clean thoroughly with a tack cloth and apply your new coat.
When old paint is peeling or failing, scuff sanding isn’t enough. You’ll need to strip back to bare wood either mechanically with coarse grit sandpaper and a power sander, or chemically with a paint stripper before restarting the prep sequence from bare wood.
Between primer and paint coats, a light sanding using 220 grit (or 320 grit for water-based coatings) removes dust nibs, brush marks, and any texture the primer introduced. This inter-coat sanding step is what gives professional cabinet painting projects that factory-smooth appearance the result of multiple thin coats, each properly keyed before the next one goes on.
Interior sanding projects particularly cabinet painting projects and furniture painting generate significant amounts of fine dust that disperses throughout the room and settles on nearby surfaces. Managing dust proactively is both a health and a quality issue.
Connect your sander to dust collection. Most random orbital sanders and many pad sanders include a dust port that connects directly to a shop vacuum. This captures the majority of sanding dust at the source, before it becomes airborne. For any indoor painting project, this connection is non-negotiable.
Seal off the work area. Use plastic sheeting and painter’s tape to isolate the work zone from the rest of the house. Cover HVAC vents to prevent dust from entering the ductwork and distributing through the building.
Wear respiratory protection. Wood dust particularly from hardwoods, MDF, and treated lumber is a respiratory hazard. An N95 respirator is the minimum appropriate protection for any sanding project. A dust mask rated for fine particulates is essential when sanding indoors without strong ventilation.
Clean between stages. Vacuum between grit stages rather than waiting until the end. This prevents coarser particles from contaminating your finer sanding work and reduces the total volume of airborne dust at any one time.
After all sanding is complete, allow fine dust to settle for 20–30 minutes before wiping down with a tack cloth. Attempting to clean immediately after sanding simply redistributes airborne particles back onto the surface.
Yes in almost all cases, sanding before painting wood is essential for proper paint adhesion. Paint bonds to wood through mechanical grip, and sanding creates the surface texture that makes that grip possible. Skipping sanding on bare wood, previously painted surfaces, or any high-use project significantly increases the risk of peeling, chipping, and an uneven finish.
Primer improves adhesion and seals the surface, but it does not replace sanding. On a smooth or previously finished surface, primer alone cannot provide adequate mechanical grip. The correct sequence is: sand the surface, clean thoroughly with a tack cloth, apply primer, lightly sand using 220 grit once the primer cures, then apply paint. Sanding and priming work together neither step replaces the other.
For most painting projects, work through a grit sequence: start at 100–120 grit for initial sanding to remove old finish or prep the wood surface, progress to 150 grit to remove scratches from the first pass, then finish with 220 grit for a smooth, paint-ready surface. Always sand in the direction of the wood grain and avoid skipping grits in the sequence.
A random orbital sander is the most versatile tool for flat panels and large surfaces, providing efficient material removal without directional swirl marks. For edges, grooves, and detailed trim, use a sanding block on flat areas and sanding sponges on contoured or curved sections. Hand sanding with fine-grit sandpaper on a sanding block is ideal for final passes and areas a power sander can’t safely reach. Always finish with a tack cloth to remove all sanding dust before applying primer or paint.