Physical Address
304 North Cardinal St.
Dorchester Center, MA 02124
Physical Address
304 North Cardinal St.
Dorchester Center, MA 02124

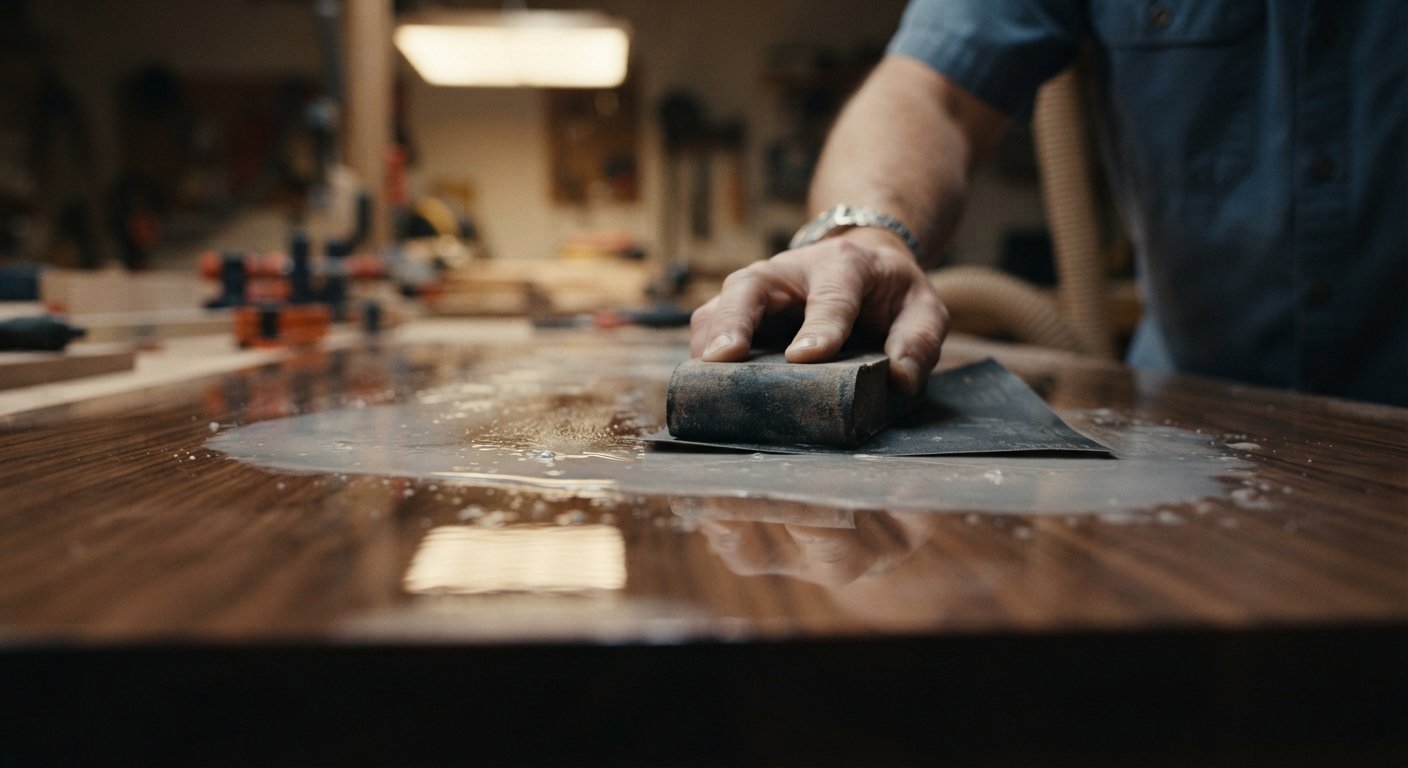
If you have ever run your hand across a wood surface and felt tiny bumps or a slightly rough texture even after sanding, you already know the frustration. That is exactly where wet sanding wood comes in. It is the technique furniture makers, luthiers, and finishing experts rely on to get that glass-like, professional touch that dry sanding alone often cannot deliver. Whether you are refinishing an old table or applying the final coat on a new project, learning how to wet sand wood properly can be the difference between an amateur look and a finish that feels store-bought.
In this guide, we will walk through everything you need to know, from the tools and grits to the exact steps for wet sanding wood the right way, along with common mistakes to avoid and answers to the questions people ask most.
Wet sanding wood is a finishing technique where water or a lubricant is used alongside sandpaper to smooth out a wood surface. Instead of sanding the wood dry, you keep the surface and the sandpaper slightly damp throughout the process. This might sound like a small change, but it makes a noticeable difference in the final result. The moisture acts as a cushion between the abrasive grit and the wood, allowing the paper to glide instead of scratch.
This method is most often used on finished surfaces, such as varnish, lacquer, polyurethane, or shellac, rather than raw wood. It is the step that turns a good finish into an exceptional one.
The science behind wet sanding is simple. When you sand dry, tiny particles of wood or finish get lifted off and often get trapped under the sandpaper. Those trapped particles cause fine scratches, sometimes called swirl marks, that you can see once light hits the surface at an angle. Water washes those particles away as you sand, carrying the debris off the surface instead of letting it grind in.
This is also why wet sanding wood produces a finer, more even texture. The lubricant reduces friction and heat buildup, which means the abrasive grit cuts more consistently across the entire surface. The result is a finish that looks polished rather than scuffed.
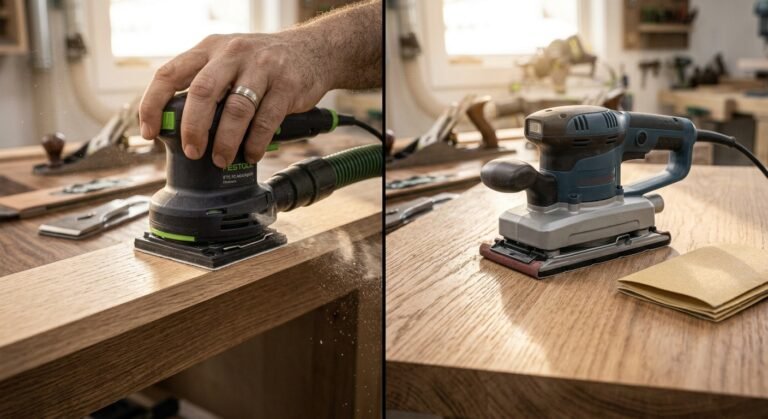
Before going further, it helps to understand Wet vs Dry Wood Sanding: Which Should You Use? Dry sanding is faster and better suited for shaping wood, removing old paint, or leveling rough boards. It is the method most people start with because it requires no extra setup. Wet sanding wood, on the other hand, is a finishing step. It is not meant to remove large amounts of material but rather to refine a surface that has already been shaped and finished.
Think of dry sanding as the rough carpentry stage and wet sanding as the detailing stage. Skilled woodworkers often use both in the same project, moving from dry sanding early on to wet sanding wood techniques once the finish coats have been applied.
People choose to wet sand for a few clear reasons. First, it produces a smoother texture with far less visible scratching. Second, it keeps dust down significantly, which is a big deal if you are working indoors or have respiratory concerns. Third, it helps you level out finish coats without accidentally burning through the wood grain underneath, something that happens more easily with aggressive dry sanding.
If you have ever admired a piano finish or a high-gloss tabletop, chances are wet sanding played a role in achieving that mirror-like surface.
There are several practical advantages worth mentioning. Wet sanding reduces airborne dust, which protects your lungs and keeps your workspace cleaner. It also extends the life of your sandpaper since the water prevents the grit from clogging as quickly. On top of that, the technique gives you better control, because the lubricated surface slows down the sanding action just enough to prevent gouging or uneven pressure spots.
Another underrated benefit is heat reduction. Dry sanding, especially with a power sander, can generate friction heat that softens certain finishes and causes the sandpaper to gum up. Water sanding wood keeps everything cool and workable.
Wet sanding shines in specific situations. It is ideal when you are working on a finished piece and want to smooth out brush strokes, dust nibs, or orange peel texture from spray finishes. It also works well before applying a final coat of wax or polish, since it creates the perfectly even base that makes topcoats look flawless.
If you are restoring an antique or working on a high-end piece where appearance really matters, wet sanding wood should be part of your process rather than an optional extra step.
Wet sanding works best on hardwoods and surfaces that have already been sealed or finished. Dense woods like oak, maple, walnut, and mahogany respond particularly well because they hold a finish evenly and are less prone to swelling from moisture exposure. Raw, unsealed softwoods are generally not good candidates, since water can soak into the open grain and cause the fibers to swell or raise.
Most film-building finishes are suitable for wet sanding, including polyurethane, lacquer, varnish, and shellac. These finishes create a hard, sealed layer on top of the wood, which means the water stays on the surface instead of soaking into the material underneath. Oil finishes and unsealed wood should be avoided, since there is no protective barrier to keep moisture out.
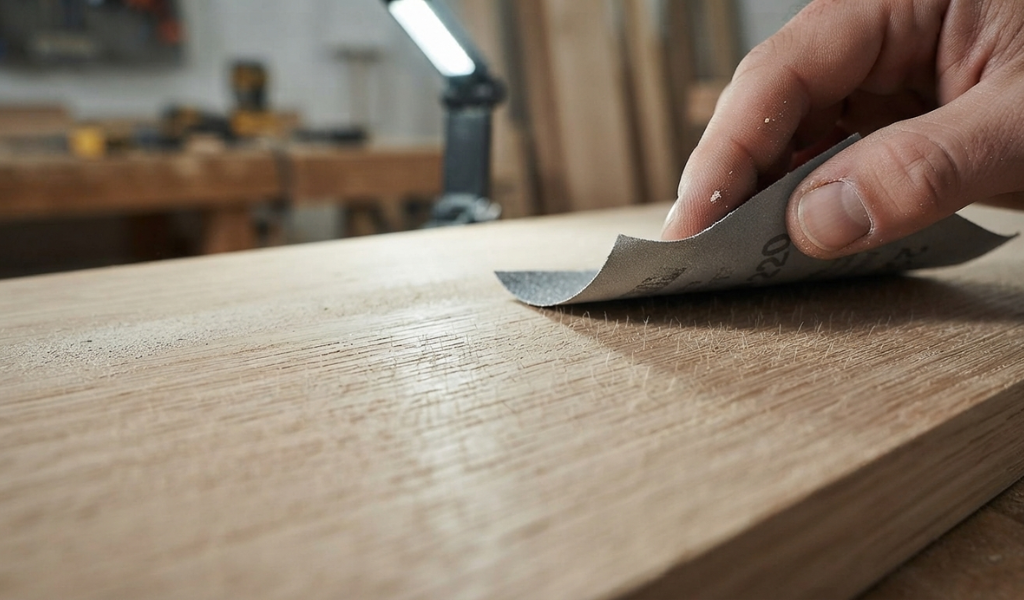
For wet sanding, you need waterproof sandpaper, often labeled as wet or dry sandpaper. This type is usually silicon carbide based and designed specifically to hold up under moisture without falling apart. Regular sandpaper will disintegrate quickly once it gets wet, so this is not a step to skip.
Plain water works fine for most projects, but many professionals prefer a light mineral oil or a specialized sanding lubricant for finer finishing work. These lubricants reduce friction even further and can help achieve an extra smooth result on high-gloss finishes.
Even though wet sanding wood reduces dust, you should still wear gloves to protect your hands from prolonged moisture exposure, along with safety glasses if you are using a power sander. A rubber sanding block or a soft pad also helps distribute pressure evenly and protects your fingers from fatigue during longer sessions.
Grit selection depends entirely on what stage you are at. Coarser grits, in the 320 to 400 range, are used to knock down noticeable imperfections in a finish coat. Medium grits, around 600 to 800, are used for general smoothing between coats. Fine grits, from 1000 all the way up to 2000 or higher, are reserved for the final polishing stage where you want that ultra smooth, almost glass-like feel.
If you are working with a thick polyurethane coat, starting at a lower grit like 400 makes sense before moving up in stages. For delicate finishes like shellac, it is often safer to start higher, around 600, to avoid removing too much material. The general rule with wet sanding wood is to always progress gradually rather than jumping straight to the finest grit, since skipping steps leaves visible scratch patterns behind.
Start by making sure the finish coat you are sanding has fully cured. Sanding a finish that is still soft will just gum up your sandpaper and create a mess. Wipe down the surface to remove any loose dust or debris before you begin.
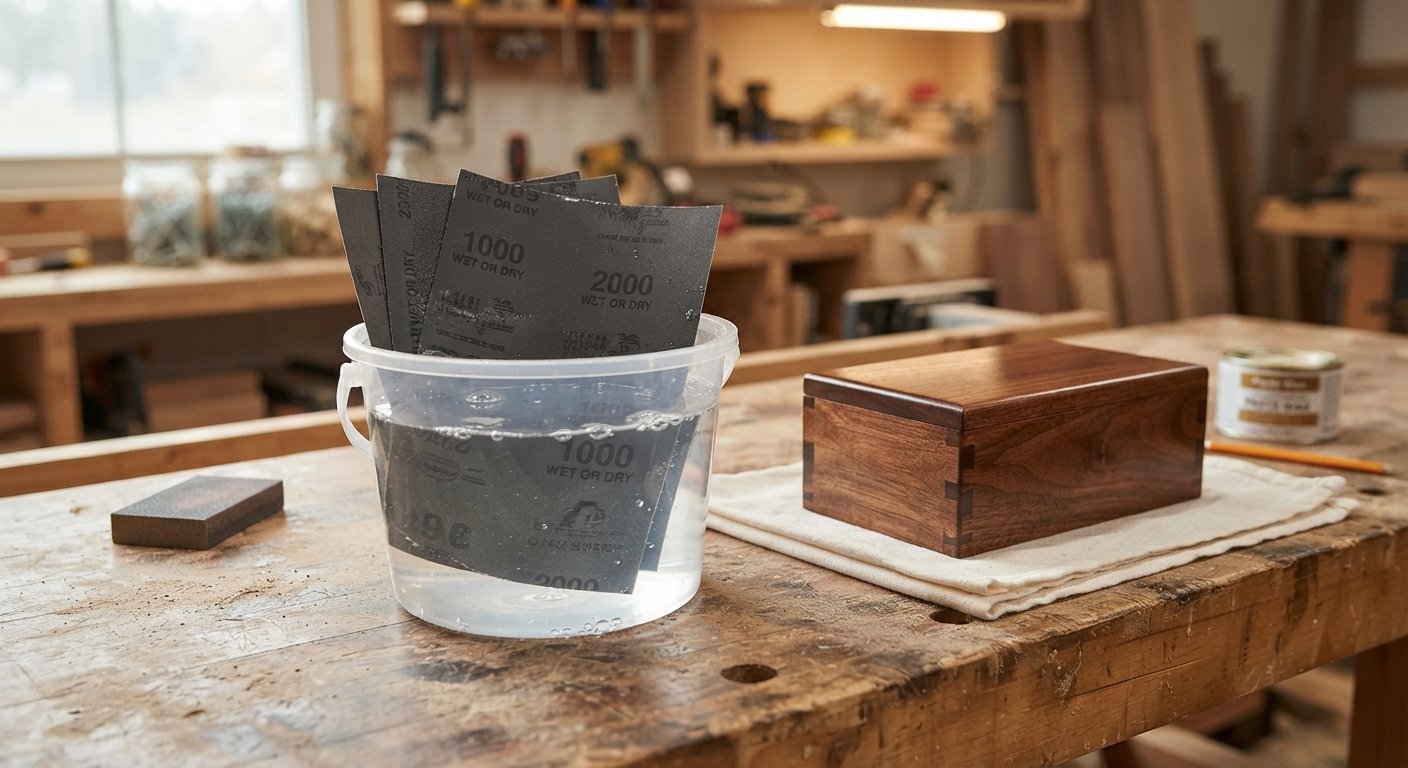
Submerge your wet or dry sandpaper in a bucket of water for a few minutes before use. This softens the paper slightly and makes it more flexible against the wood surface. Keep the bucket nearby so you can re-dip the paper as you work.
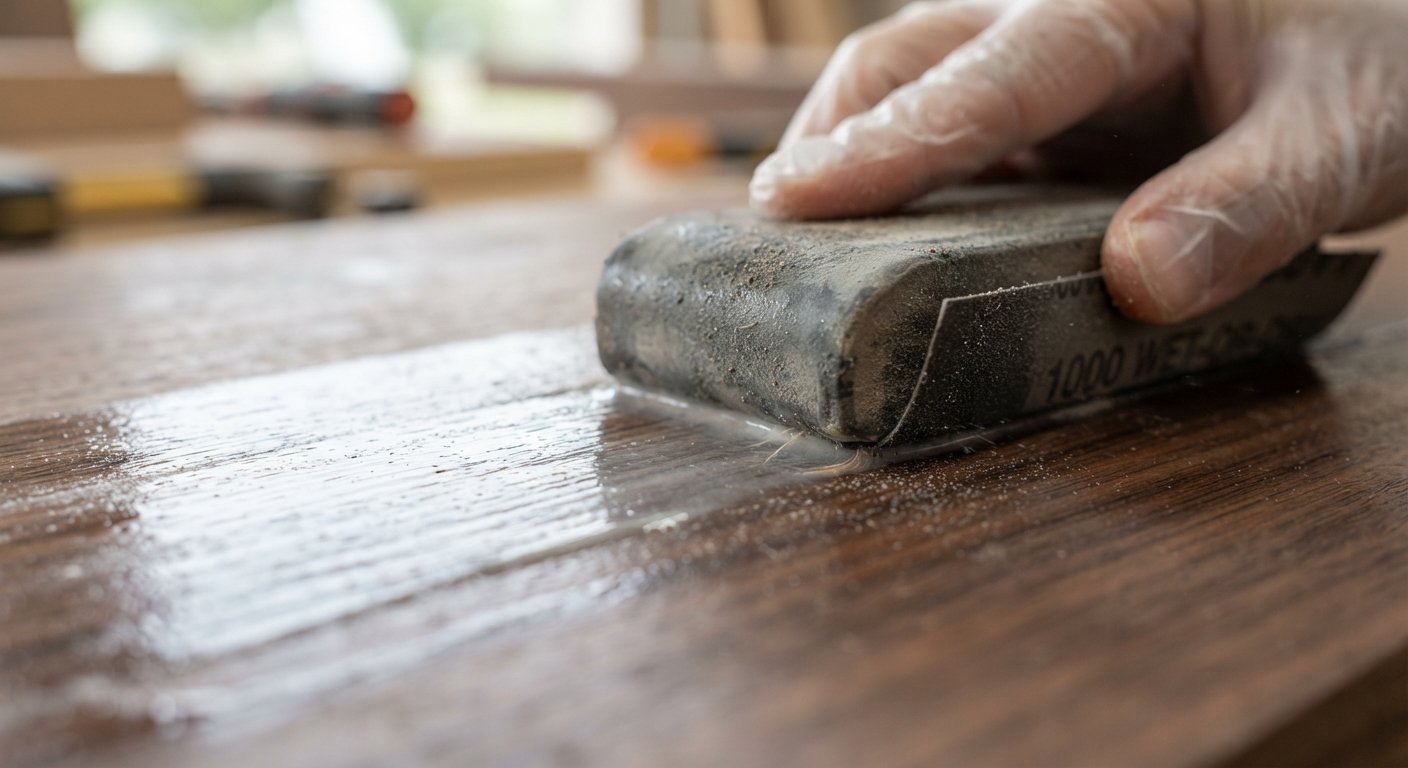
Using a sanding block wrapped in the wet paper, move in smooth, even strokes with light pressure. There is no need to press hard since the water and the fine grit are doing the work for you. Keep the surface consistently damp, adding more water as needed, and sand in the direction of the grain whenever possible.
Every so often, wipe the surface clean with a soft cloth and check your progress under good lighting. This lets you catch any uneven spots or missed areas before they become a bigger problem later on. Continue working through your grit progression until the surface feels uniformly smooth.
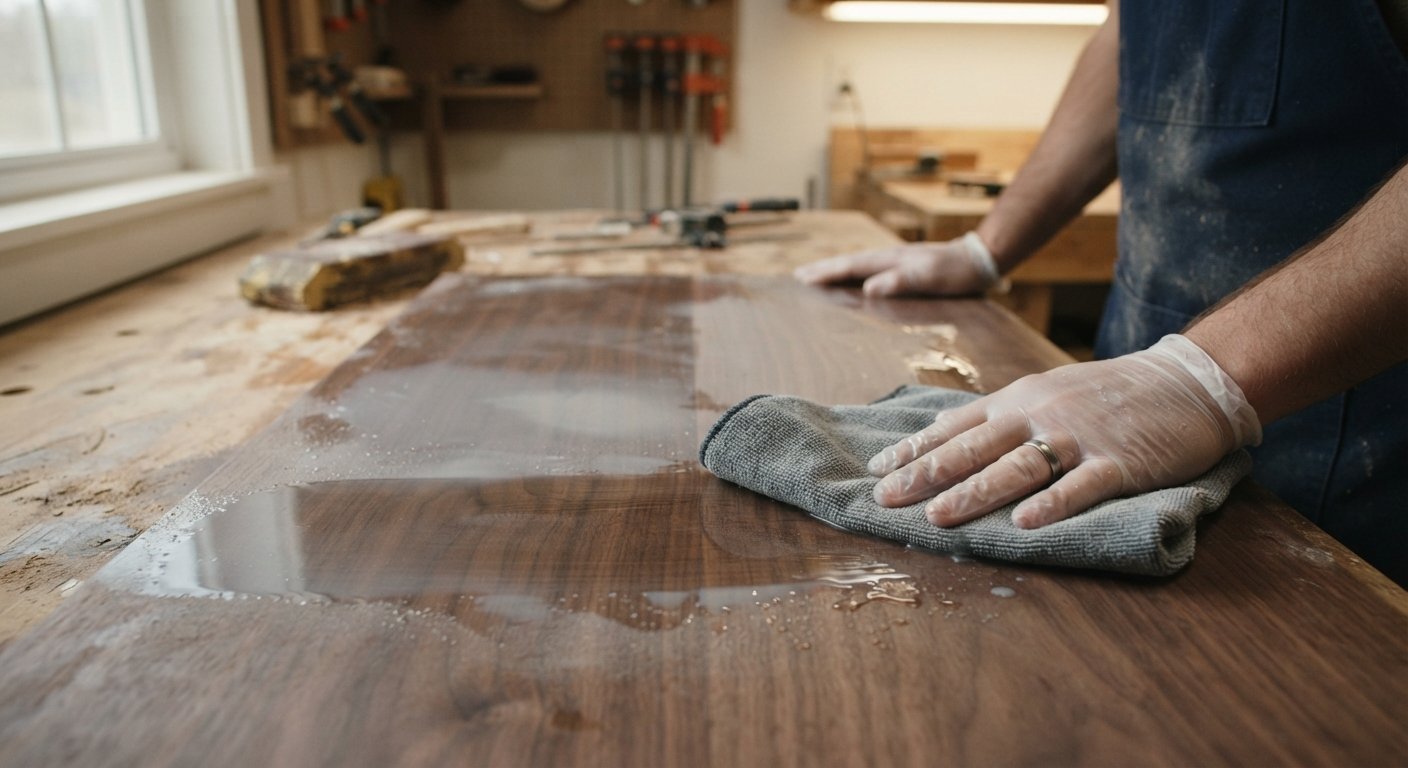
Wet sanding between coats is one of the most common uses of this technique. After each coat of varnish or lacquer dries, small dust particles or brush marks can settle into the surface. A light wet sanding pass, usually with a fine grit like 800 or 1000, smooths these imperfections out and gives the next coat a better surface to bond with.
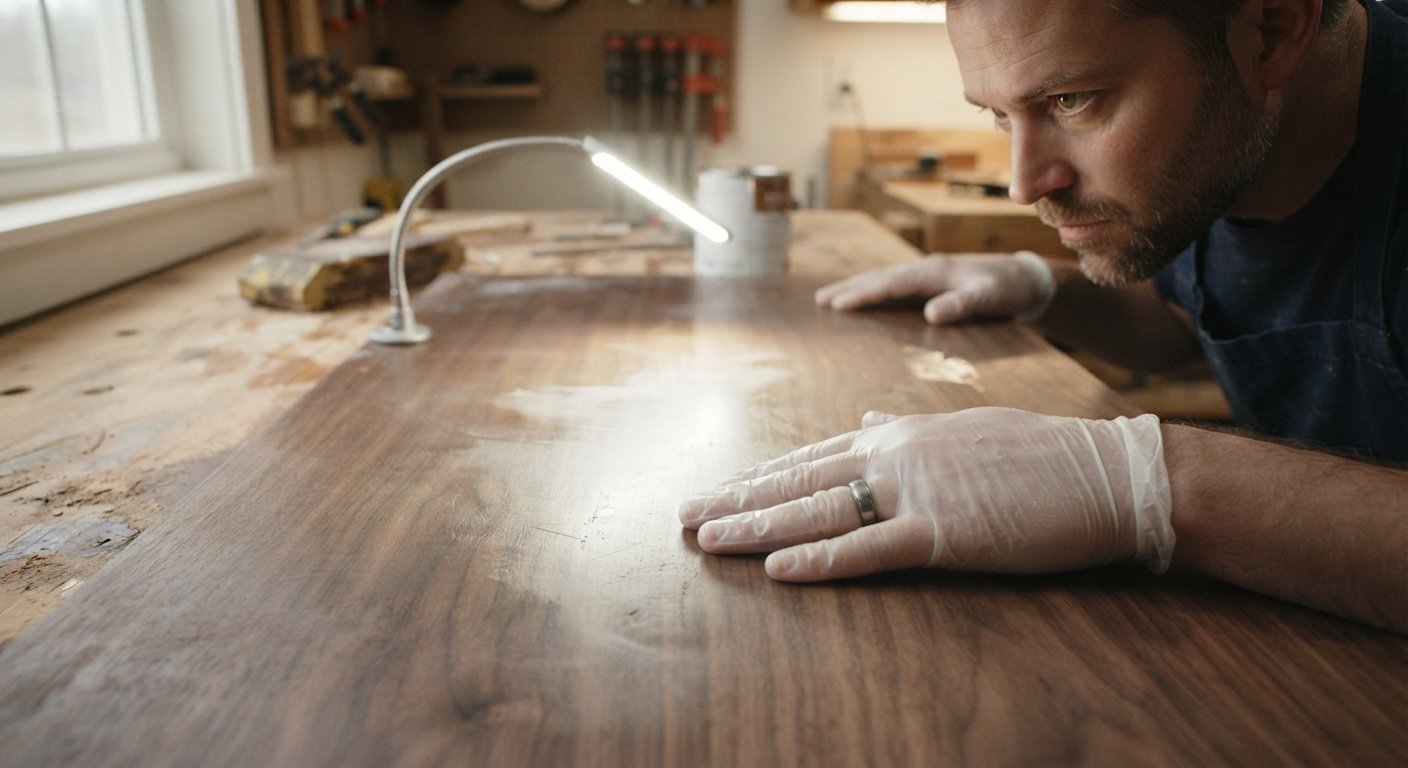
The biggest risk when wet sanding between coats is sanding too aggressively and cutting through to bare wood. To avoid this, use very light pressure and check your progress frequently. If you start to see the wood color coming through unevenly, stop immediately and let that area build back up with the next coat before continuing.
Circling back to this comparison, the choice really comes down to the stage of your project. Dry sanding is the right call for shaping, removing old finishes, or leveling large uneven surfaces quickly. Wet sanding wood takes over once you are refining a finish rather than reshaping the material itself. Many experienced woodworkers use dry sanding for the bulk of the work and finish with a wet sanding pass to bring out that final polished look.
Dry sanding is faster, requires less cleanup preparation, and works on any type of wood, including raw and unsealed surfaces. However, it produces more dust, generates more heat, and can leave visible scratch marks if not done carefully.
Wet sanding wood produces a smoother, more refined finish with far less airborne dust, and it keeps the sandpaper working longer without clogging. The tradeoffs are that it takes more time, requires the wood to already be sealed or finished, and involves extra cleanup with water and cloths afterward.
It might seem like more water equals a better result, but flooding the surface actually makes it harder to control your sanding and can cause water to seep into any unsealed edges or seams. A light, consistent dampness is all you need.
Pressing too hard defeats the purpose of wet sanding. The technique is meant to be gentle and gradual. Heavy pressure can quickly sand through a finish coat, undoing all the careful work you put into building it up.
Jumping to a grit that is too fine too early leaves earlier imperfections untouched, while starting too coarse on a delicate finish can cause unnecessary damage. Following a proper grit progression, moving gradually from coarser to finer, is essential for a clean result.
Once you have finished wet sanding wood, wipe the surface down thoroughly with a clean, dry cloth to remove all moisture and any remaining sanding residue. Let the piece air dry completely for at least a few hours before moving on, since trapped moisture can interfere with the next coat.
If you plan to apply stain or an additional topcoat, make sure the surface is completely dry and free of dust. A tack cloth works well here to pick up any last particles that a regular cloth might miss.

The final step is applying your chosen topcoat, whether that is wax, oil, or another layer of varnish, over the freshly wet sanded surface. Because the surface is now so even, the topcoat will sit smoothly and reflect light evenly, giving you that professional, showroom quality look.
Wet sanding wood is one of those techniques that separates a decent finish from a truly outstanding one. It takes a bit more patience and a few extra tools compared to dry sanding, but the payoff in smoothness and clarity is well worth it. Whether you are refinishing furniture, working on a music instrument, or just want your next woodworking project to look polished and professional, adding a wet sanding pass to your process will make a real difference. Grab some wet or dry sandpaper, a bucket of water, and give it a try on your next finish coat. Your hands, and your eyes, will notice the difference immediately.
Can you wet sand raw, unfinished wood?
It is not recommended. Raw wood absorbs water, which causes the grain to swell and raise, leading to a rougher surface once it dries. Wet sanding works best on sealed or finished surfaces.
How long should sandpaper soak before wet sanding?
Soaking the sandpaper for about five to ten minutes in water is usually enough to soften it and prepare it for use.
Does wet sanding remove scratches completely?
Yes, as long as you follow the correct grit progression. Starting too coarse or skipping grits can leave some scratches behind, so working gradually through the grits is key.
Can I use a power sander for wet sanding wood?
Yes, some random orbital sanders are designed for wet use, but you need to check that your specific tool is rated for it, since water can damage sanders not built for wet conditions.
What is the best grit to finish with after wet sanding?
Most professionals finish around 1500 to 2000 grit for a glass-smooth surface, though the exact number depends on the type of finish and the look you want.
Is wet sanding necessary for every woodworking project?
Not always. It is most valuable for high-gloss finishes, furniture pieces, and any project where a flawless surface matters. Simpler or rustic projects may not need it.
Can wet sanding damage the wood underneath the finish?
It can, if too much pressure is applied or the wrong grit is used, potentially sanding through to bare wood. Using light pressure and checking your progress often prevents this.