Physical Address
304 North Cardinal St.
Dorchester Center, MA 02124
Physical Address
304 North Cardinal St.
Dorchester Center, MA 02124

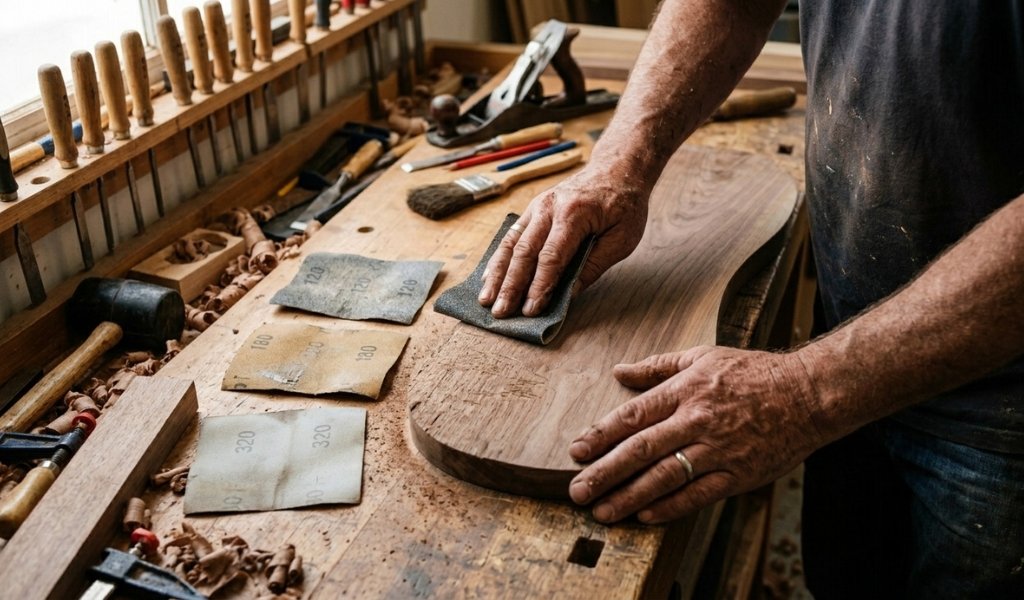
Walk into any hardware store and the sandpaper aisle can stop you cold. Dozens of grits, four or five abrasive types, sheets, discs, sponges and no obvious guidance on which one to grab. Pick the wrong one and you’ll either tear up a surface that needed gentle prep, or spend an hour barely scratching a tough old finish that needed something far more aggressive.
This guide cuts through the confusion. Whether you’re prepping bare wood for stain, knocking back a rough-sawn board, or laying down finish coats on a cabinet you’ve spent weeks building, sanding is the skill that determines whether your final result looks professional or amateur. Here, you’ll learn exactly how sandpaper grit is measured, which abrasive types suit which jobs, how to read a grit chart with confidence, and which formats and tools match each stage of a wood project. By the end, you’ll know not just which sandpaper to choose but why.
Sanding paper, often called sandpaper or abrasive paper, is a sheet material made by bonding abrasive grains onto a flexible or rigid backing. The abrasive particles act as thousands of tiny cutting edges that shave away wood fibers, remove old finish, smooth surface imperfections, or refine texture depending on how coarse or fine those particles are.
Grit is the number printed on the back of every piece of sandpaper, and it tells you the size of the abrasive particles bonded to the sheet. The measurement comes from a standardized mesh-screening process: manufacturers sift particles through a screen with a specific number of holes per square inch. A 60-grit sandpaper passes its particles through a mesh with 60 openings per square inch. A 220-grit sheet uses a much finer mesh 220 openings per square inch meaning the particles that pass through are significantly smaller.
The practical result: lower grit numbers = larger, coarser particles that cut aggressively. Higher grit numbers = smaller, finer particles that refine and polish. This is the inverse relationship that confuses beginners most often. Coarser sandpaper has a lower number.
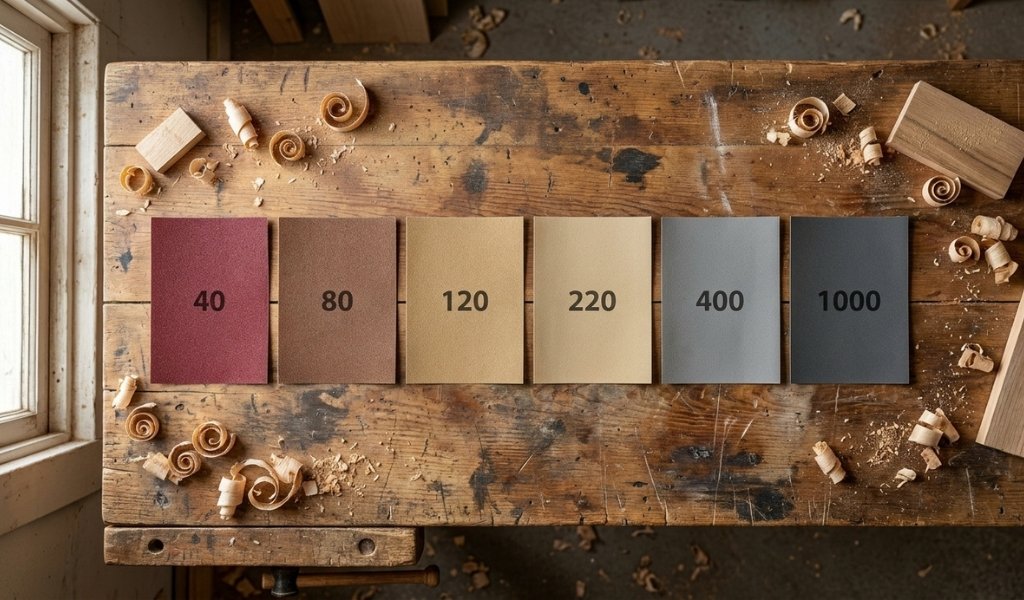
Finer sandpaper has a higher one.
Most sandpaper sold in North America follows the CAMI (Coated Abrasives Manufacturers Institute) grading standard, though some premium European and Japanese products use the FEPA (Federation of European Producers of Abrasives) “P-grade” system. P-graded sandpaper marked with a “P” before the number (e.g., P180) uses slightly different particle-size tolerances at finer grits, particularly above 150. For most woodworking DIY projects, CAMI-graded sandpaper works well. At fine grits used for polishing and finishing work, P-graded products often deliver more consistent results.
Not all sandpaper is built from the same materials, and that distinction matters for performance, durability, and cost. Two variables define every sheet: the abrasive grain and the backing it’s bonded to.
Abrasive Grain Types
Aluminum oxide is the most widely used abrasive material in woodworking sandpaper. It’s a synthetic mineral that’s hard, tough, and critically self-sharpening. As aluminum oxide particles wear during use, they fracture and expose fresh cutting edges rather than dulling into smooth, rounded nubs. This property makes aluminum oxide sandpaper exceptionally durable and versatile across all grit ranges, from coarse stock removal to fine finish prep. If you’re choosing sandpaper for general wood projects and want one reliable option, aluminum oxide is it.
Silicon carbide is harder and sharper than aluminum oxide, but also more brittle. It cuts fast and leaves a fine, consistent scratch pattern, which makes it the preferred abrasive for wet sanding between finish coats, sanding cured varnish or primer, and working with hard, dense materials like metal or ceramic tile. On bare wood, silicon carbide wears more quickly than aluminum oxide, making it less cost-effective for heavy stock removal. Its waterproof backing variants are specifically engineered for wet sanding applications where water or mineral spirits serves as a lubricant.
Garnet is a natural mineral abrasive that’s softer than either synthetic option. Garnet sandpaper dulls faster, but it produces a refined, polished surface texture that many experienced woodworkers prefer for final hand sanding before staining. Because garnet particles don’t fracture they simply wear smooth; the scratch pattern they leave becomes progressively finer as the paper ages. Some woodworkers deliberately use worn garnet paper for that final pass before applying stain.
Ceramic abrasives are the premium option, primarily found in aggressive-cut products designed for power sanders and heavy material removal. Ceramic grains are exceptionally hard and self-sharpening, outlasting aluminum oxide in demanding applications. Expect to pay more but on large sanding jobs, ceramic abrasives often deliver a lower cost-per-square-foot due to their extended lifespan.
Backing Materials
The backing determines how the sheet behaves under use, how well it resists tearing, how much it flexes around contours, and whether it holds up to wet sanding.
Choosing the right grit isn’t guesswork; it follows a logic based on how much material you need to remove and what surface quality you’re working toward. Here’s how each grit range functions in real woodworking applications.
Coarse grit sandpaper is the heavy equipment of the abrasive world. Grits in the 36–80 range cut aggressively, remove material quickly, and are built for situations where you need to significantly alter the surface before refining it.
36–60 grit handles the most demanding jobs: stripping thick layers of old paint or varnish, flattening severely cupped or warped boards, removing deep mill marks left by a planer or jointer, and knocking down glue squeeze-out on joined panels. At this grit range, material disappears fast but so does your margin for error.
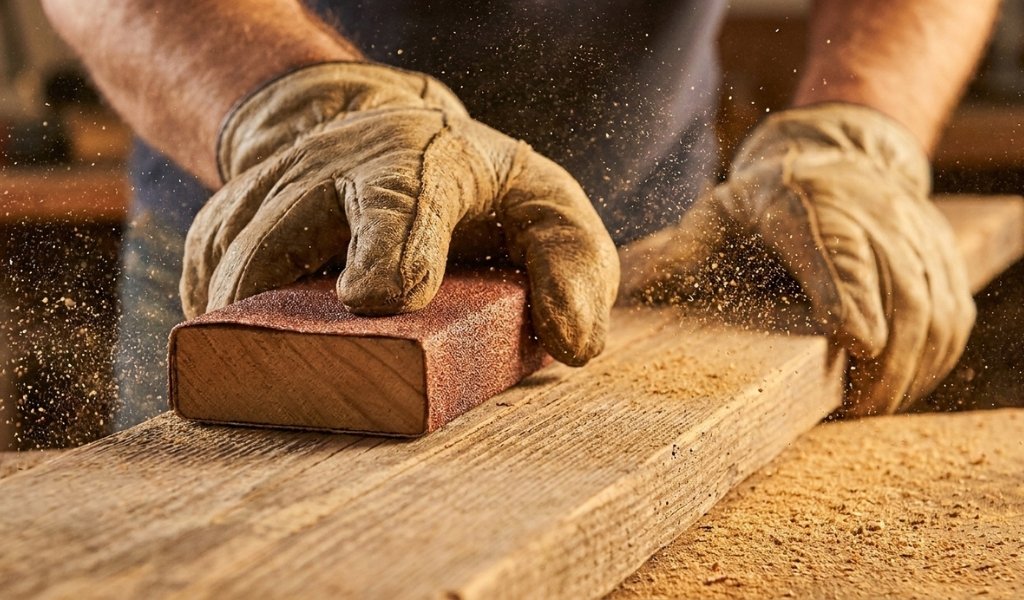
Coarse sandpaper leaves deep scratches that must be worked out through subsequent grits. Start here only when the surface genuinely demands it.
80 grit is still a coarse grit, but it serves as a transition point. After using 36 or 60 grit to address severe problems, 80 grit begins leveling the surface and removing the deepest scratches left behind. It’s also a reasonable starting grit for rough-sawn lumber that hasn’t been planed, or for wood with significant surface tear-out.
One common mistake at this stage: applying excessive pressure to speed up removal. Coarser sandpaper with a lower grit number already cuts aggressively pressing harder doesn’t improve results. It accelerates wear on the abrasive, increases the risk of gouging, and creates uneven surfaces that take longer to correct in later stages. Let the grit do the work.
Medium grit sandpaper handles the bulk of surface preparation for most wood projects. These grits remove the scratches left by coarse sanding, level minor surface irregularities, and bring the wood to a state where fine-grit finishing can take over.
100–120 grit is the standard starting point for wood that’s already been planed or is in reasonably good condition. 120-grit sandpaper removes light mill marks, surface roughness, and the residual scratch pattern from coarser grits efficiently. On hardwoods like oak or maple, starting at 120 grit is often the right call; these dense species don’t require aggressive cutting unless a specific defect demands it.
150 grit is a pivotal medium grit. It removes the scratches left by 120-grit sandpaper without crossing into fine-grit territory too early. On softwoods, 150 grit can serve as the final preparation step before moving to 180 or 220. On hardwoods, it’s an important intermediate stage that ensures the transition to fine-grit work is clean. Skipping from 120 directly to 180 or 220 is a common error that leaves scratch patterns the finer paper struggles to fully remove.
At the medium grit stage, it’s worth using the pencil line trick: draw a wavy line across the surface before beginning each grit. Sand until the line disappears completely. Once it’s gone, you’ve covered the entire surface evenly at that grit and can move on with confidence.
Fine grit sandpaper is where woodworking transitions from surface preparation to finish preparation. The goal shifts from removing material to refining texture and creating the uniform, open surface that accepts stain and finish evenly.
180–220 grit is the pre-finish zone. Most woodworkers finish their final sanding on bare wood at 180 or 220 grit before applying stain, primer, or a first coat of varnish or paint. At 220, the wood surface feels genuinely smooth, the grain is open and receptive, and the scratch pattern is fine enough that it won’t telegraph through a finish coat.
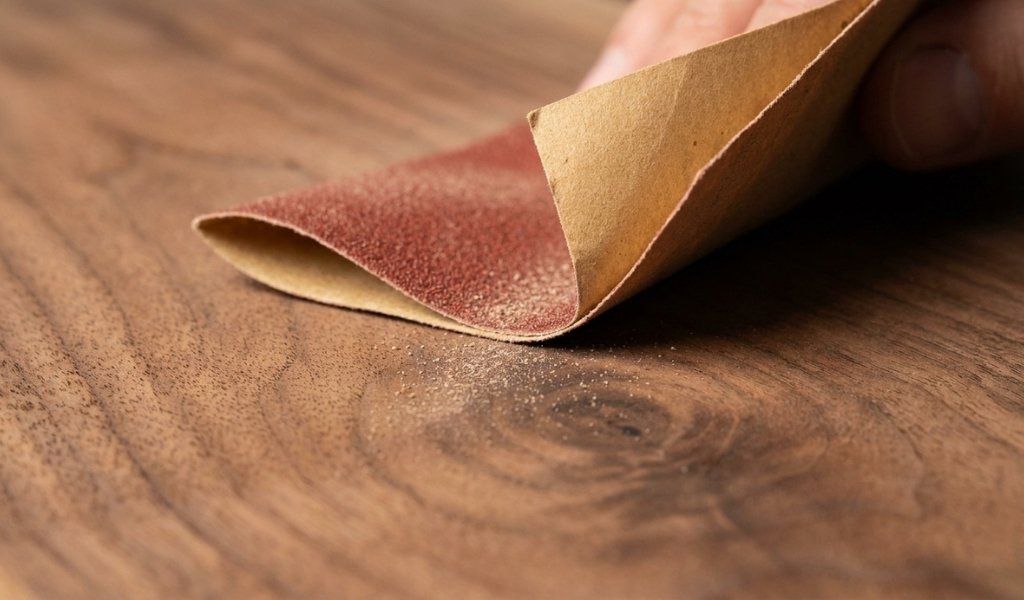
A final hand-sanding pass at 220-grit always with the grain is standard practice before any finish application. Going finer than 220 on bare wood before staining can actually close the grain too much, preventing even stain penetration on certain species.
240–320 grit moves into between-coat territory. After the first coat of finish dries, lightly sanding with 320 grit knocks down dust nibs, brush marks, and any grain that has raised due to moisture in water-based finishes. The goal isn’t to sand through the finish, it’s to level it. Wipe thoroughly with a tack cloth before applying the next coat.
400 grit and above is for detail sanding between finish coats and light polishing. Very fine grit removes minor imperfections in cured varnish or lacquer without cutting aggressively into the finish layer. Above 600, wet sanding becomes practical using water or mineral spirits as a lubricant to cut the surface ultra-gently. Wet sanding with silicon carbide on waterproof paper at 800–1500 grit, followed by polishing compound, can bring a cured finish to a near-mirror clarity that dry sanding alone can’t achieve.
Standard sandpaper sheets, typically 9 × 11 inches are the most versatile format in the shop. A full sheet can be cut or folded to fit almost any application, from wrapping around a sanding block to fitting a palm sander’s clamp system.
For hand sanding flat surfaces, always use a sanding block. A rigid block wood, rubber, or cork distributes hand pressure evenly across the entire contact surface. Sanding bare-handed concentrates pressure at your fingertips, creating low spots and an uneven surface that’s difficult to correct. On flat panels, doors, or tabletops, a firm sanding block is non-negotiable for quality results.
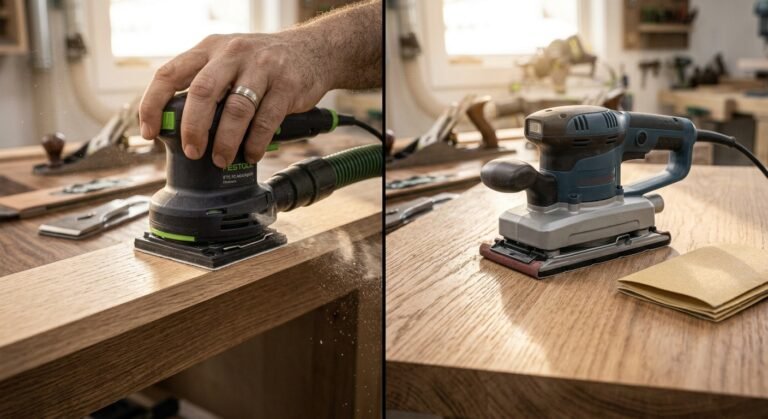
Palm sanders (also called sheet sanders or finish sanders) use quarter- or half-sheet pieces of standard sandpaper clamped into a rectangular pad. The pad oscillates in small, tight orbits, covering flat surfaces efficiently without the directional scratching that older single-orbit designs produced. Palm sanders excel on flat surfaces at medium to fine grits; they’re gentler than orbital sanders and particularly effective for finishing sanding close to edges where you want consistent, controlled results.
For sheet sandpaper selection in a hand sanding context, A-weight paper backing offers the most flexibility for contoured work and detail areas. Heavier D or E-weight paper is better suited for the clamping pressure and motion of power sanders.
Sanding discs are circular abrasive sheets designed for random orbital sanders, the most versatile power sanding tool in most woodworking shops. Discs attach via hook-and-loop (Velcro-style) fasteners or PSA (pressure-sensitive adhesive) backing. Hook-and-loop discs are preferable for most applications because they can be removed and reattached, allowing you to swap grits quickly without wasting paper.
Random orbital sanders move the disc in an elliptical pattern that randomizes the scratch direction, preventing the swirl marks that plagued older single-orbit designs. The result is a surface that’s sanded more uniformly and requires less hand-sanding cleanup before finishing. Most random orbital sanders also include a dust collection port connecting to a shop vacuum is strongly recommended. Wood dust accumulates fast and poses genuine respiratory risks, particularly with hardwoods and MDF.
Disc grits follow the same selection logic as sheet sandpaper: coarse discs for aggressive stock removal, medium for surface leveling, fine for pre-finish prep. Premium ceramic disc products last significantly longer than standard aluminum oxide on high-volume sanding jobs worth the cost if you’re working large surfaces regularly.
Sanding sponges are foam-backed abrasive pads that flex and conform to curved, contoured, and irregular surfaces. They’re the right tool for sanding chair legs, table aprons, carved profiles, or any surface that a rigid block or flat disc can’t follow. Sanding sponges come in a range of grits from coarse to fine, and many are washable and reusable, a cost-effective choice for detail-heavy furniture work. On inside curves and cove profiles, a contoured sanding sponge maintains consistent contact where flat tools leave high and low spots.
For very tight contours inside corners, beaded moldings, narrow flutes fold a piece of sandpaper into a sharp edge, or wrap it around a dowel or pencil that matches the profile radius. These improvised sanding tools give precise contact and control in areas where no manufactured tool fits properly.
For most wood projects, aluminum oxide sandpaper is the best all-around choice. It’s durable, self-sharpening, available in all grit ranges, and performs reliably on both hardwoods and softwoods. Use silicon carbide for wet sanding between finish coats, and garnet if you prefer a natural mineral abrasive for final hand-sanding before stain.
200-grit sandpaper is significantly finer than both 80 and 120 grit. Remember: higher grit numbers mean smaller abrasive particles and a finer cut. 80-grit is a coarse sandpaper suited for heavy stock removal, 120-grit is a medium grit for surface preparation, and 200-grit falls in the fine range used for pre-finish smoothing and light between-coat sanding.
Yes 220 grit is the standard final-sanding grit before applying stain, varnish, paint, or primer to bare wood. At 220, the surface is smooth and the grain is sufficiently open to accept finish evenly. Going finer than 220 on bare wood before staining can over-close the grain on certain species, resulting in uneven color absorption.
Always sand with the grain of the wood, never across it or at an angle to it. Sanding across the grain cuts perpendicular to the wood fibers, leaving deep scratches that become glaringly visible once stain or finish is applied. The second principle that follows from this: work through grits progressively and never skip grits. Each grit in the sequence removes the scratches left by the one before it. Skip a step and those scratches survive all the way to your finished surface.