Physical Address
304 North Cardinal St.
Dorchester Center, MA 02124
Physical Address
304 North Cardinal St.
Dorchester Center, MA 02124

That dripping faucet has been driving you crazy for weeks. You grab the handle, give it a turn and nothing. It won’t budge. Before you reach for the phone to call a plumber, take a breath. Learning how to remove a stuck faucet handle is something most homeowners can do on their own with the right tools and a bit of patience.
Mineral deposits, rust, and general corrosion from years of water exposure are the usual culprits behind a faucet handle that refuses to move. The good news? These are all fixable problems. This guide walks you through everything — from identifying your faucet handle type to tackling specific situations like a stuck shower faucet handle, a bathtub faucet handle, or even a handle with no visible screws. By the end, you’ll know exactly what to do and how to do it safely.
Before pulling out your tools, it helps to know what kind of faucet handle you’re dealing with. The removal process can vary slightly depending on the design.
Lever handles are the most common type found in modern homes. They come in single or double-handle designs. Single-handle levers are found on cartridge, ball, and disc faucets, and they typically swing left to right or move up and down. Double-handle lever faucets have two separate handles one for hot water and one for cold and are usually found on compression faucets.
Blade handles look similar to lever handles but have a narrower, tapered shape a bit like a butter knife. They open with a sideways motion rather than lifting up. These are designed for easy use and can be gripped firmly when extra leverage is needed.
Cross handles have a classic X-shaped design and are most often found on compression faucets. They control water flow by twisting or turning and typically come in pairs one for hot water and one for cold.
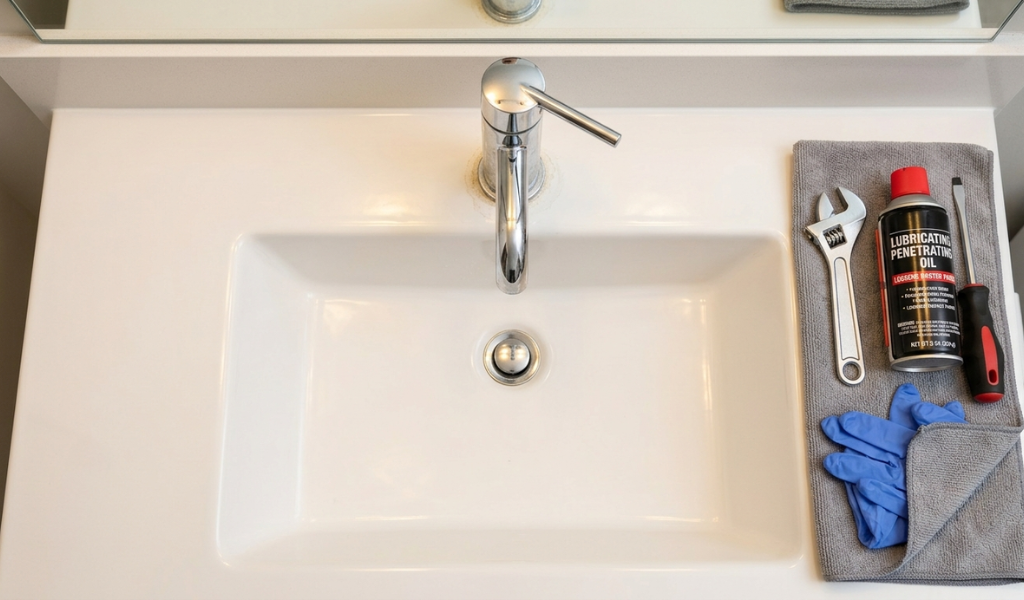
Gather these before you start so you’re not scrambling mid-job:
This step matters more than people think. Start by shutting off the water supply to the faucet you’re working on. Then turn on the faucet itself to let any remaining water drain out of the lines completely.
Let anyone else in the house know that water will be temporarily unavailable. Place a bucket or basin under the work area to catch any debris, rust flakes, or dripping water. Getting organized before you start saves a lot of frustration later.
There are several methods for freeing a stuck faucet handle, and which one you use depends on how badly it’s stuck and what’s causing the problem.
If you notice white or chalky buildup around the base of the faucet, mineral deposits are likely the cause of the problem. This is common in areas where the water supply isn’t heavily treated.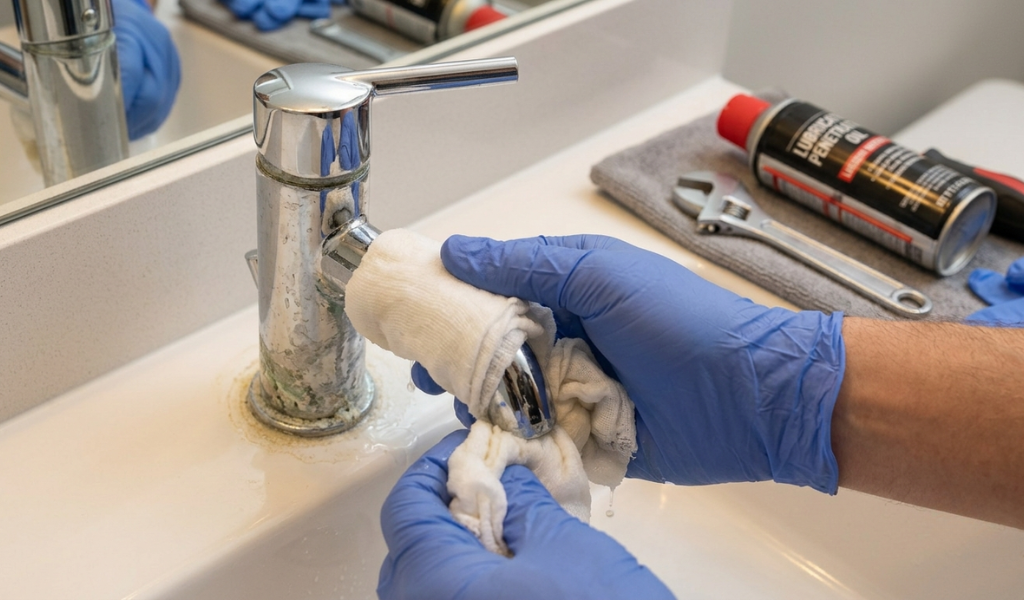
Put on latex gloves, then apply an acidic cleaning solution white vinegar works well directly to the affected areas. Soak a cloth or sponge in the solution and hold it against the faucet for several minutes. Use an old toothbrush to scrub away stubborn spots, or make a paste with baking soda and vinegar for tougher stains. After cleaning, try gently turning the handle again.
If the handle feels physically blocked rather than just stiff, corrosion inside the joint or around the valve may be the issue. You’ll often notice a yellowish-brown discoloration when this is the case.
Remove the faucet cap to access the valve. Use a stiff-bristle wire brush to remove loose rust and buildup, working your way around the entire valve. Apply a small amount of acidic solution to the brush for more stubborn spots. Once cleaned, reassemble and test. Sometimes a single firm turn is all it needs after a good cleaning.
When cleaning alone doesn’t do the trick, penetrating oil is your next move. This method works by seeping into corroded threads and loosening the grip of metal rust from the inside out.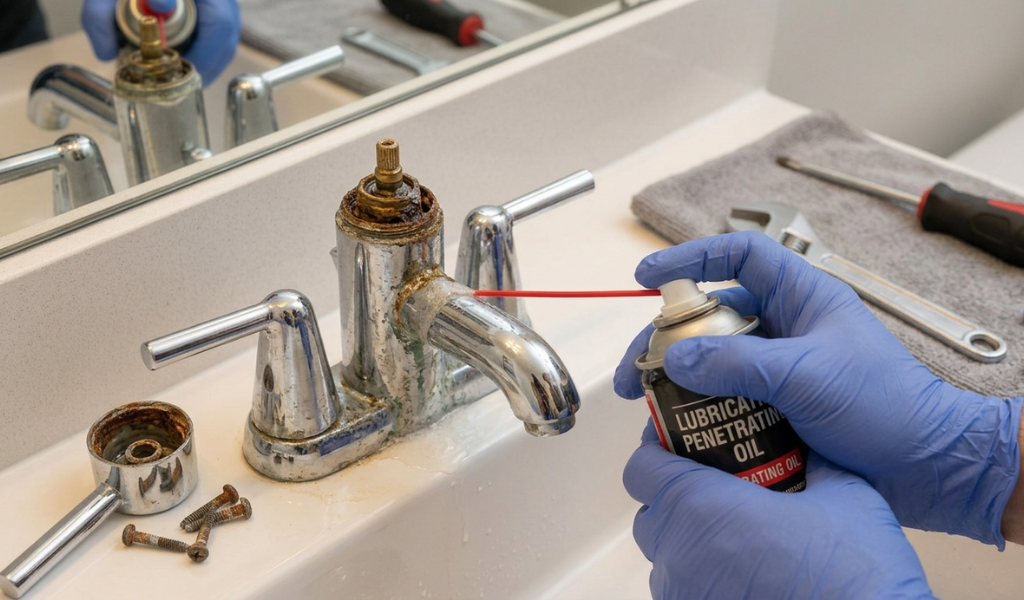
Remove the faucet cap, then spray penetrating oil into the base of the handle and directly onto the valve. Let it sit for at least 5 to 10 minutes. After soaking, try turning the handle with a dry rag for better grip. If it still won’t move, lightly tap the edge of the handle with a hammer in the direction needed for removal. If you need to use a wrench, turn it slowly and steadily avoid any sudden jerking motion, as this can snap the handle clean off.
A faucet handle puller is a specialized tool designed to remove handles that are stuck too tightly to budge by hand or wrench. It applies even, controlled force without damaging the faucet or the surrounding fixture. This tool is especially helpful when the handle shape makes it difficult to grip with a standard wrench.
Once the handle is off, you may also need to remove the faucet stem especially if you’re replacing internal parts. Here’s how to do it:
A stuck bathtub faucet handle follows the same general approach as a sink faucet, but there are a few extra things to keep in mind.
Start by spraying penetrating oil directly into the spout opening or diverter area if your tub faucet has one. Let it soak for at least two hours before attempting to turn the handle. For more stubborn spots, soaking in white vinegar for the same amount of time can also help soften mineral buildup.
Disassemble the spout or handle and inspect the inside for rust or scaling. If the spout itself is cracked or badly damaged beyond cleaning, it’s better to replace the whole piece rather than spend time trying to salvage it.
Some faucet handles don’t have visible screws the hardware is hidden underneath a decorative cap. Here’s how to handle those:
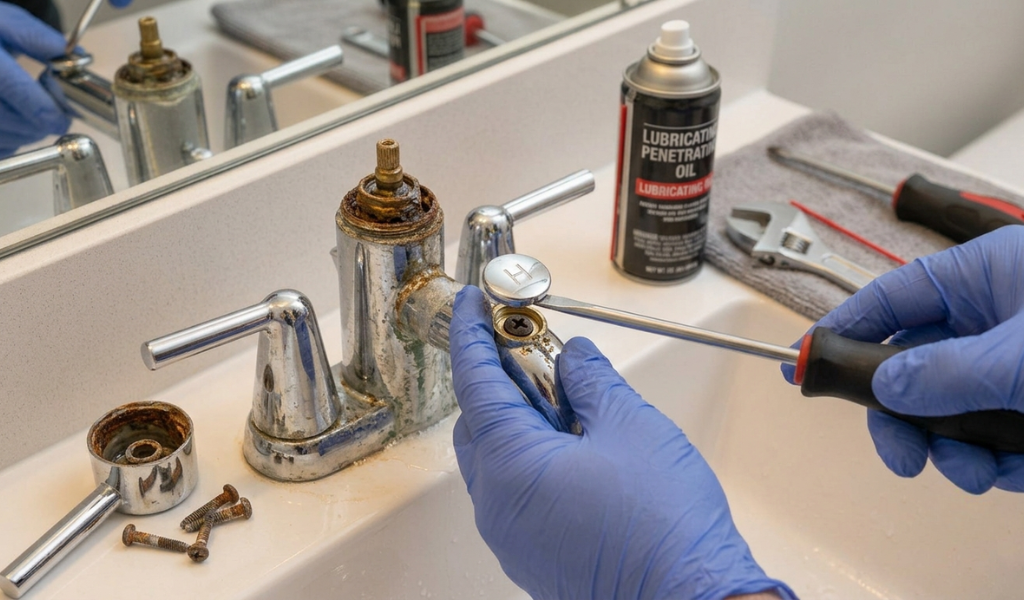
Shower faucet handles tend to get stuck more often than sink handles because the metal parts are exposed to standing water and steam on a daily basis. All the methods covered above cleaning mineral deposits, brushing off corrosion, and applying penetrating oil apply here.
One thing worth mentioning: if your shower faucet handle keeps seizing up repeatedly, it may be worth upgrading to a brass or stainless steel faucet. These materials are significantly more resistant to corrosion than zinc alloy or plastic. You can also coat or paint the exterior of your existing faucet to add a layer of protection against moisture.
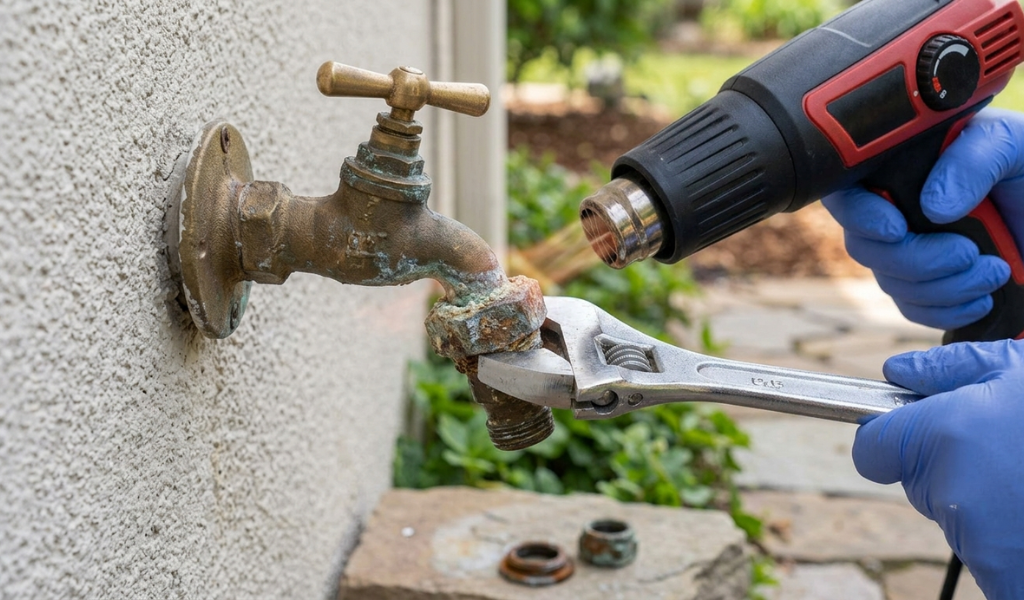
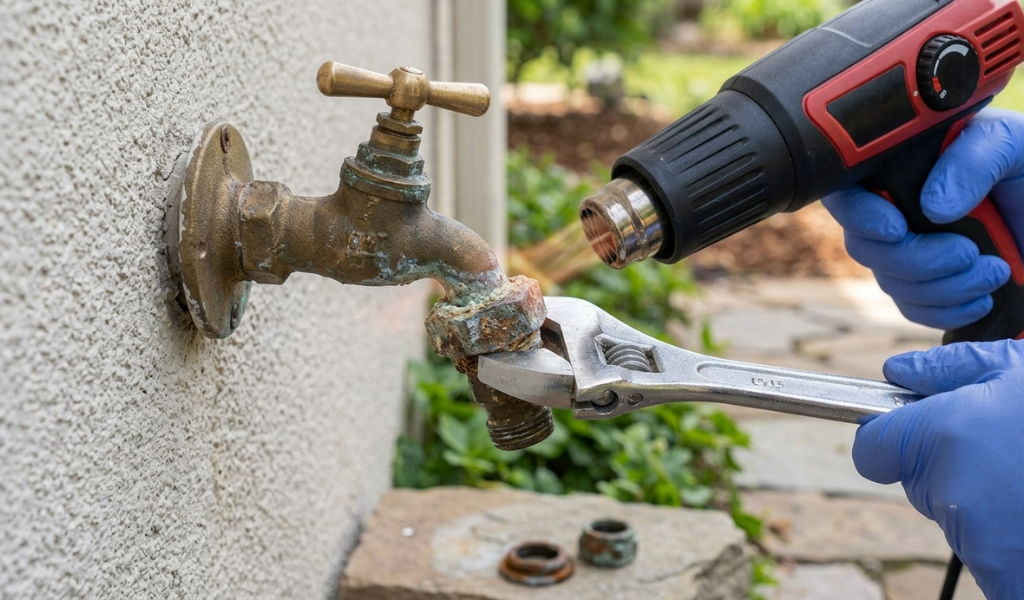
Outdoor faucets take more punishment than indoor ones. Freezing temperatures, rain, and constant exposure to the elements accelerate corrosion significantly. Here’s a step-by-step approach to removing a stuck outdoor faucet handle:
Removing handles from a double-handle faucet isn’t more complicated it just takes more time. The process is the same as what’s described above, only applied twice. Each handle controls a separate valve, and each valve can have its own level of corrosion and buildup. Work through both handles using whichever method suits the condition of each one.
Do:
Don’t:
A stuck faucet handle is one of those household problems that feels much worse than it actually is. With the right approach whether that’s dissolving mineral deposits, brushing away corrosion, or soaking the valve in penetrating oil most handles come free without calling in a professional. The key is to work through each method patiently and avoid forcing anything until the corrosion has had a chance to loosen.
Investing in brass or stainless steel faucets from the start saves a lot of trouble in the long run. But for homes already dealing with stuck hardware, this guide gives you everything you need to solve the problem yourself and keep repair costs where they belong: in your pocket.
Faucet handles typically get stuck due to mineral deposit buildup, rust, or corrosion inside the valve. Over time, constant exposure to water causes these materials to accumulate around the joints and threads, making the handle difficult or impossible to turn. Regular cleaning and maintenance can prevent this from happening.
Yes, in most cases. The key is to avoid using sudden or excessive force. Start with cleaning solutions and penetrating oil, give the oil time to soak in, and use steady pressure rather than jerking the handle. A faucet handle puller is also a good option for handles that are very tight, as it applies even force without damaging the fixture.
At least 5 to 10 minutes for a moderately stuck handle. For handles that are very corroded or have been stuck for a long time, leaving the oil to soak for 30 minutes to an hour will give better results.
Look for a small decorative cap on the face or top of the handle. Pry it off gently with a flathead screwdriver to reveal the hidden screw underneath. Remove the screw, then pull the handle off. Apply penetrating oil or cleaning solution to the valve inside if it’s still resistant.
Yes, when done carefully. A hairdryer or heat gun applied to the handle nut for around five minutes can cause the metal to expand just enough to break the grip of corrosion. Avoid using an open flame, and keep heat away from any plastic components or painted surfaces nearby.
If the faucet handle is stuck but the rest of the fixture is in good condition, repair is usually the right call. If the spout is cracked, the valve stem is severely corroded, or the faucet keeps developing problems repeatedly, replacement is the more cost-effective long-term option.
Regular cleaning is the best prevention. Wiping down faucets weekly and applying a light coat of plumber’s grease to the valve threads every year or so can significantly reduce mineral buildup and corrosion. If you live in an area with hard water, installing a water softener can also make a big difference.