Physical Address
304 North Cardinal St.
Dorchester Center, MA 02124
Physical Address
304 North Cardinal St.
Dorchester Center, MA 02124

Good woodworking, sanding and shaping can be the difference between a piece that looks store-bought and one that looks like it was thrown together in a hurry. Most beginners focus heavily on cutting and joining but the real magic happens in the finishing stages. Sand wood the right way, and even a basic pine board can look stunning. Get it wrong, and no amount of stain or varnish will hide your mistakes.
This guide is built for woodworkers at every level. Whether you’re sanding your first tabletop or refining curved profiles on a custom chair, and you’ll find practical advice here our complete guide to sanding that covers everything from grit selection and tool choices to common mistakes that even experienced woodworkers make. By the end, you’ll know exactly how to approach any wood sanding project with confidence.
Wood sanding isn’t just about making a surface feel smooth to the touch. It directly affects how a finish looks, how well it adheres, and how long it lasts. Sanding opens the wood’s pores, allowing stains to penetrate evenly. It removes mill marks, scratches, and surface imperfections left behind by cutting tools. Without it, even the most expensive finish will look blotchy or uneven.
Shaping, on the other hand, defines the physical form of a piece. Rounded edges feel more refined and are less likely to chip. Curved profiles add visual interest. A woodworker who understands both shaping and sanding together can take a rough-cut board and turn it into something genuinely beautiful.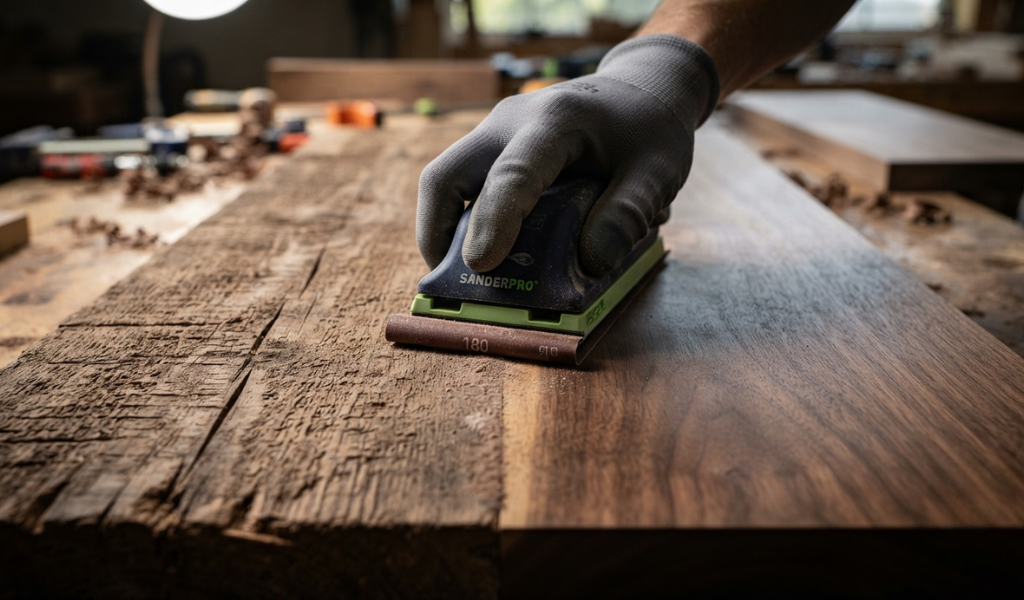
These two processes often overlap, but they serve different purposes. Shaping removes material to create a specific form, think bevels, rounded corners, curved legs, or decorative profiles. Tools like rasps, files, spokeshaves, and router bits do this work.
Sanding, by contrast, is primarily about surface refinement. It removes the tool marks left by shaping, smooths out the grain, and prepares the wood for its final finish. The two processes feed into each other: you shape first, then sand to refine what you’ve shaped.
Before you reach for any tool, think about what your project actually needs. A flat panel door and a carved chair leg call for very different approaches. Flat surfaces respond well to power sanders. Curved or detailed surfaces usually need a mix of hand tools and flexible abrasives. The type of wood also matters; dense hardwoods like oak and maple can handle aggressive sanding, while softer woods like pine scratch easily and require a lighter touch.
For many woodworkers, hand sanding is where the process begins and ends. A sanding block, a flat, firm backing that holds sandpaper in place is one of the most important tools in the shop. It distributes pressure evenly, prevents the paper from digging in at the edges, and keeps your strokes consistent. Without one, your fingers create uneven pressure points that can leave dips and low spots in the wood surface.
Cork-backed sanding blocks are popular because they grip the paper well and provide just enough cushion to conform slightly to the surface. For flat work, a hard rubber block or even a wood offcut wrapped in sandpaper works perfectly well.
Power tools speed up the wood sanding process significantly, especially on larger surfaces. The random orbital sander is the most versatile option in most shops. It moves in a random orbital pattern, which reduces the risk of leaving circular scratch marks in the wood grain. A random orbital sander works well for both medium-grit stock removal and fine finish sanding.
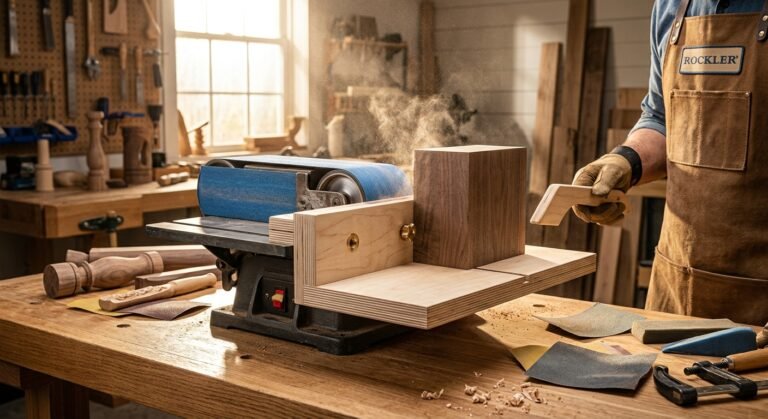
Belt sanders are more aggressive. They’re excellent for removing large amounts of material quickly like flattening a glued-up panel or stripping paint but they require a steady hand. Uneven pressure with a belt sander can leave deep gouges. Stationary belt sanders mounted on a bench give you more control for shaping end grain and edges.
For detail work, a detail sander or oscillating tool with sanding attachments can reach into tight spaces where a larger power sander simply won’t fit.
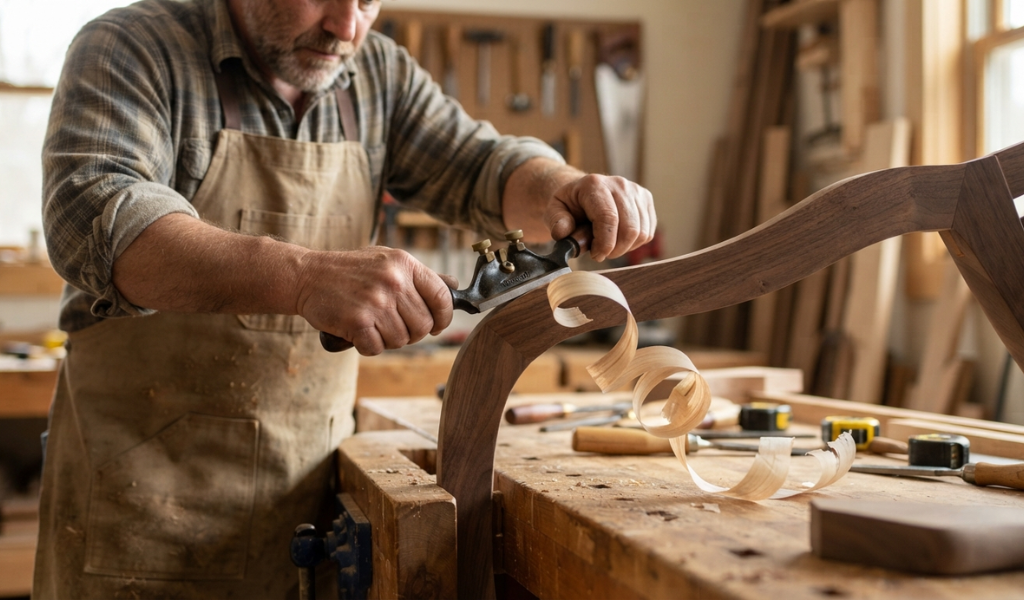
Shaping wood by hand gives you a level of control that power tools can’t always match. Rasps and files are the workhorses of hand shaping rasps cut aggressively, while files leave a smoother surface. A spokeshave is ideal for shaping curved chair legs or tapered rails. Cabinet scrapers can both shape and smooth, removing thin shavings of wood with incredible precision.
For power-assisted shaping, a router with the right bit can cut consistent profiles along edges. An angle grinder fitted with a carving disc can remove material quickly on sculptural or freeform pieces.
Grit refers to the number of abrasive particles per square inch on the sandpaper surface. Low grit numbers (like 40 or 60) mean large, coarse particles that cut aggressively. Higher grit numbers (like 180 or 220) mean smaller, finer particles that produce a smoother surface.
Here’s a practical breakdown:
Most projects don’t need every single grit. A typical sequence might be 80, 120, and 220 moving through a few key stages rather than every possible step.
Not all sandpaper is created equal, and the type of wood you’re working with should influence your abrasive choice. Aluminum oxide sandpaper is the most common and versatile option. It’s durable, affordable, and works well on most hardwoods and softwoods. For hardwoods like walnut or maple, aluminum oxide handles the density without wearing out too quickly.
Silicon carbide paper cuts faster and stays cooler, making it a good choice for finishing stages or for working with very hard, dense exotics. Garnet paper is a natural abrasive that dulls quickly but burnishes softwoods nicely, which is why some woodworkers prefer it for final hand sanding on pine or cedar.
The golden rule here is simple: never skip more than one grit in your sequence. Jumping from 80 grit straight to 220 grit leaves scratches from the lower grit that the higher grit can’t remove efficiently. You end up spending twice as long sanding to get rid of marks that proper progression would have handled naturally.
Sand until the scratches from the previous grit are completely gone before you move to the next. One useful trick: draw a light pencil mark across the surface before sanding. Sand until the pencil marks disappear that tells you the current grit has done its job and you’re ready to move up.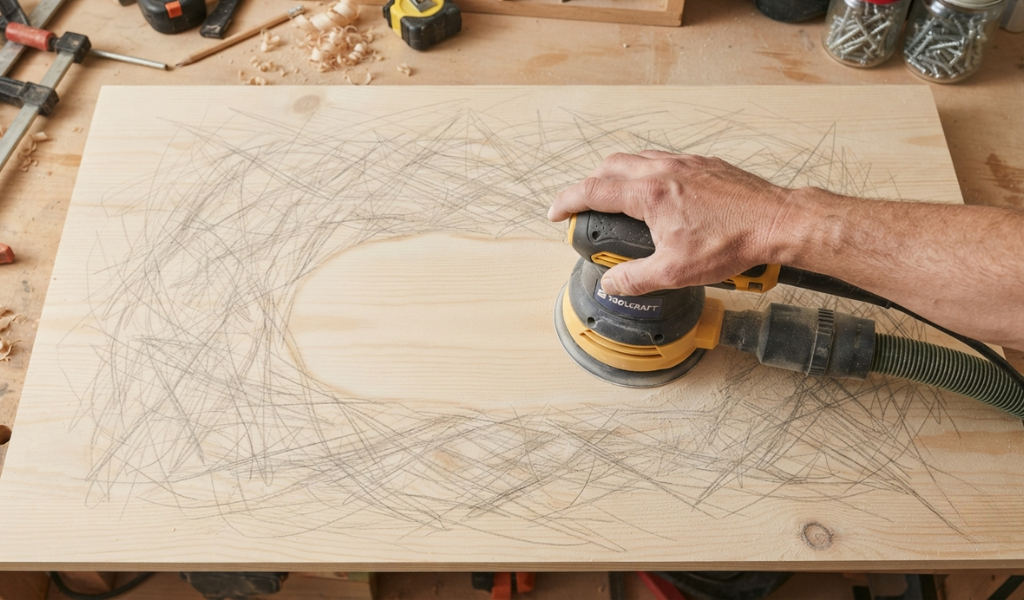
Start by inspecting the piece of wood carefully. Look for tear-out, mill marks, glue squeeze-out, and any surface imperfections. Remove dried glue with a cabinet scraper before sanding sandpaper will clog immediately on dried glue and the grit paper will lose its effectiveness fast.
If the surface is very rough or uneven, start with 80 grit. For cleaner, machine-surfaced wood, you can often begin at 100 or 120 grit sandpaper and work forward from there.
Shape before you sand. Use your rasps, files, spokeshaves, or router to create the profiles and curves you want. Work methodically and check your progress often. It’s much easier to remove a little extra material than to add it back.
Once the shape is where you want it, switch to coarser grit sandpaper to smooth out the tool marks left by shaping. From there, move through your grit sequence as you would on a flat surface.
Finish sanding usually ends somewhere between 180 and 220 grit, depending on the finish you plan to apply. Oil finishes often look best when the final hand sanding is done at 220 grit with the grain. Film finishes like varnish or lacquer can sometimes go as high as 400 grit between coats.
Always do a final light hand sanding with the grain, even if you’ve been using a power sander. This removes any swirl marks left by the random orbital and ensures the wood grain reads cleanly under the finish.
Flat panels are deceptively tricky. The key is sanding with the grain, not across it. Cross-grain scratches catch light badly and are very visible under a stain. Always move the sanding block or power sander in the direction of the wood grain, and maintain even pressure across the entire surface.
On large panels, work in overlapping passes rather than sanding one section at a time. This prevents ridges from forming at the edges of your strokes. Check the surface often by holding it up to a raking light that reveals any low spots, uneven areas, or scratches that straight-on lighting would hide.
Curved surfaces need flexible abrasives. Standard sandpaper wrapped around a firm block will bridge over a curve and sand only the high points. Instead, use a foam sanding pad or wrap the sandpaper loosely so it can conform to the shape.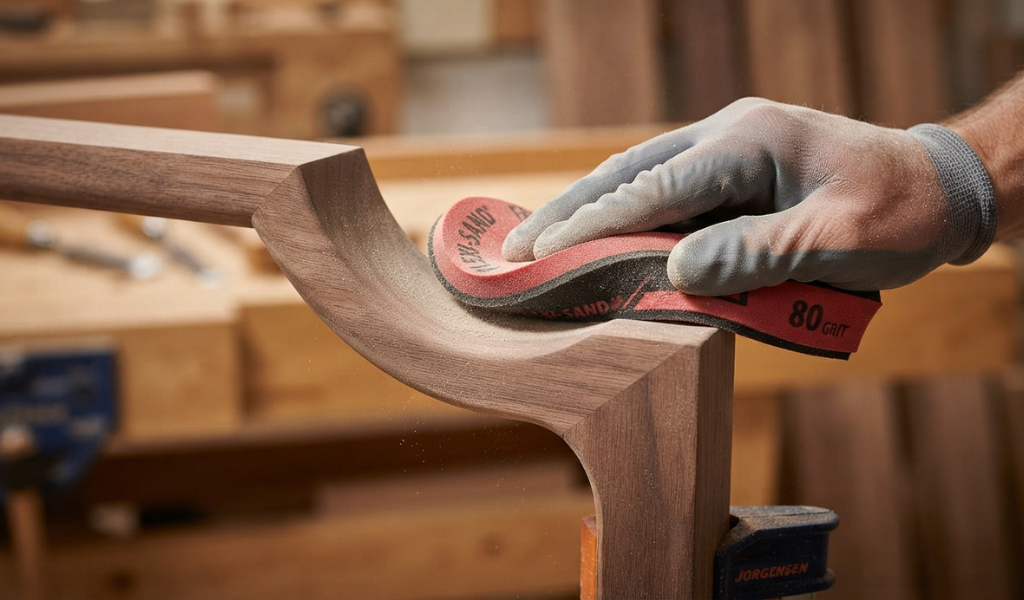
For concave curves, rolled-up sandpaper or a cylindrical sanding drum works well. For convex edges, a flat piece of sandpaper held lightly in the hand and followed around the curve gives you the most feel and control.
Intricate details require patience and the right tools. Folded sandpaper can reach into sharp inside corners. Sanding sticks thin wooden or plastic strips with sandpaper attached work well for carved details and molding profiles.
For carved surfaces with many facets and planes, move with the grain of each individual surface rather than trying to sand in one consistent direction across the whole piece.
Skipping grits is probably the most common mistake in wood sanding. It feels like a time-saver, but it creates more work in the long run. The scratches left behind by coarser grit paper are deeper than finer grits can remove efficiently. Work through your sequence properly, and the whole process actually goes faster.
More pressure doesn’t mean faster sanding. Applying too much pressure especially with a power sander heats the surface, clogs the sandpaper, and can create uneven low spots. Let the abrasive do the work. With a random orbital sander, let the machine’s weight do most of the pressing.
Uneven pressure is just as problematic as too much. If you bear down harder on one side than the other, the surface becomes subtly off-flat in ways that only become obvious once the finish is applied.
Wood dust is abrasive. If you move from 80 grit to 120 grit without removing the 80-grit dust first, those coarser particles end up under your finer paper and create scratches that shouldn’t be there. Between every grit change, wipe the wood down thoroughly with a clean brush or vacuum, then follow with a tack cloth to pick up anything remaining.
Inhaling wood dust is also a genuine health risk. Always wear a dust mask or respirator when sanding, and keep your shop well-ventilated.
Before you apply any finish, take time to inspect the wood carefully. Hold the piece at a low angle to a strong light source. This raking light catches any remaining scratches, uneven areas, or dips that normal overhead lighting misses. Run your hand over the surface your fingertips will feel imperfections that your eyes might miss.
If you spot any issues, don’t convince yourself they’ll disappear under the finish. They won’t. Address them now while it’s still easy.
A clean surface is critical for an even finish. Vacuum the piece, then wipe it down with a tack cloth to pick up the last of the wood dust. If you’re applying a water-based finish or stain, consider wiping the wood lightly with a damp cloth first. This raises the grain slightly, and once it dries, a quick light hand sanding with 220 grit brings it back down leaving you with a surface that won’t raise noticeably when the finish is applied.
Once your finish is applied and cured, protecting it properly extends the life of your work. Paste wax over a hardened oil finish adds a layer of protection and a pleasant sheen. For furniture in high-use areas, a topcoat of polyurethane or lacquer provides more durable protection. Apply thin coats, let each one cure fully, and sand lightly with fine grit sandpaper between coats for the smoothest possible result.
Woodworking sanding and shaping aren’t glamorous parts of the process but they’re where quality lives. A piece that’s been sanded thoughtfully, with the right grits in the right order, using the right tools for each surface, will always outshine one that was rushed to finishing. The techniques covered here apply to everything from a simple shelf to a complex piece of furniture.
Take your time with each stage. Move through your grit sequence patiently. Sand with the grain. Remove dust between passes. These aren’t complicated rules, but woodworkers who follow them consistently produce work that stands out.
If you’re just getting started, pick one technique from this guide and practice it on scrap wood before applying it to a real project. The feedback you get from a scrap piece costs you nothing and teaches you more than any guide can.
Start with 80 grit for significant material removal during shaping. If the wood is relatively smooth already, 100 grit is a good starting point. Once the shape is established, move to 120 grit sandpaper to refine tool marks, then continue through your sequence toward 220 grit for finish sanding.
Always sand with the grain, and never skip more than one grit in your sequence. Scratches from lower grit sandpaper are too deep for higher grits to remove efficiently if you skip steps. Work through each grit progressively for the best results.
Use flexible abrasives that can follow the shape of the surface. Folded sandpaper, sanding sticks, foam-backed pads, and rolled sandpaper cylinders all help reach into tight corners and curved profiles. Sand in the direction of the wood grain on each individual facet of the detail work.
The 100 grit rule refers to the practice of starting your finish sanding sequence at 100 grit when the wood surface is already relatively smooth free from major tool marks or deep scratches. From 100 grit, you progress to 150 grit, then 220 grit for finish-ready results.
Generally, no. Complete your shaping work first, then begin sanding. If you sand a surface and then reshape it with a file or rasp, you’ll introduce new tool marks that require sanding again. Establish the form first, then refine the surface.
Absolutely. Aluminum oxide sandpaper lasts longer and works better on most hardwoods than garnet or cheaper alternatives. For finishing sanding on softwoods, garnet paper can produce a very clean result. Using the wrong abrasive for your wood type means the paper dulls faster, cuts unevenly, and costs you more time and money overall.
Draw light pencil marks across the surface you’re sanding. Sand until those pencil marks are completely gone. When the marks disappear, the current grit has removed all the scratches from the previous grit and it’s time to move up to the next grit in your sequence.