Physical Address
304 North Cardinal St.
Dorchester Center, MA 02124
Physical Address
304 North Cardinal St.
Dorchester Center, MA 02124


If you have ever stared at an old dresser, a porch railing, or a set of kitchen cabinets buried under layers of tired paint, you already know the struggle. Sanding paint off wood is one of the most reliable ways to bring a piece back to life, but only if you do it the right way. Rush the job and you risk gouging the surface, breathing in dust you shouldn’t, or wasting hours on a method that was never going to work in the first place. This guide walks you through everything you need to know, from picking the right tools to protecting your lungs, so you can strip paint with confidence and end up with wood that actually looks good underneath.
Before we get into the specifics, let’s cover the basics. Sanding is the process of using an abrasive material, usually sandpaper or an abrasive pad, to wear away the top layer of a surface through friction. When it comes to wood, sanding smooths rough spots, levels uneven areas, and in this case, grinds away old paint so the bare grain underneath is exposed again. The abrasive is rated by grit number, and that number tells you how coarse or fine the particles are. Lower numbers mean bigger, rougher particles that cut fast and remove more material. Higher numbers mean finer particles that polish and refine. Understanding this one concept is the foundation for everything else in this guide, because choosing the wrong grit is the number one reason people struggle when they try to remove paint from wood.
Yes, and it is one of the most common ways homeowners and woodworkers deal with old finishes. Wood is a forgiving material, and paint sits on top of it rather than soaking deep into the fibers the way stain does. That means an abrasive can grind through the paint layer and stop once it reaches raw wood. The catch is that paint does not always come off evenly. Thick layers built up over decades, cracked or peeling sections, and paint that has soaked into open grain can all make the job slower than expected. Sanding works best when you accept that it is a gradual process rather than something you finish in ten minutes with one pass of a sander.
Sanding shines when you are working with flat or gently curved surfaces like tabletops, doors, floors, and wide trim boards. It also tends to be the safer option compared to chemical strippers when you plan to stain or seal the wood afterward, since there is no residue to worry about neutralizing. If the paint layer is thin, or if you are only dealing with a small section that needs a touch-up rather than a full strip, sanding gets you there without much fuss. It is also the go-to choice for anyone who prefers not to deal with the fumes and disposal issues that come with chemical paint removers.
There are times when grinding away paint with an abrasive is not the smartest move. If you are dealing with thick, multiple layers of old paint on furniture with tight corners or carved details, a chemical stripper or a heat gun might save you hours of labor. Heat guns soften paint so it can be scraped off, which works well on flat siding or shutters but requires a steady hand to avoid scorching the wood. Chemical strippers are useful for intricate moldings where sandpaper simply cannot reach. And if you suspect the paint contains lead, which is common in homes built before 1978, sanding is generally discouraged unless you follow strict containment procedures, because dry sanding can release hazardous dust into the air. In that case, wet sanding or professional lead abatement is the safer route.
Having the right equipment on hand before you start makes the entire project smoother and keeps you from stopping halfway through to run to the hardware store.
For large flat areas, a random orbital sander is the most versatile choice because it removes material quickly while leaving fewer visible swirl marks. A belt sander works faster but is more aggressive and can dig into soft wood if you are not careful, so it suits bigger jobs like floors or thick tabletops. For detailed trim, spindles, or tight corners, a detail sander with a pointed head or simple sanding blocks and folded sandpaper will serve you better than any power tool. If you only have a small project, hand sanding with a sanding block gives you the most control, even though it takes more elbow grease.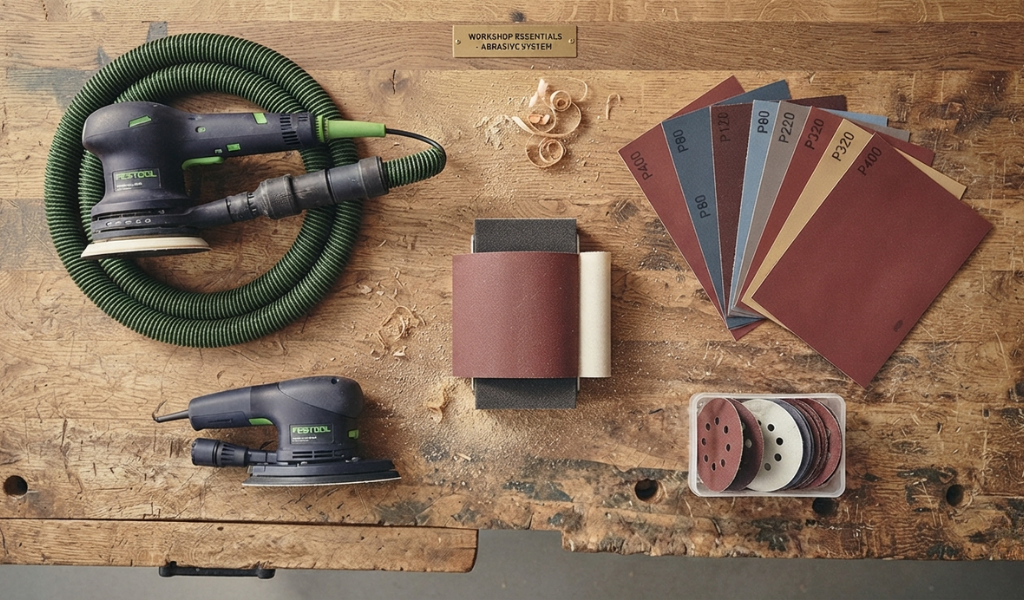
You will typically need a range of grits rather than just one. Coarse grits between 40 and 60 handle the bulk of paint removal, medium grits around 80 to 120 smooth out the surface, and fine grits from 150 to 220 prepare the wood for a new finish. Buying a variety pack ahead of time saves you from constantly pausing the project to switch supplies.
At a minimum, gather a properly rated dust mask or respirator, safety glasses, and hearing protection if you are using a power sander for an extended period. Work gloves help protect your hands from friction burns and splinters, and a long-sleeve shirt keeps dust off your skin during longer sessions.
Preparation makes a bigger difference than most people expect. Start by clearing the workspace and laying down a drop cloth or plastic sheeting to catch dust and paint chips, especially if you are working indoors. Remove any hardware such as knobs, hinges, or handles so you are not sanding around obstacles. Inspect the piece closely for loose or flaking paint and, if you suspect lead content, test it with an at-home lead test kit before you begin. Wipe down the surface to remove loose dirt or grease, since sanding over a dirty surface can clog your sandpaper and slow you down. If you are working outside, check the weather and avoid high humidity days, as damp air can cause dust to clump and stick to the wood instead of lifting away cleanly.
Matching the grit to the stage of the job is what separates a smooth result from a frustrating one.
Coarse sandpaper, typically 40 to 60 grit, is designed to cut through paint fast. This is your starting point on any surface with more than a light coat of paint. It removes material aggressively, so it is not meant for finishing, only for stripping the bulk of the old coating.
Once the majority of the paint is gone, switch to something in the 80 to 120 range. Medium grit smooths out the rough marks left by the coarse paper and evens out the surface, catching any leftover flecks of paint that the first pass missed.
The final pass uses fine grit, usually 150 to 220, to polish the wood and prepare it for stain, paint, or sealant. Skipping this step often leaves the wood looking dull or slightly rough once a new finish is applied, so it is worth the extra few minutes.
Once your tools are ready and the wood is prepped, the actual sanding process follows a logical progression.
Begin with your coarsest grit and apply steady, even pressure. Let the sandpaper do the work rather than pressing down hard, since forcing it can create uneven grooves. Focus on one section at a time so you do not lose track of where you have already worked.
Always move in the same direction as the wood grain rather than across it. Sanding against the grain leaves visible scratches that are difficult to hide once you apply a new finish. This single habit is one of the easiest ways to keep your final result looking professional.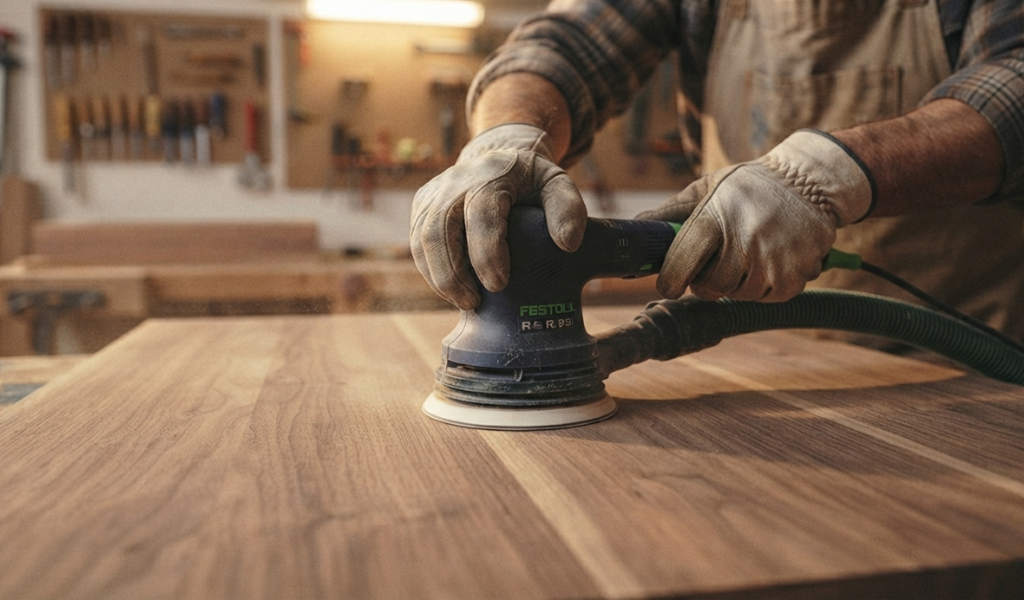
After the coarse pass removes the bulk of the paint, move to medium grit, then finish with fine grit. Each stage should remove the marks left by the previous one. Skipping a grit level, say jumping straight from 40 to 220, usually leaves visible scratches that the finer paper cannot fully erase.
Carved furniture legs, window muntins, and decorative trim require a different approach than flat panels. A power sander is often too bulky and imprecise for these areas, so hand tools work better here. Folded sandpaper can reach into grooves, while a small detail sander with interchangeable tips handles corners and curves. Some woodworkers use a scraping tool first to lift the bulk of the paint from carved details, then follow up with fine sandpaper wrapped around a dowel or pencil to get into narrow channels. Patience matters more than speed on detailed pieces, since rushing tends to round over edges that should stay crisp.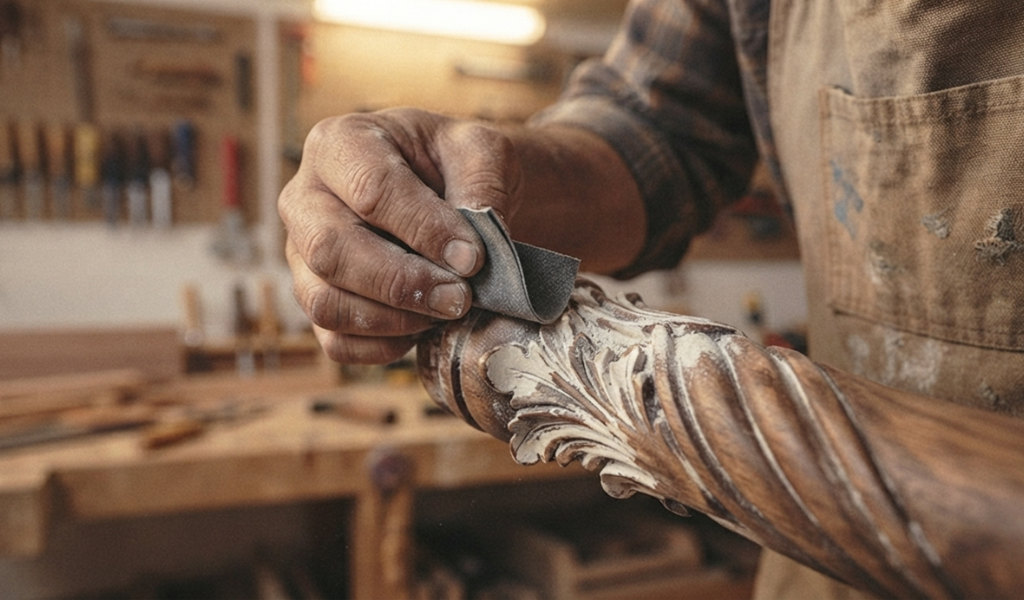
It is entirely possible to remove paint and still end up with a piece that looks worse than before, usually because of a few common mistakes.
Pressing too hard does not speed up the process, it just increases the risk of gouging the wood or burning it with friction, especially with power sanders. Let the abrasive grit do the cutting and keep your hand pressure light and consistent.
Softwoods like pine can wear down quickly, and it is easy to sand through a thin veneer on furniture without realizing it until the damage is done. Check your progress frequently, particularly on veneered pieces, and ease off once you see raw wood appear.
Holding a power sander in one spot, even briefly, can create a visible dip or divot in the surface. Keep the tool moving in smooth, overlapping passes across the wood rather than letting it sit still.
Beyond technique, protecting your health during this process deserves just as much attention as the woodworking itself.
Standard cloth masks are not enough to filter fine wood and paint dust. Use an N95 rated mask at minimum, and consider a respirator with replaceable cartridges if you are working on a large project or suspect older, lead-based paint.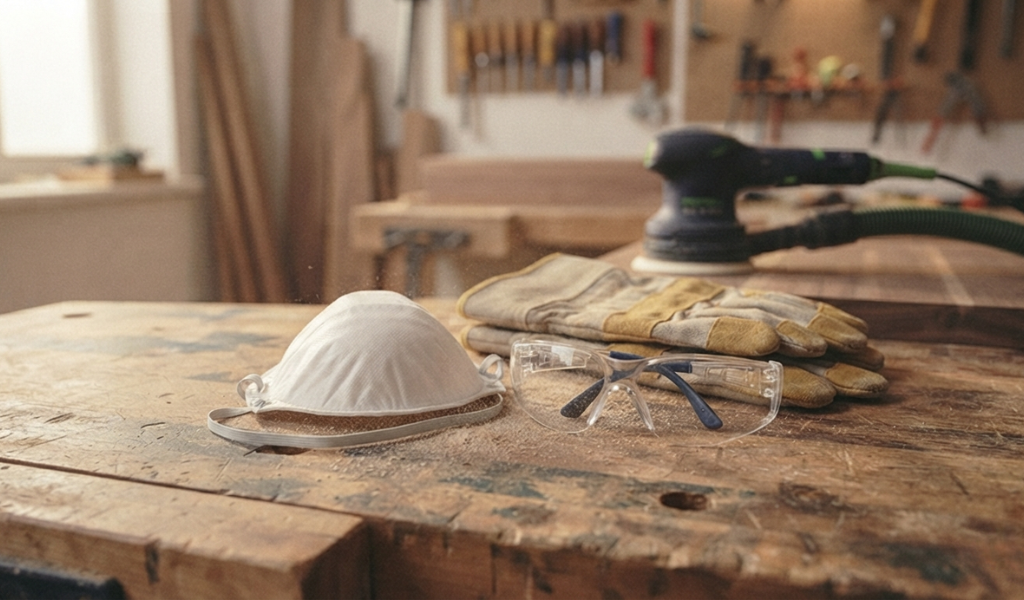
Attach a dust collection bag to your sander if it has one, or work near a shop vacuum to capture particles as they are created. Ventilate the space by opening windows or working outdoors when possible, and clean up dust regularly rather than letting it accumulate.
Homes and furniture built before the late 1970s may contain lead-based paint. If testing confirms lead is present, avoid dry sanding altogether and consult local guidelines for safe removal, since dry sanding lead paint can release harmful particles into the air and onto surrounding surfaces.
Once the wood is bare and smooth, wipe away all dust with a tack cloth or a slightly damp rag, making sure not to soak the wood. Inspect the surface under good lighting for any spots you missed or scratches that need another light pass with fine grit. From here, you can apply a new coat of paint, stain, or a clear sealant depending on your project goals. Letting the wood sit uncovered for too long invites moisture and dirt to settle into the open grain, so plan to apply your chosen finish within a day or two of finishing the sanding process.
Sanding paint off wood is a project that rewards patience and the right preparation far more than it rewards speed. Starting with coarse grit, working your way through medium and fine sandpaper, and always moving with the grain will give you a clean, professional-looking surface every time. Pair that technique with proper safety gear and dust control, and you protect both the wood and yourself throughout the process. Whether you are restoring a family heirloom or refreshing a porch railing, taking the time to do it right pays off the moment you see bare, smooth wood ready for its next finish. If you are planning your first project, gather your tools, test a small hidden area first, and work through the process one grit at a time.
Yes. Hand sanding with a sanding block or folded sandpaper works well for small areas or detailed trim, though it takes more time and effort than a power sander.
A random orbital sander is generally the best all-around choice because it removes paint efficiently while minimizing visible marks. Belt sanders work faster on large flat surfaces but require more control.
It depends on the thickness of the paint. For very thick, multiple layers, using a chemical stripper or heat gun first can save time, with sanding used afterward to smooth the surface and remove any remaining residue.
This varies based on the size of the piece, the number of paint layers, and the tools used. A small item might take under an hour, while a large piece of furniture with several coats of paint could take several hours spread across multiple sessions.
It can be, as long as you have good ventilation, a dust collection system, and confirmation that the paint does not contain lead. For older homes, testing the paint first is a smart precaution.
In most cases yes, though paint that has soaked deep into open-grained woods like oak can leave faint traces in the grain lines. A final pass with fine grit and a coat of finish usually minimizes this effect.
Yes, if you use light, even pressure and check your progress often. Working through the grits gradually, from coarse to fine, gives you the control needed to stop right at raw wood without cutting into it too deeply.